Create multiple WordPress sites easily with AWS Lightsail
Table of Contents
AWS Lightsail allows to set up a VPS with just a couple of clicks. Includes some preinstalled popular services like WordPress, and you can create several blogs inside the same VPS.
Introduction
You can use other VPS services like Akamai Linode, DigitalOcean, Hertzner, etc. but Lightsail offers a relatively easy way to install a WordPress Multisite instance, where you can install several blogs on different domains (or subdomains) on the same VPS, with a main account that manages all sites (you can add more users).
If you use AWS, you can follow these steps to install WordPress Multisite:
Steps
Create an instance
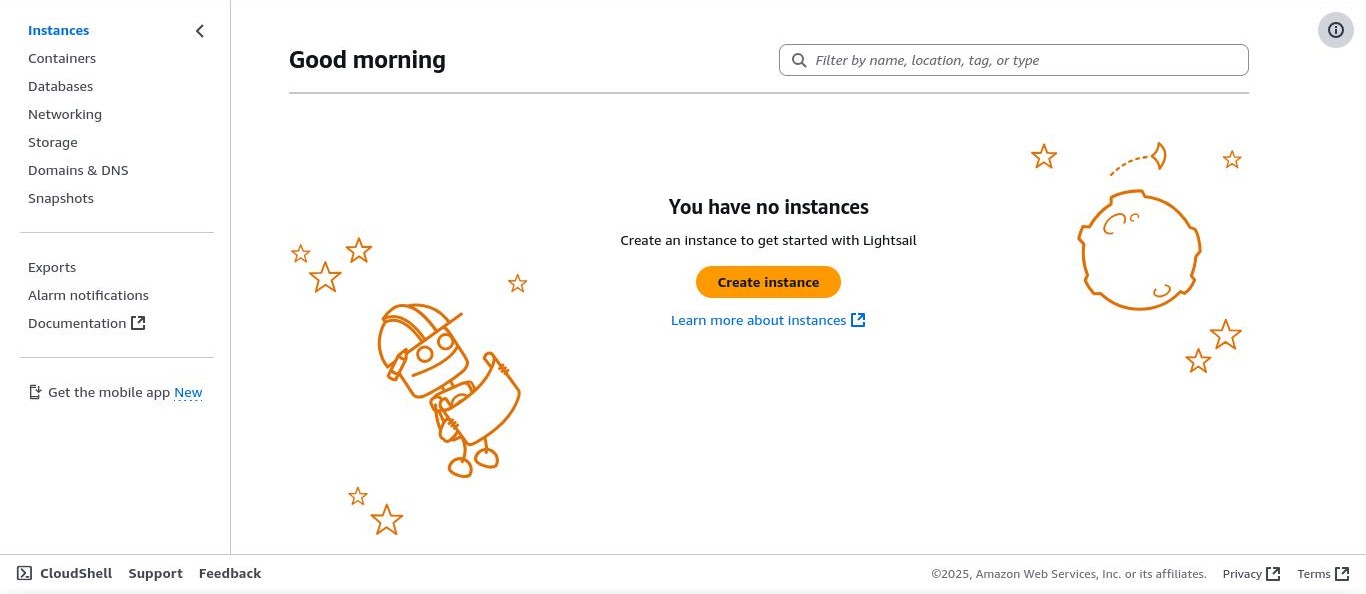
- Go to https://lightsail.aws.amazon.com and log in. On the main screen, click on ‘Create instance’.
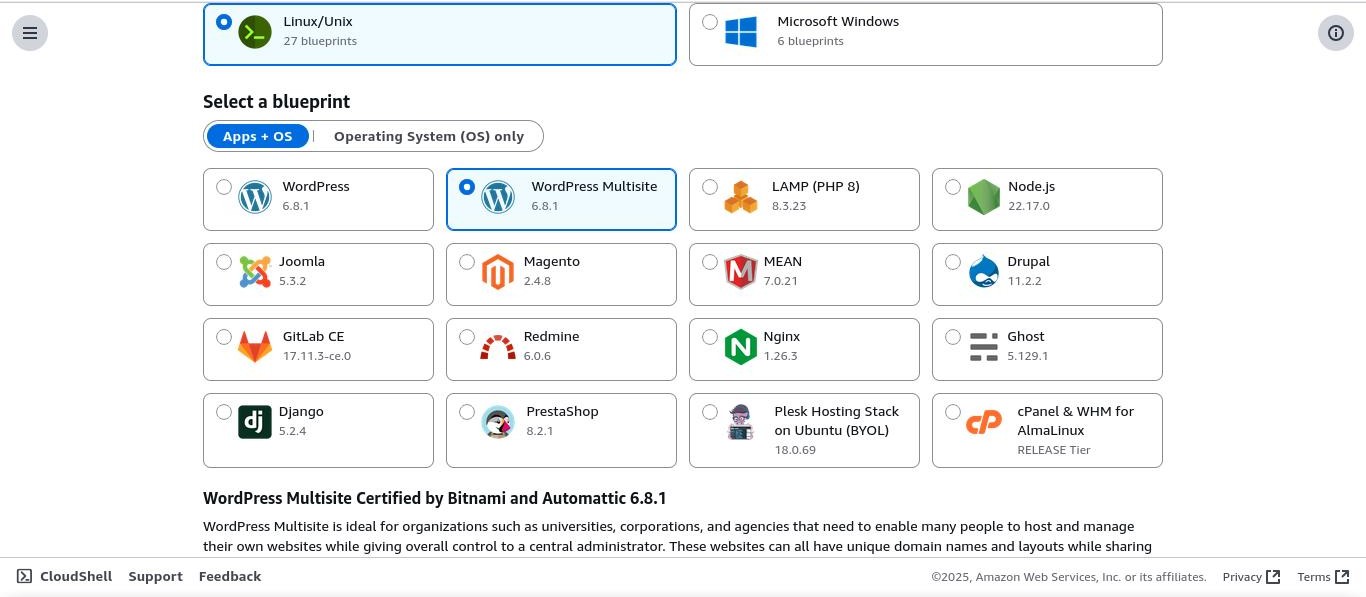
- Change ‘Instance location’ if you want and choose ‘WordPress Multisite’.
- Under ‘Optional’, check the SSH key you want to use to access your VPS.
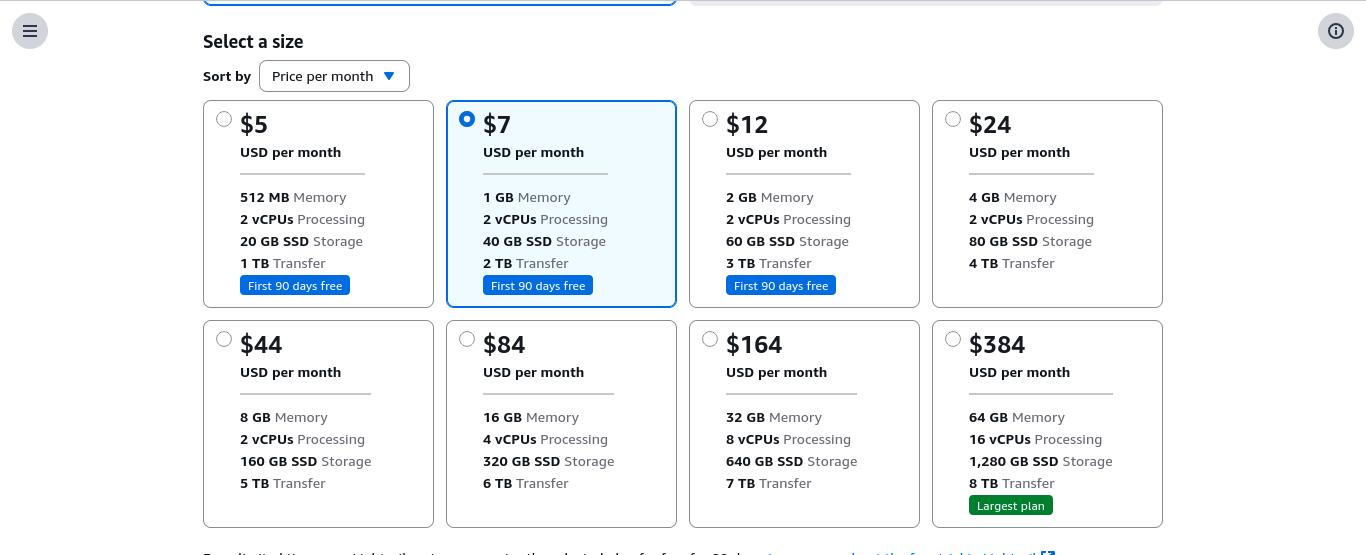
- Inside ‘Select a size’, it’s preselected the ‘40GB/1GB’ option. You can select the cheaper one (20GB/512MB) but but it’s recomended to start a WordPress site with at least 1GB of RAM.
- Choose a name for your instance and click on ‘Create instance’.
Add an static IP and create DNS record
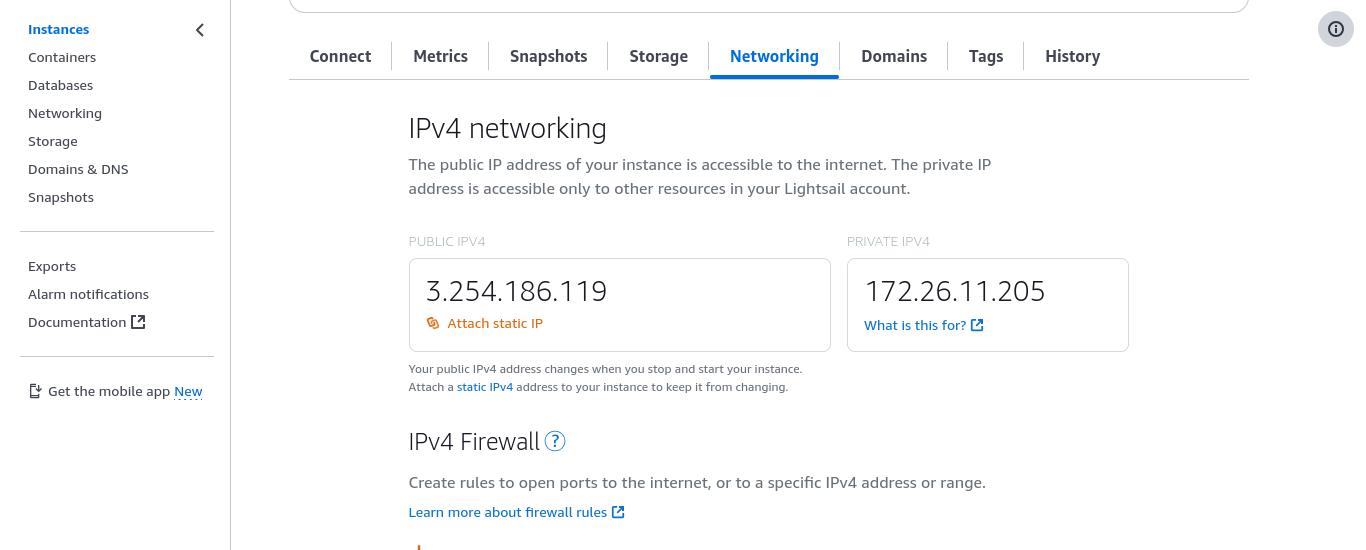
After your instance is created, click on it and go to the ‘Networking’ menu. Select ‘Attach static IP’. This will prevent your VPS IP to change when the server reboots. You can name your static IP, then click on ‘Create and attach’.
Now, go to your domain’s DNS service (i.e. Cloudflare) and add a new DNS record of type ‘A’ that links a domain or subdomain to the server IP. For example:
TYPE    NAME    CONTENT
A       blog1   123.456.789
Connect to your instance via SSH
You can use the browser-based SSH client from Lightsail or use your favourite SSH client to connect to your server. If you use the command line:
ssh -i <your key file> bitnami@<server IP>
# you'll have to type 'yes' when prompted
Once connected, run this command to find your WordPress default password. Save it.
cat $HOME/bitnami_application_passwordTo access WordPress with your domain, type the following command:
sudo /opt/bitnami/configure_app_domain --domain <domain>
# example: sudo /opt/bitnami/configure_app_domain --domain blog1.rs1.es
Access to the WordPress blog and add a second site
Go to your blog admin page (i.e. blog1.mydomain.com/wp-login.php) and log in with ‘user’ and the password you saved earlier. Click on ‘My sites -> Network Admin -> Sites’ and add a new site. Add the domain (or subdomain) for the new site and click on “Save Changes” (check all options before saving).
If you want to add the new site on a different domain (instead of a subdomain of the main blog domain), ignore the domain suffix that appear at the end of the textbox. After creating the site, click on “Edit site” and change the URL for the proper domain. In this case, to avoid cookie errors when logging in on the second site, you need to add a line on this server file: /opt/bitnami/wordpress/wp-config.php. Using SSH, type this command:
# you can use 'nano' instead of vim
sudo vim /opt/bitnami/wordpress/wp-config.php
and add the following line after define( 'WP_ALLOW_MULTISITE', true );:
define('COOKIE_DOMAIN', $_SERVER['HTTP_HOST']);Finally, restart services with:
sudo /opt/bitnami/ctlscript.sh restartActivating SSL on all sites
To enable SSL, first ensure you have added the DNS records for all your sites on your DNS provider (use the same IP). For example:
TYPE    NAME    CONTENT
A       blog1   123.456.789
A       blog2   123.456.789
Then, run the following command to create an SSL certificate:
sudo /opt/bitnami/bncert-toolAdd all your sites (separated by spaces) when the command asks for that.
Although bncert usually has an option to enable HTTP -> HTTPS redirection, this WordPress Multisite version doesn’t have it. To enable automatic redirection, add a WordPress plugin: go to your main WordPress site, log in, go to Plugins -> Add a new plugin. Search for ‘SSL Really Simple Security’ and install it. Activate it and click on ‘Go ahead, activate SSL’. Then click ‘Skip’ on the other windows that appear.
If you have any suggestion, feel free to contact me via social media or email.
Latest tutorials and articles:
Featured content:

