HestiaCP: a free and open source CPanel alternative
Table of Contents
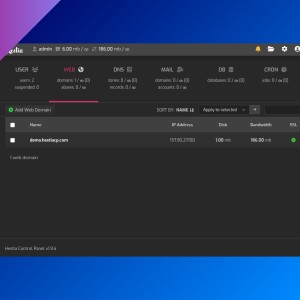
Hestia Control Panel is a web server management panel that is easy to install and use.
Features
- Easy install: just a couple of commands.
- Install WordPress, Drupal, PrestaShop, etc. using HestiaCP web interface.
- Add several domains/subdomains.
- Manage databases.
- Automatic/manual backups.
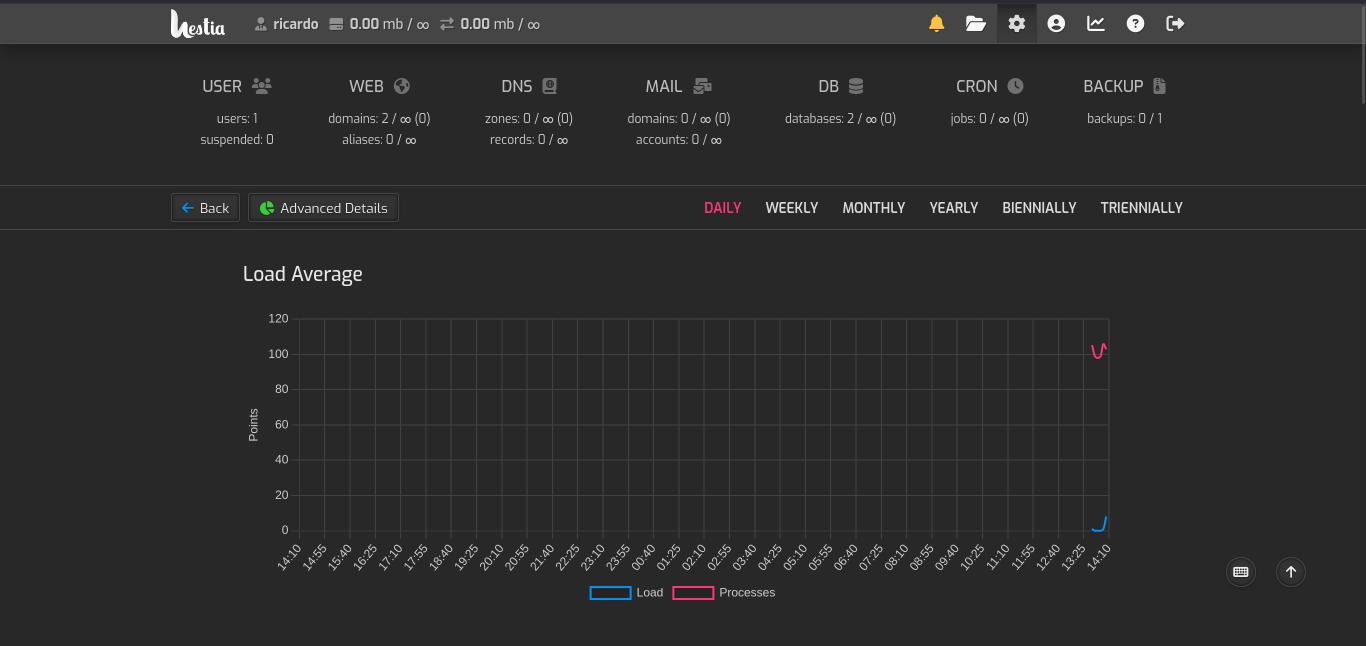
- Statistics/charts.
- Automatic updates.
- Open source.
Recommended previous steps
- Supported operating systems: Debian 11/12, Ubuntu LTS 22.04/24.04.
- When using a VPS to install HestiaCP, at least 1GB RAM is recommended.
- Install HestiaCP on a fresh operating system installation.
- Open ports 22 (SSH), 80 (HTTP), 443 (HTTPS) and 8083 (HestiaCP interface).
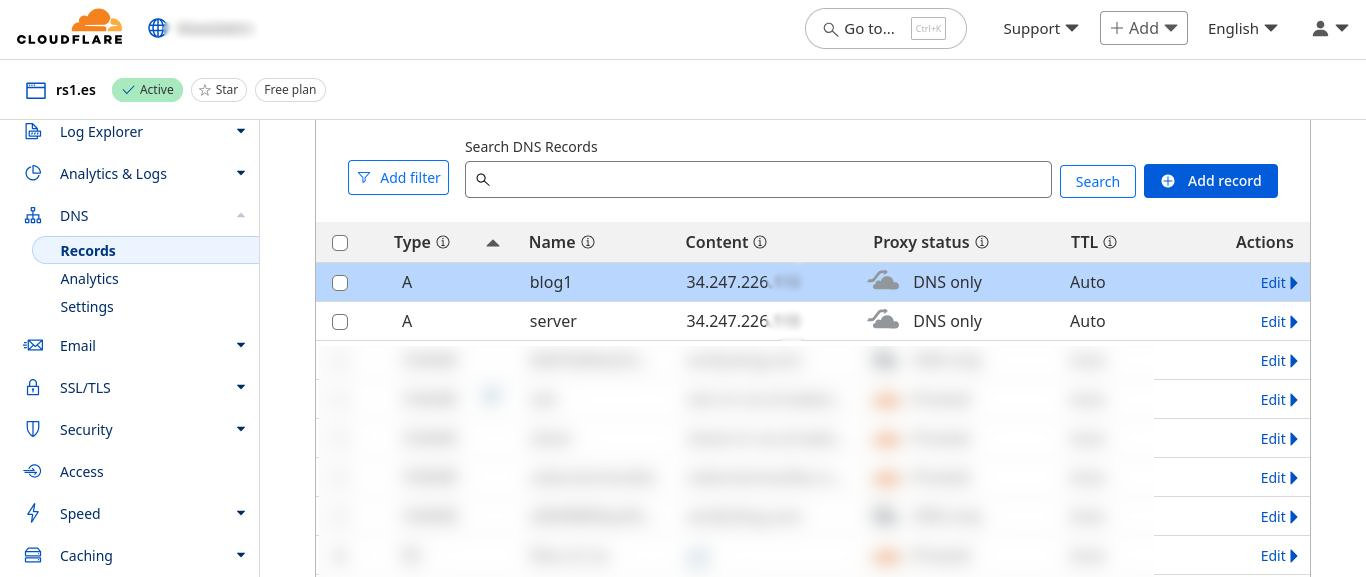
- It’s recommended to use a domain instead of an IP address to access the service. Add a DNS record (in your DNS provider, i.e.: Cloudflare) that links your domain to server public IP.
#Example if using server.rs1.es as HestiaCP domain
TYPE    NAME    CONTENT
A       server  123.456.789
Install HestiaCP
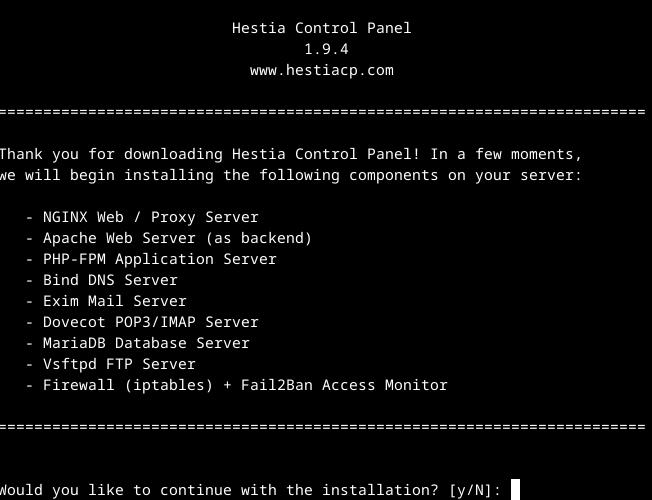
- Download script:
wget https://raw.githubusercontent.com/hestiacp/hestiacp/release/install/hst-install.sh- Run the script as root:
bash hst-install.sh- Installation requires to create an ‘admin’ user. If that user already exists, it will be deleted.
- Add the hostname (the domain you want to use to access HestiaCP, for example: server.rs1.es) when the script asks for it. It also asks you to create a user and a password.
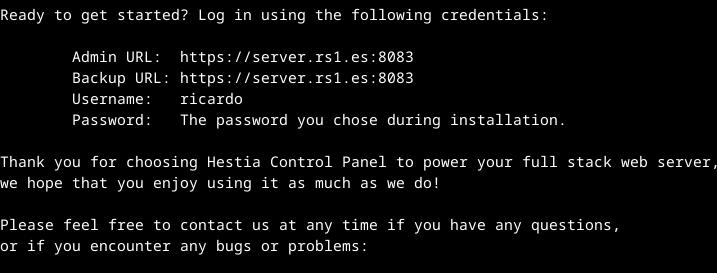
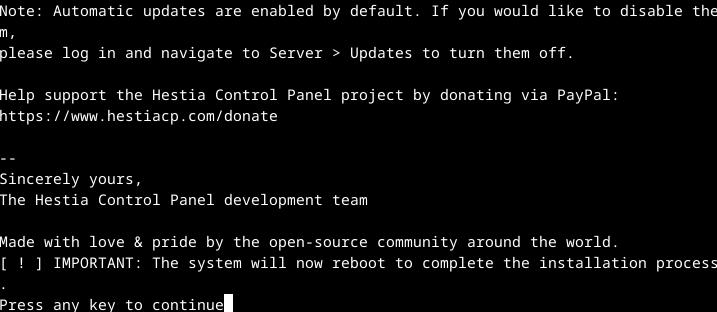
- Once installation is finished, admin URL is displayed. Press any key to reboot the server.
Creating a sample website
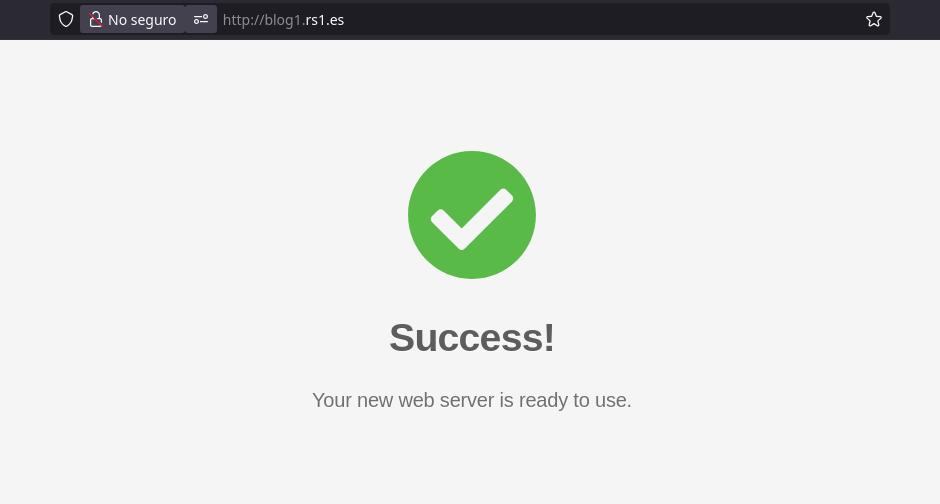
We are going to create a sample blog on a different subdomain (blog1.rs1.es):
- Add a DNS record in your DNS provider for the blog subdomain that points to the server IP.
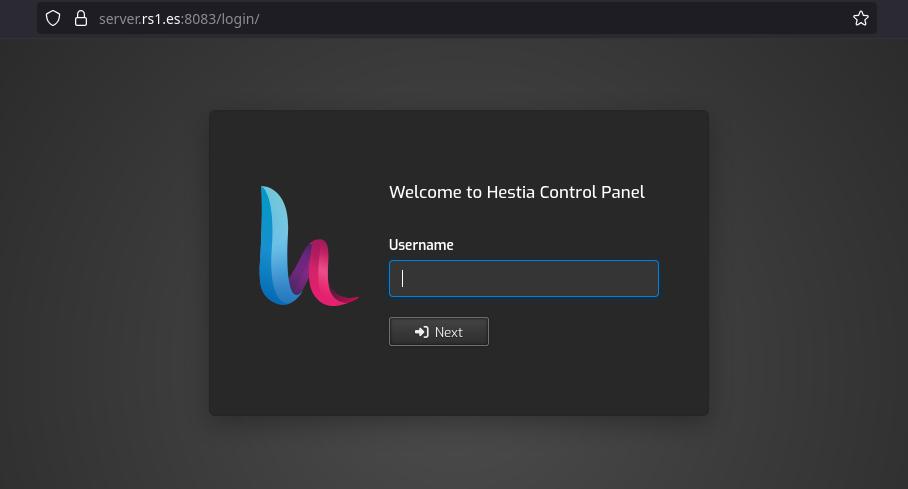
- After the server reboots once HestiaCP is installed, go to the previously displayed URL and type your user and password.
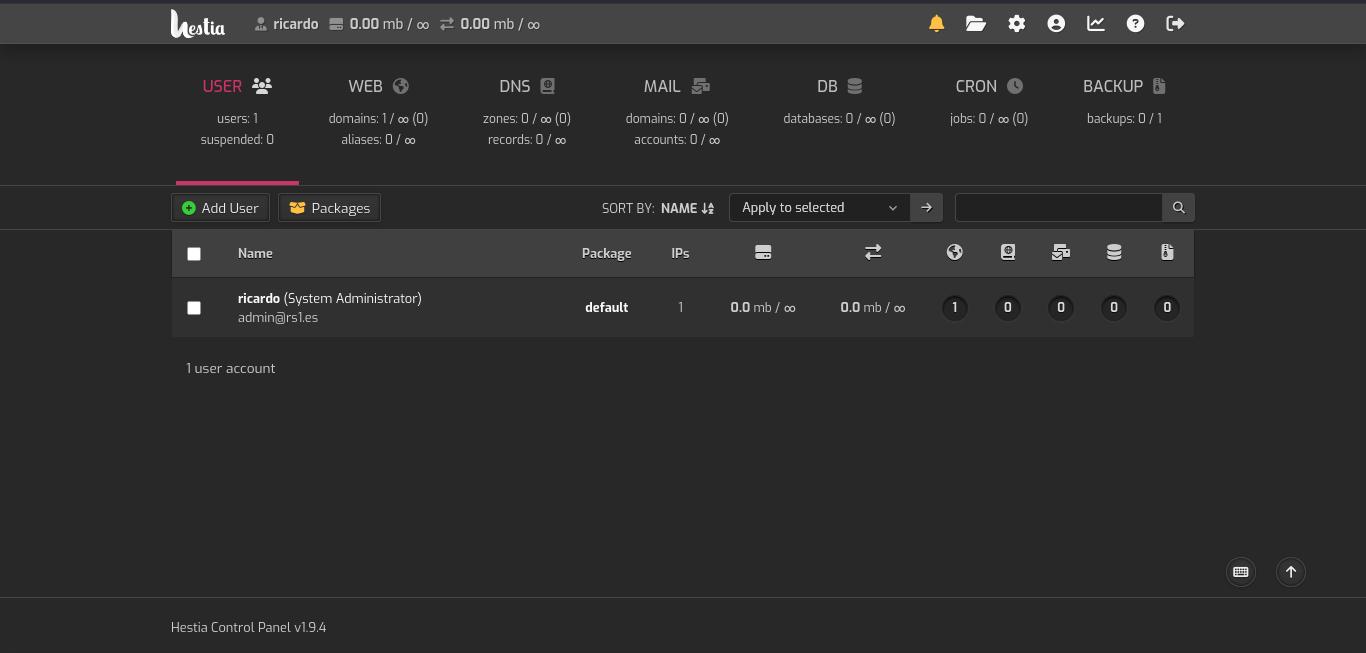
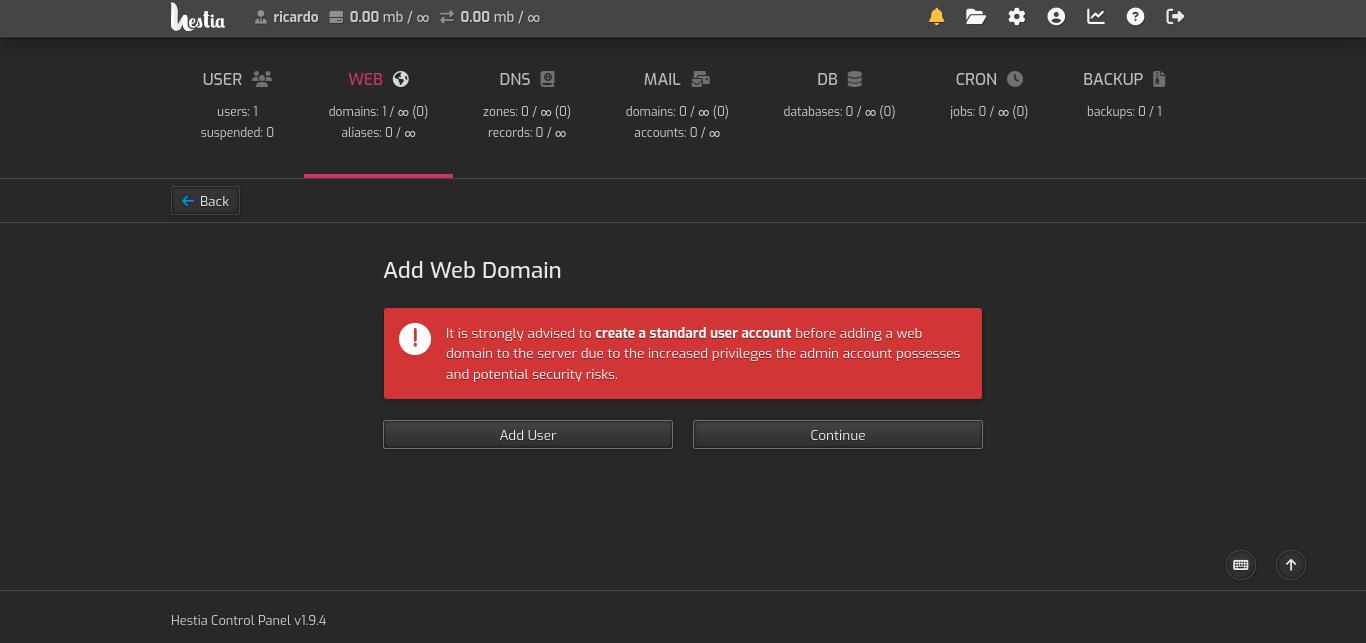
- Inside HestiaCP web interface, go to ‘WEB -> Add Web Domain’. A warning about creating an ordinary user will appear. You can ignore it (but it’s recommended to create a user and not using the administrator account in all tasks).
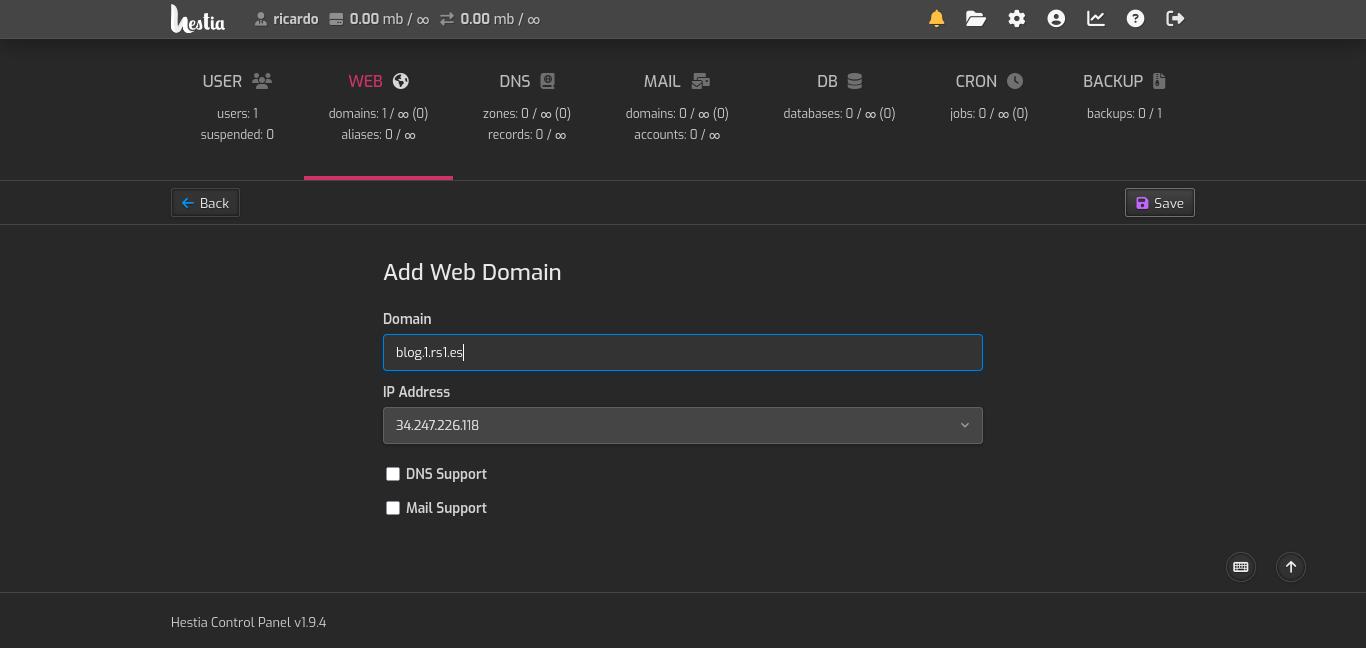
- Add the domain: in this example, blog1.rs1.es. Click ‘Save’.
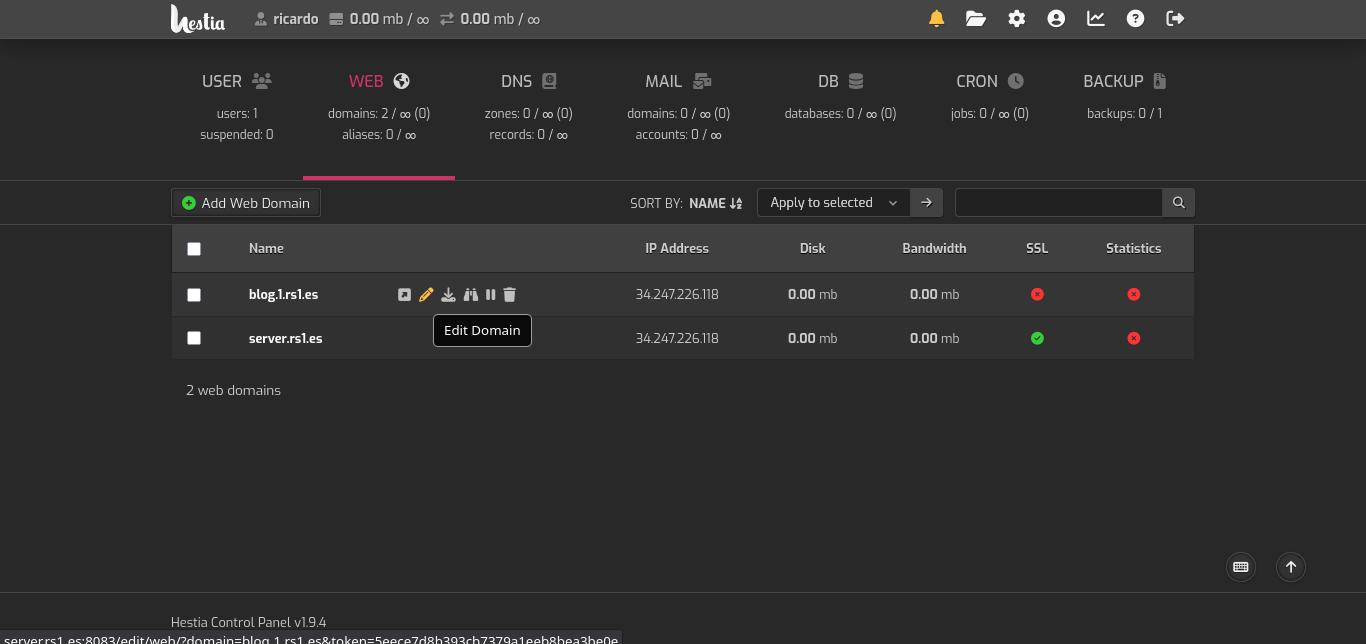
- Press ‘Back’ to go to the domain list. Then, hover the cursor over the created domain and click on ‘Edit domain’. On mobile devices this option will appear next to domain name.
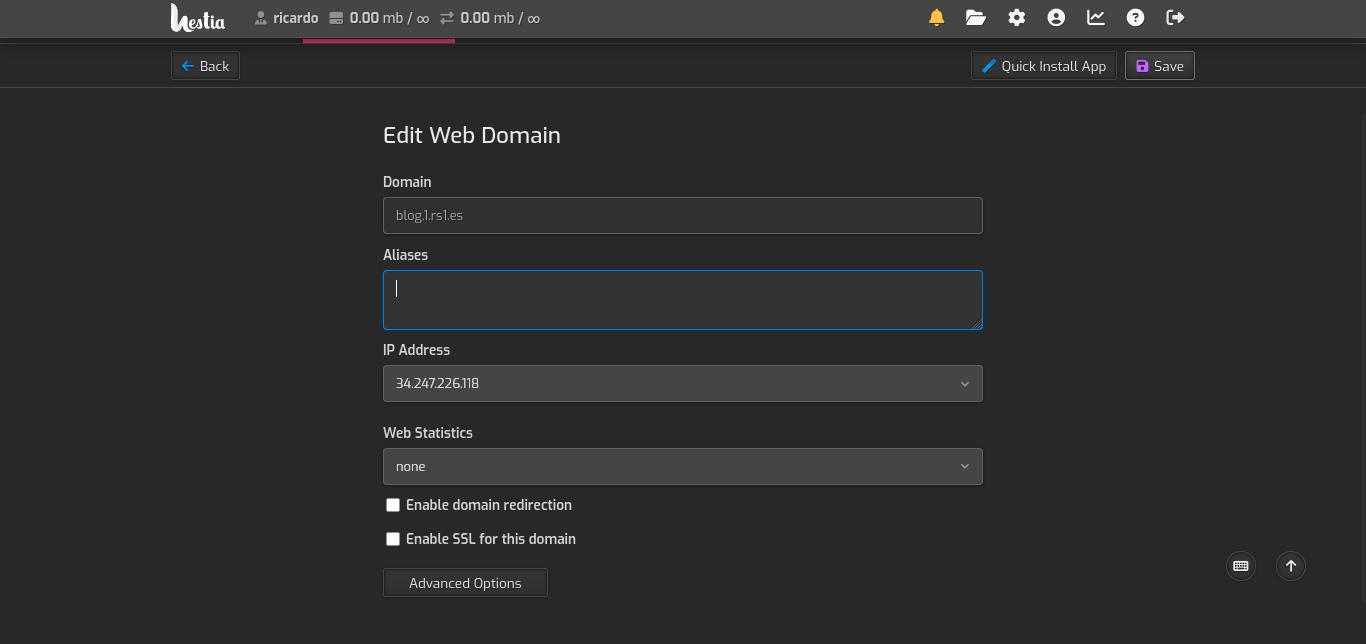
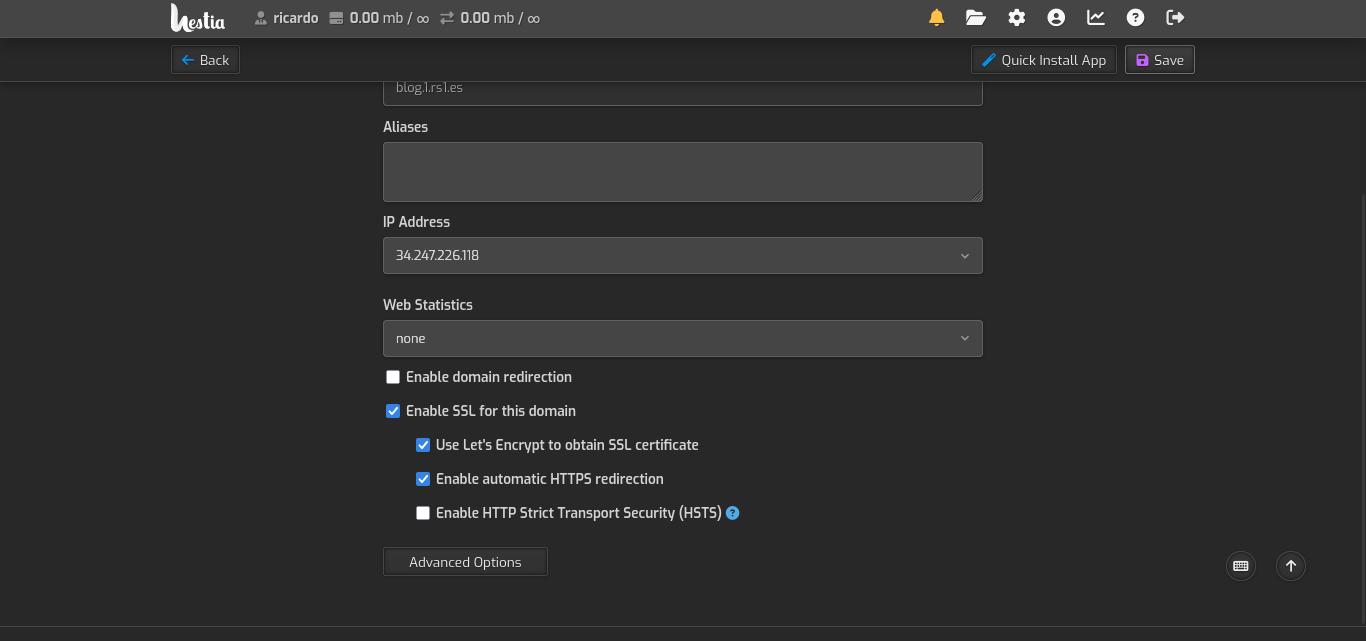
- Check ‘Enable SSL’ with Let’s Encrypt and also enable redirection. Save changes to apply. Remember to add the DNS record before this step.
- Click on ‘Quick Install App’. Some apps will be disabled because of the installed PHP version. You can install the required PHP version to be able to install those apps.
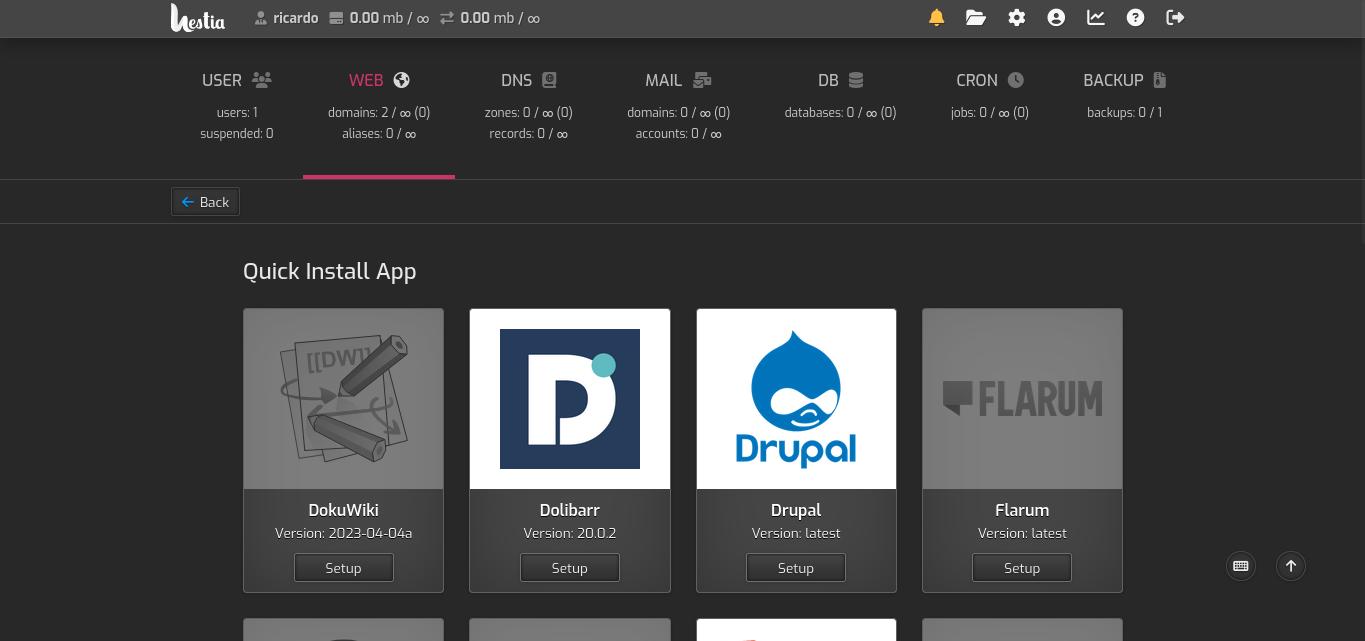
- Go to WordPress and click ‘Setup’.
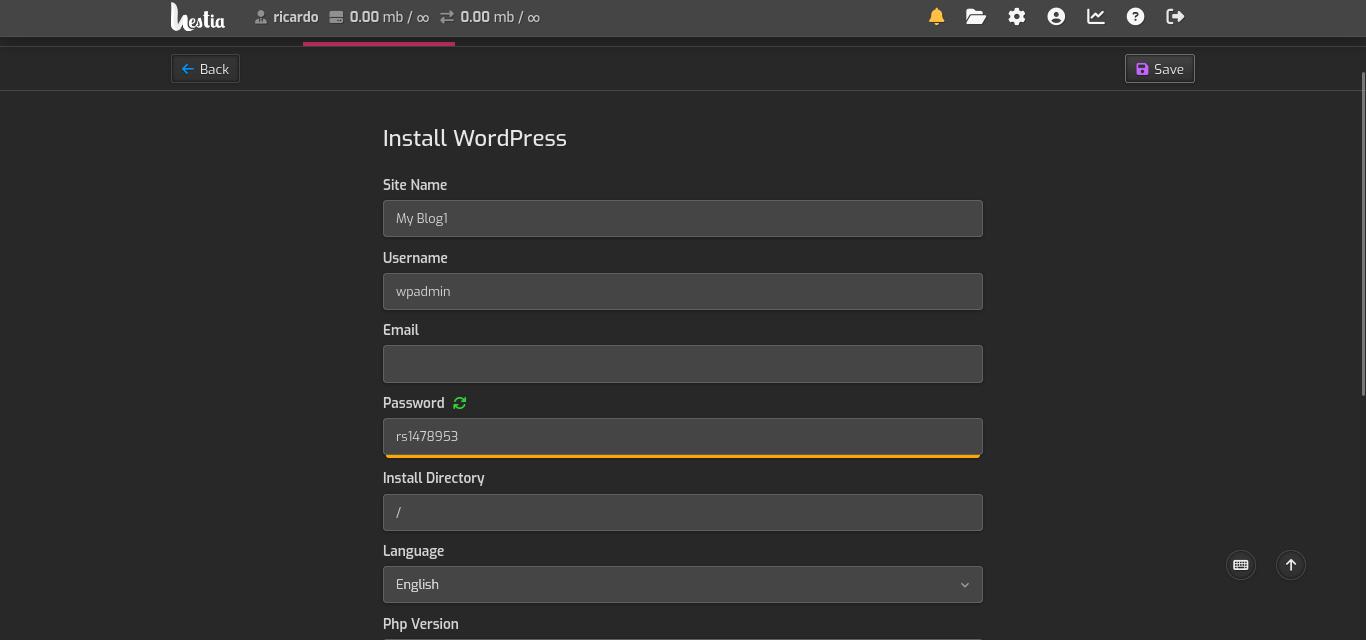
- Click ‘Save’ (you don’t need to change or add anything).
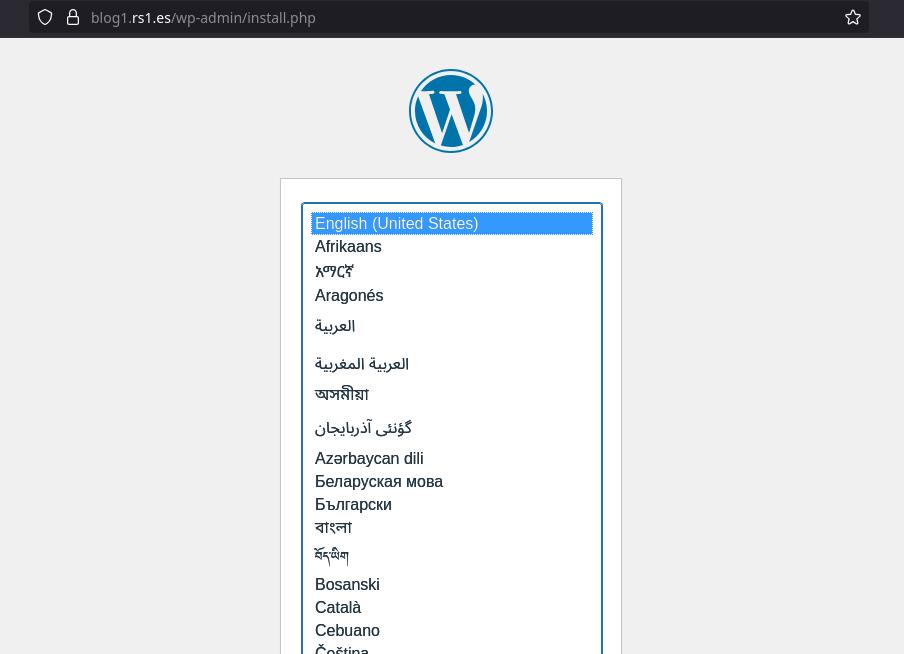
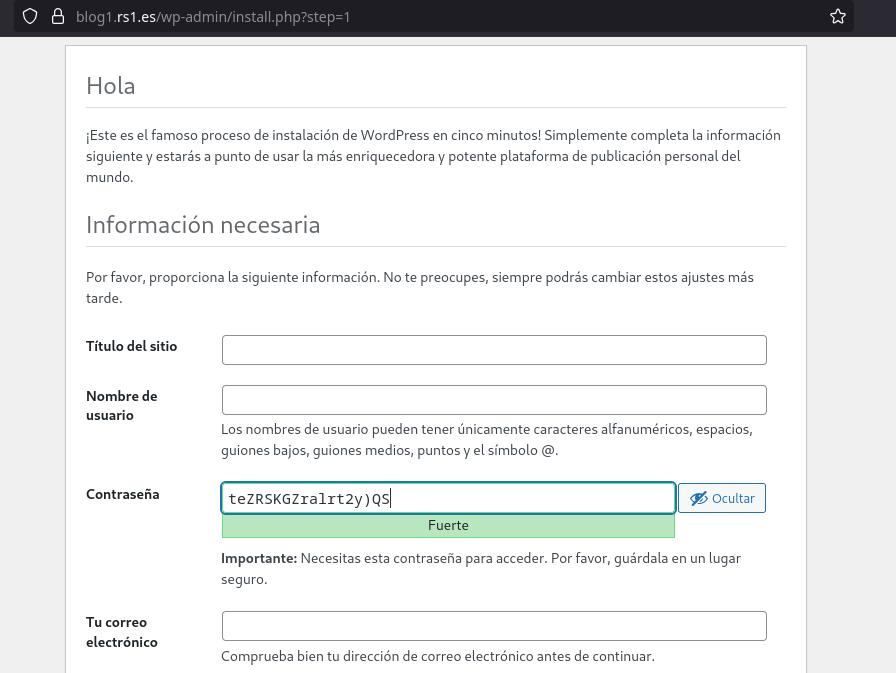
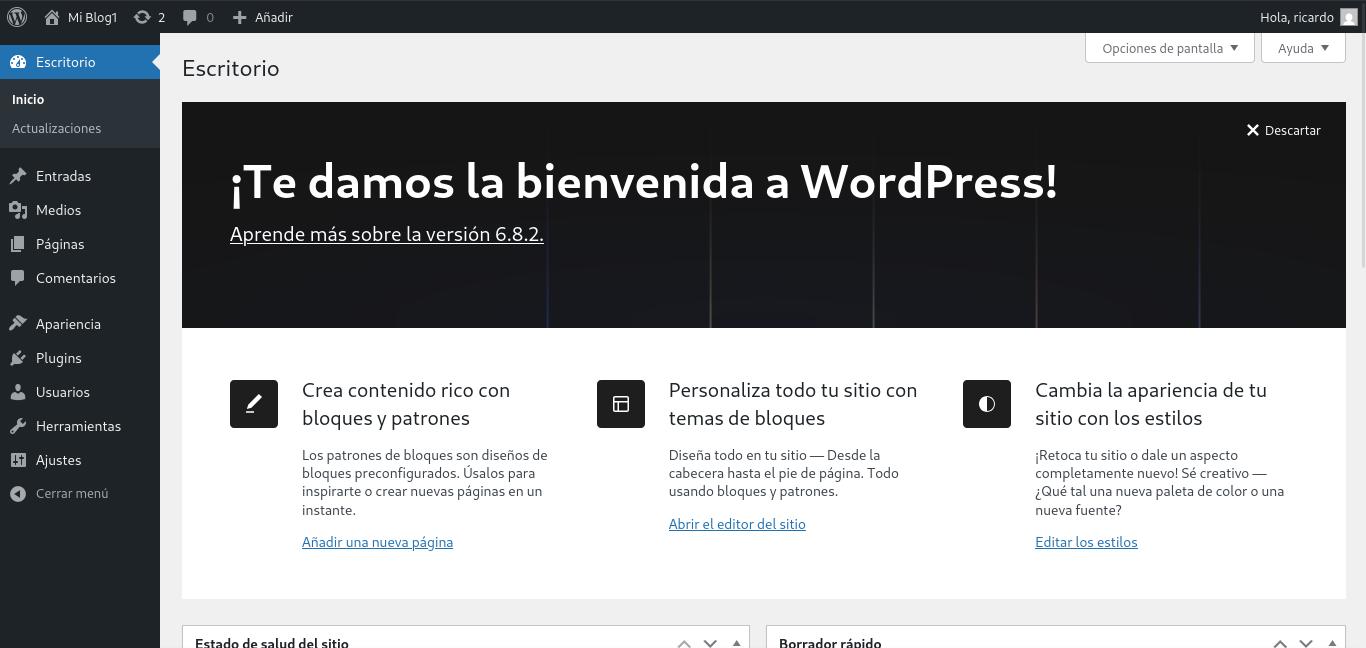
You can now access your WordPress blog on the defined domain and finish the installation.
Next steps
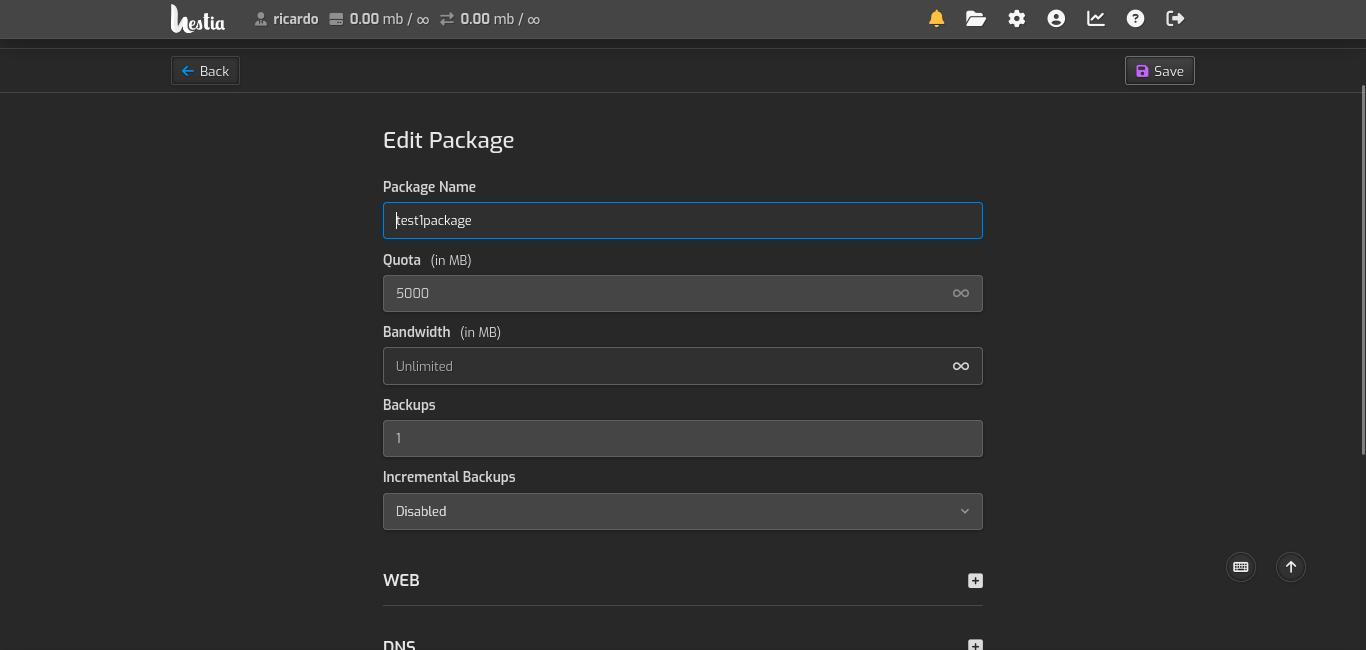
You can add more domains/subdomains, create users, add a quota per user or domain, see performance charts, and much more.
HestiaCP needs a bit of polishing: disk quotas don’t work as expected, online file manager only shows files and folders but you cannot upload a new file or create a folder.
If you have any suggestion, feel free to contact me via social media or email.
Latest tutorials and articles:
Featured content:


