How to run Linux commands on a Google Colab notebook
Table of Contents
- Create a new notebook and run the instance
- Running simple commands
- Folder structure
- Installing programs
- Example 1: edit a video with ffmpeg
- Example 2: remove the background of an image
Google Colab is a free online Python notebook but you can use it like a regular server following these simple steps.
Check my post about great Google Colab projects.
Create a new notebook and run the instance
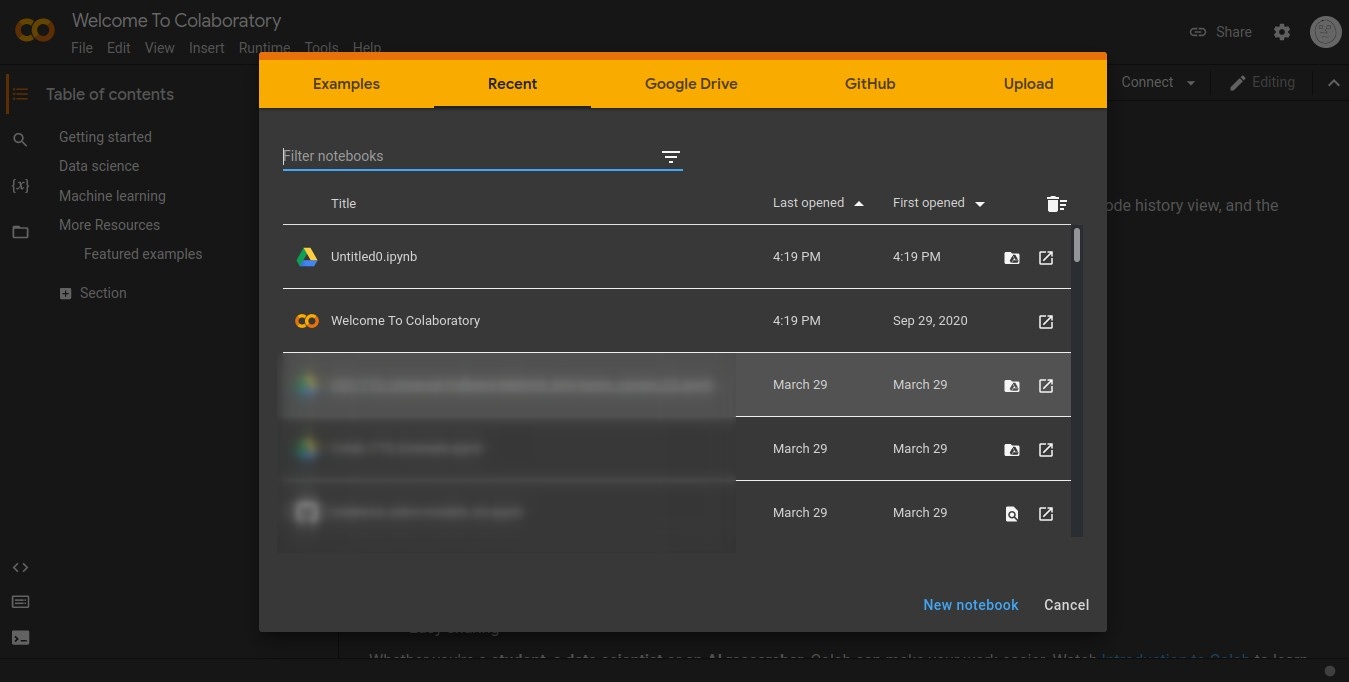
Go to Google Colab and select “New notebook” (you need a Google account to use Colab).
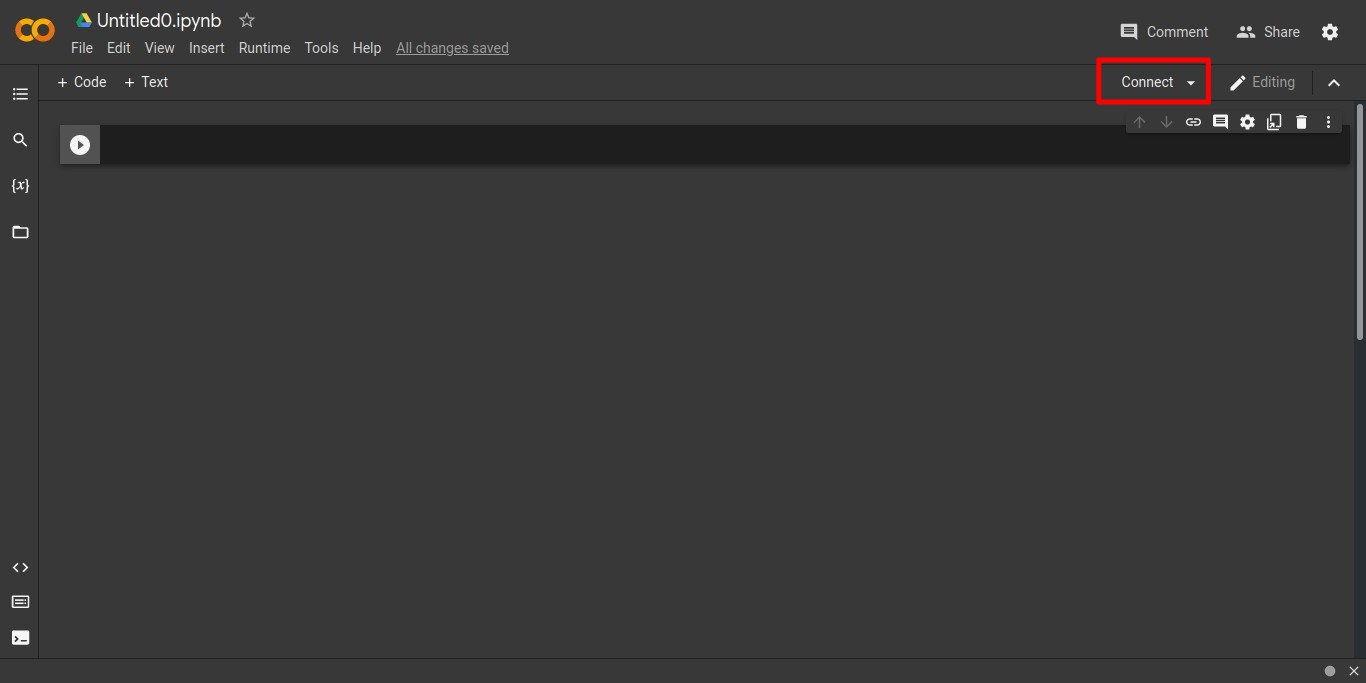
Now, click on top-right “Connect” button.
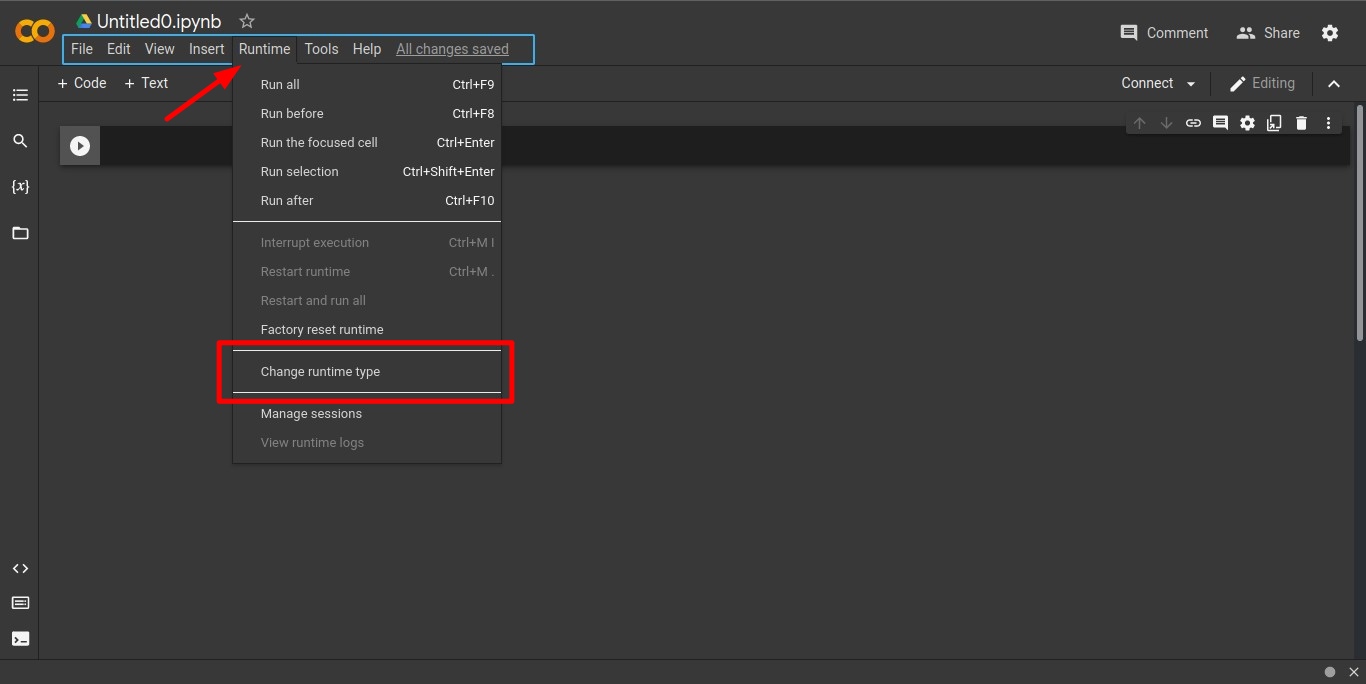
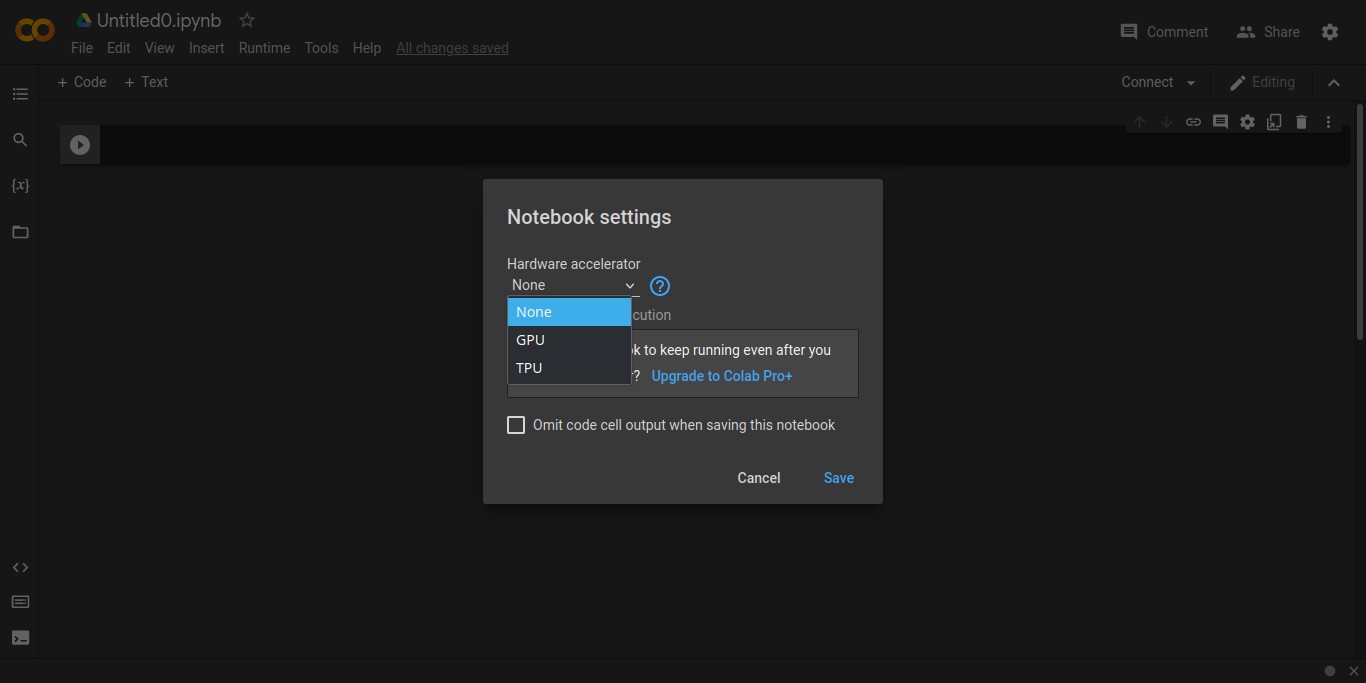
By default, a CPU-only instance will be created. If you need GPU, first click on Runtime -> Change runtime type and select “GPU” on “Hardware Accelerator”. Finally, click “Save” and click “Connect”.
Running simple commands
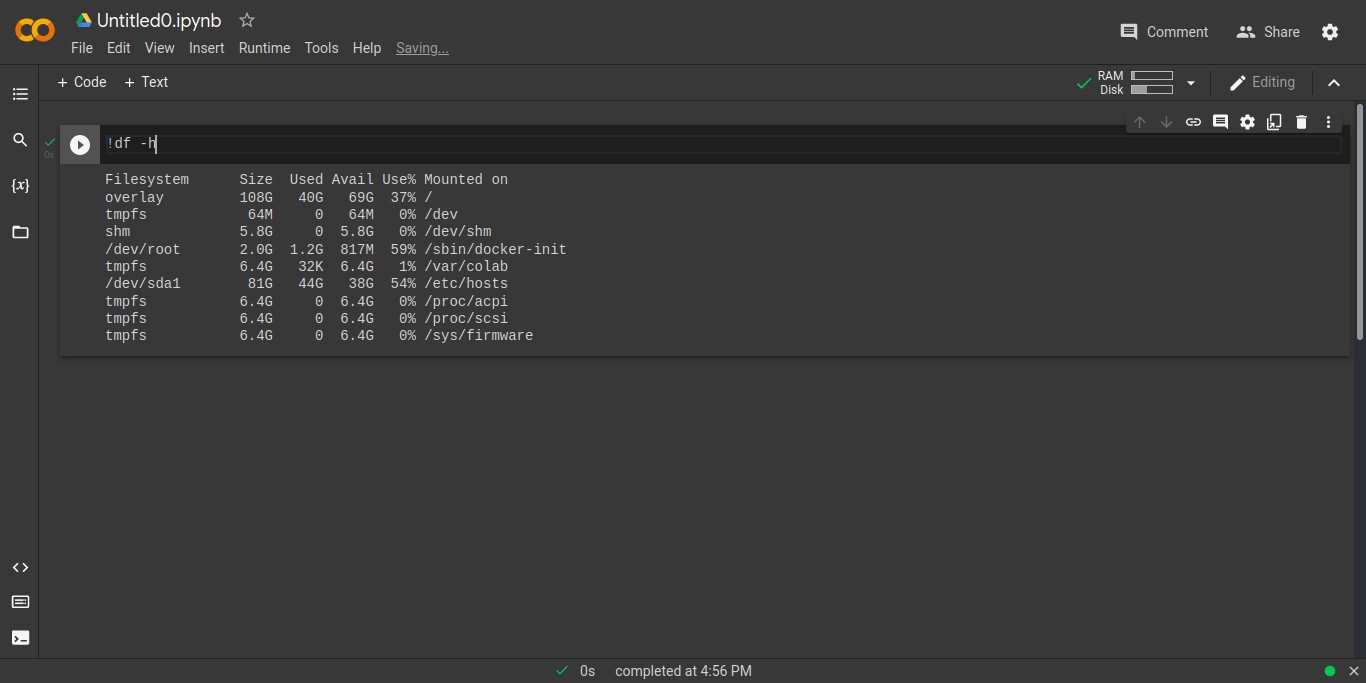
In each Colab cell you usually type python commands but you can tell python to run a Linux command by adding a ! at the beginning of the command. For example:
!df -hThen, click on the “Play” button on the left, or press Ctrl + Enter.
There’s another way to run system commands: type %%shell in one line and, in the next lines (inside the same cell) type your commands.
%%shell
pwd
ls
You can edit the cell to run other commands or create a new cell (and save previous commands output) by clicking on “+Code”. To type comments, start the line with a #. To do a cd, type %cd.
%cd /contentYou can answer command prompts: click on the output, where you are supposed to enter the required answer and a textbox will display. Type the text and press Enter.
Folder structure
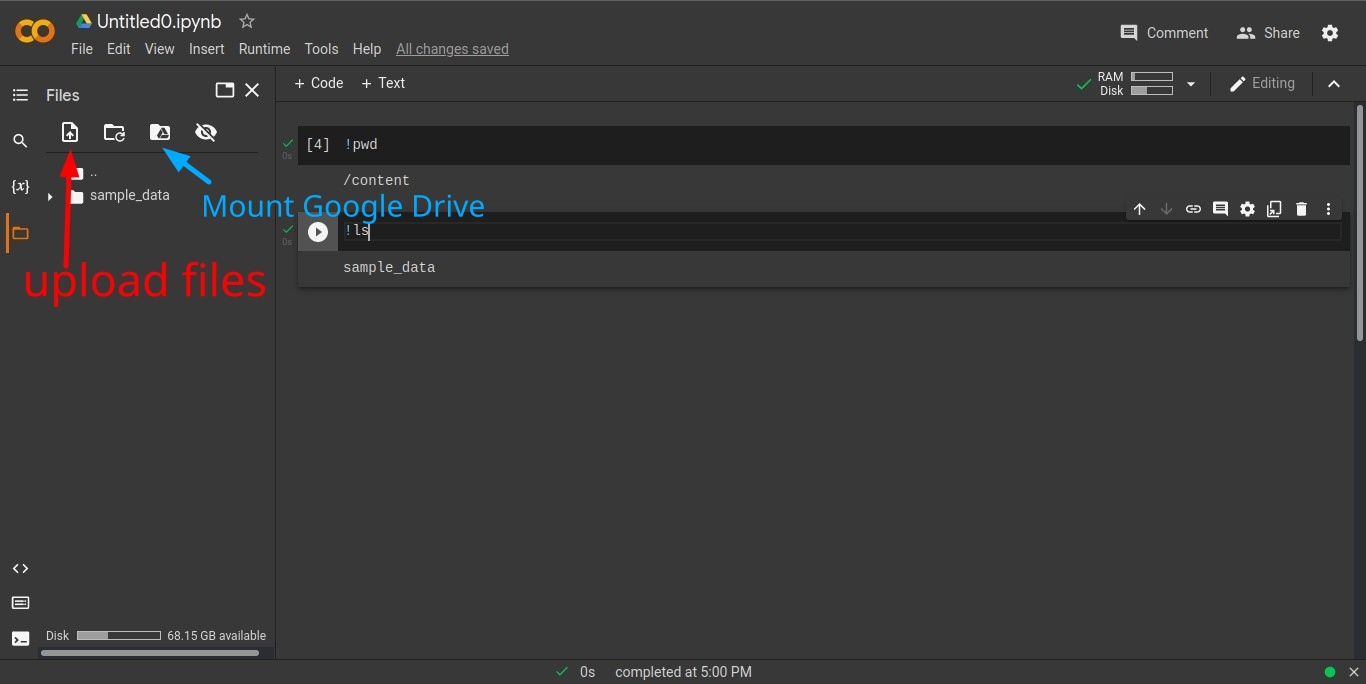
If you run !ls and !pwd, you will see your working directory is called /content and it has a folder named sample data. If you click on the folder icon on the left panel, a file explorer will show up, where you can upload (drag & drop support) and download files, delete or rename files and create new folders and files.
I recommend you to use the “Mount your Google Drive” option (and upload your files there) because it’s faster than using the upload function (click on the three-dot menu next to a folder to upload files there). You can also use wget to download resources from Internet.
Installing programs
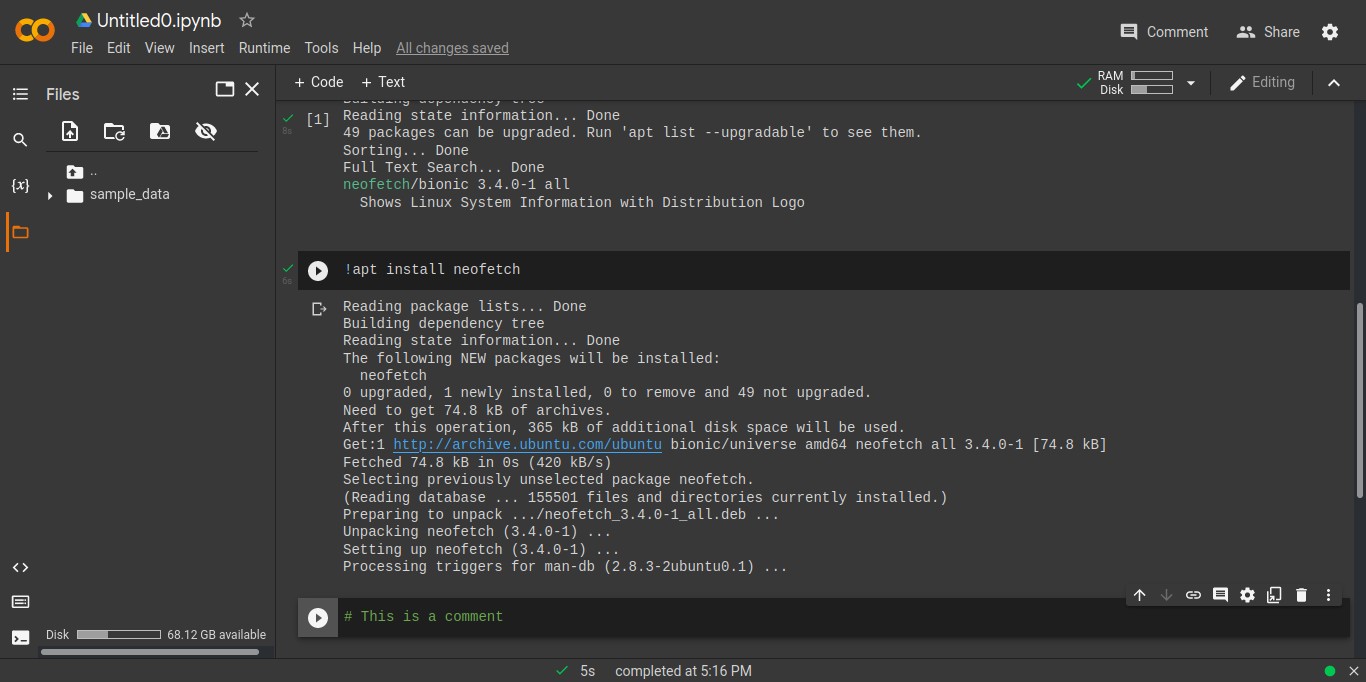
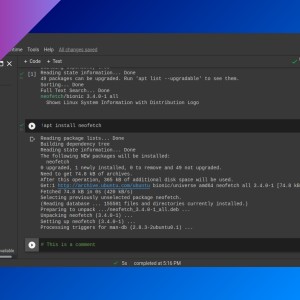
Colab instances are based on Ubuntu LTS and APT package manager is installed. You can run apt commands to search and install packages.
# You can update repositories and search for one package in one cell
!apt update
!apt search neofetch
# And install the package in the following cell
!apt install -y neofetchExample 1: edit a video with ffmpeg
After mounting your Google Drive folder, upload a video to Google Drive and extract the audio with ffmpeg:
# Check file paths with the integrated file browser
!ffmpeg -i drive/MyDrive/20210408_lgg2mini.mp4 -vn drive/MyDrive/audio.mp3
The new file will be on your Google Drive folder (you can also download it from Colab, just press the three-dot menu next to the filename).
Some filters are not included in Colab’s version of ffmpeg (like vidstab). You can download an ffmpeg static build that includes that filter.
Example 2: remove the background of an image
Mount your Google Drive folder or upload an image directly. Then, install virtualenv module (with pip) to create Python environments (it’s always a good idea to install python modules inside isolated enviroments). Finally, install backgroundremover module (https://github.com/nadermx/backgroundremover) and run it:
%%shell
pip install virtualenv
virtualenv -p python3 bgremover
source ./bgremover/bin/activate
pip install backgroundremover
backgroundremover -i /content/drive/MyDrive/N331.jpg -o /content/drive/MyDrive/N331.png- If you use
!to add commands (instead of%%shell), you need to join the virtual environment commands with&&for Python virtual environment to work properly. - Run
backgroundremoverwith your input and output paths (remember that output image format must be ‘png’). - After first invocation, just run the
sourcecommand andbackgroundremover.
%%shell
source ./bgremover/bin/activate
backgroundremover -i /content/drive/MyDrive/prueba-fondo/img04.jpg -o /content/drive/MyDrive/prueba-fondo/img04.png
If you have any suggestion, feel free to contact me via social media or email.
Latest tutorials and articles:
Featured content:

