How to boot a custom ISO on a Linode instance
Table of Contents
- Credit
- Create a new Linode
- Power off VPS and create two partitions
- Create two configurations
- Boot in Rescue Mode
- Download ISO file and copy to /dev/sda
- Power off and boot on Installer profile
You can boot any ‘live’ Linux distro on Linode servers with some simple steps.
Credit
This tutorial is based on https://www.linode.com/docs/guides/install-a-custom-distribution-on-a-linode/.
Create a new Linode
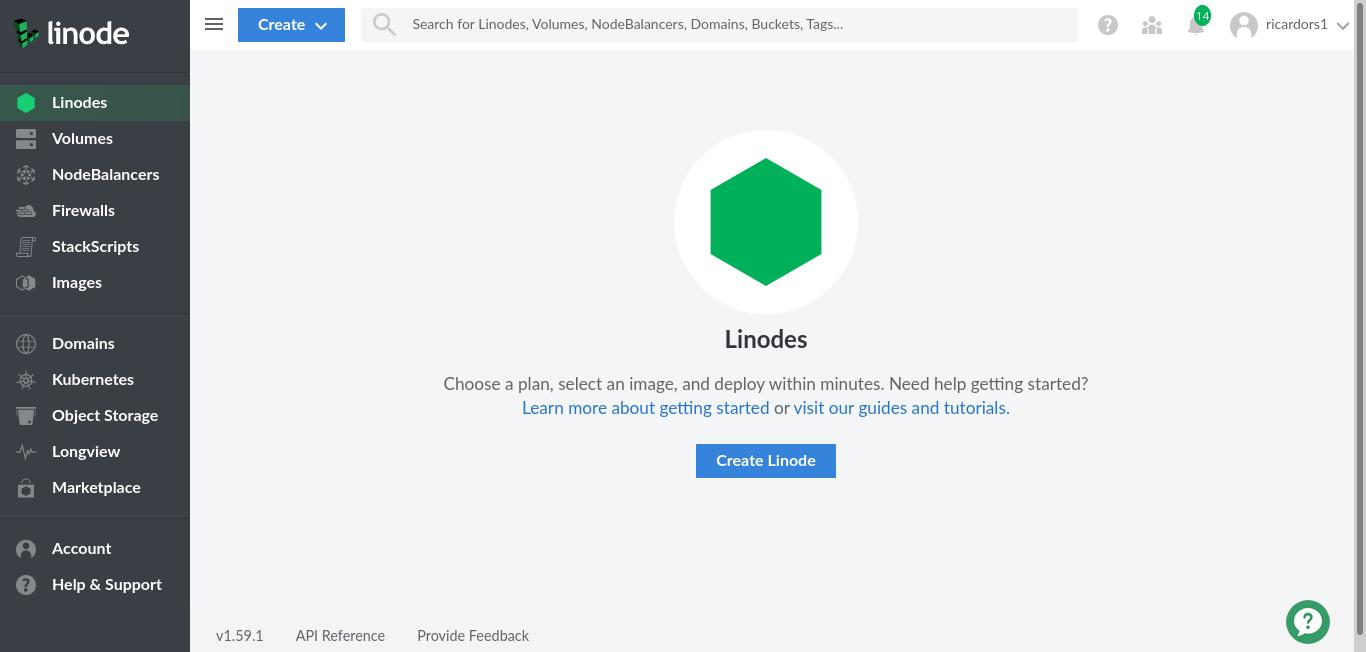
On your Linode Manager, go to ‘Linodes’ and click on ‘Create Linode’.
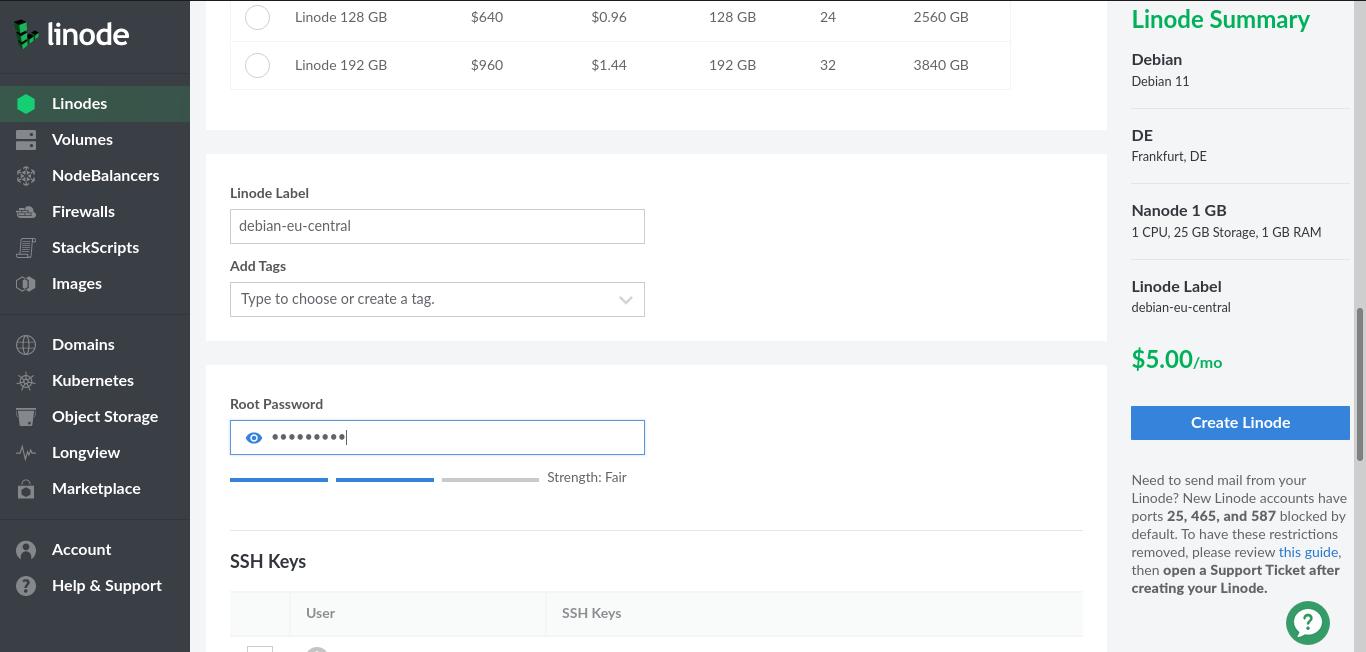
You can leave default ‘Images’ option selected (Debian), select a region, a Linode Plan and a root password. Then, press on ‘Create Linode’.
Power off VPS and create two partitions
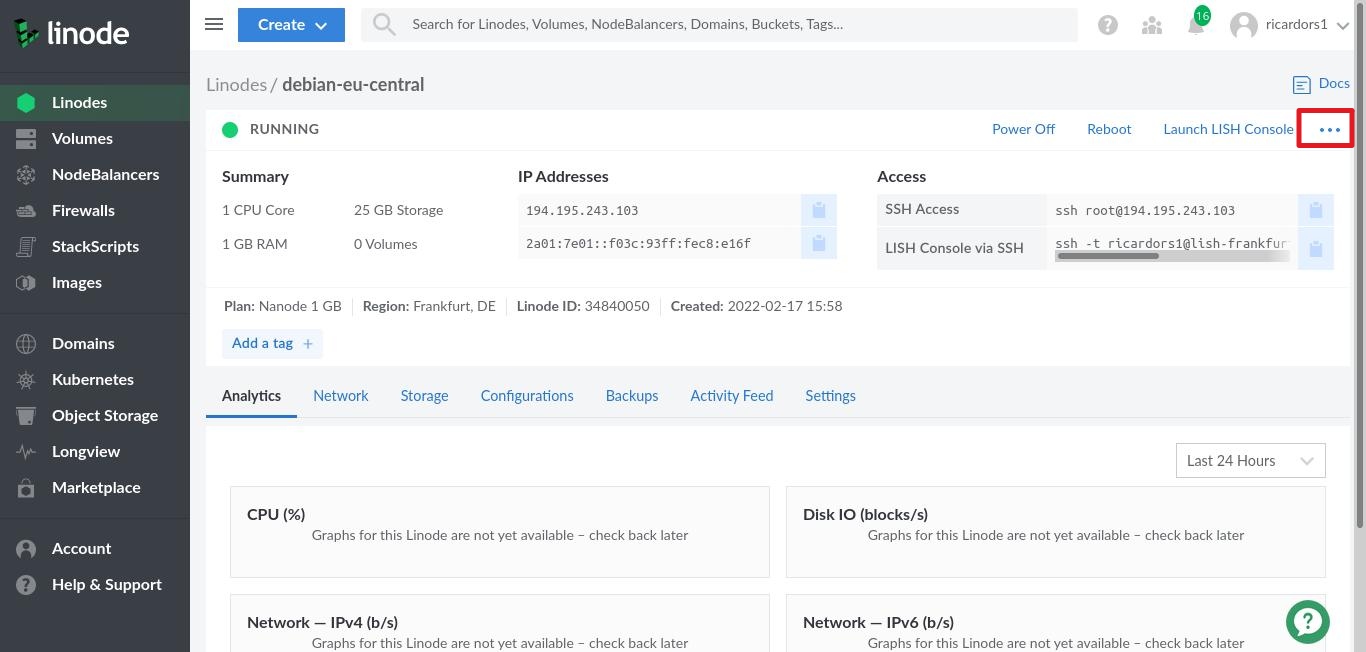
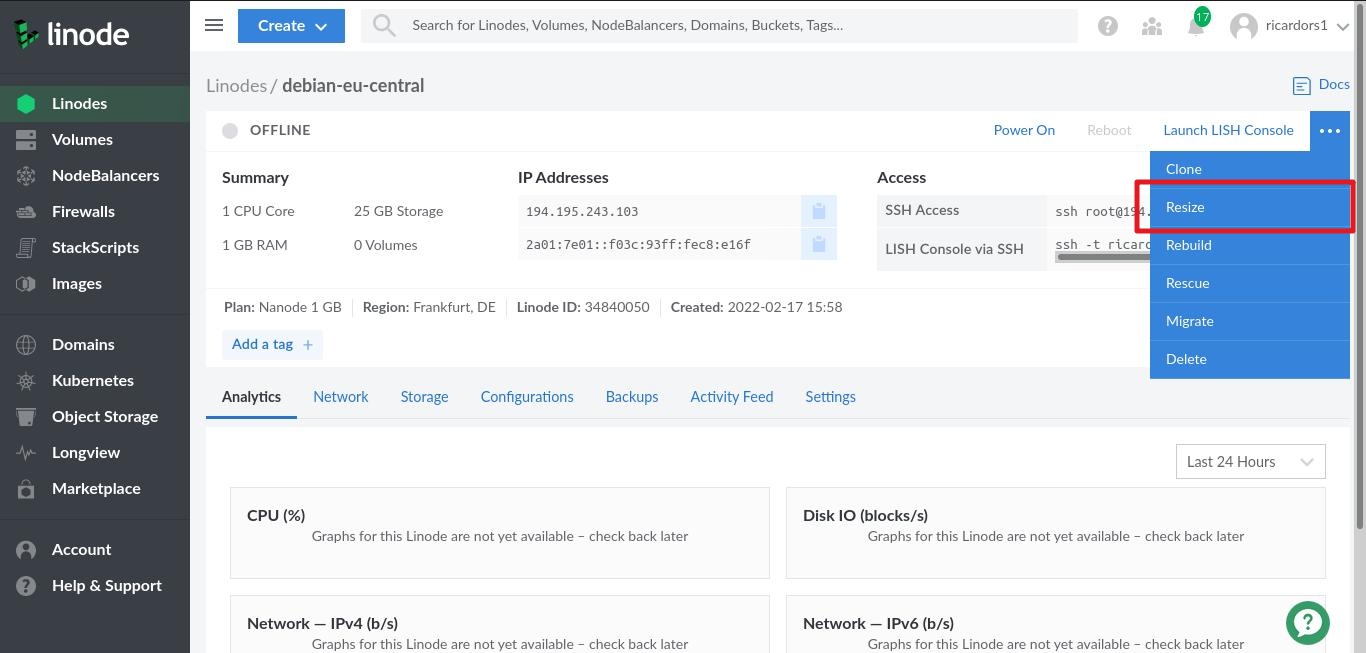
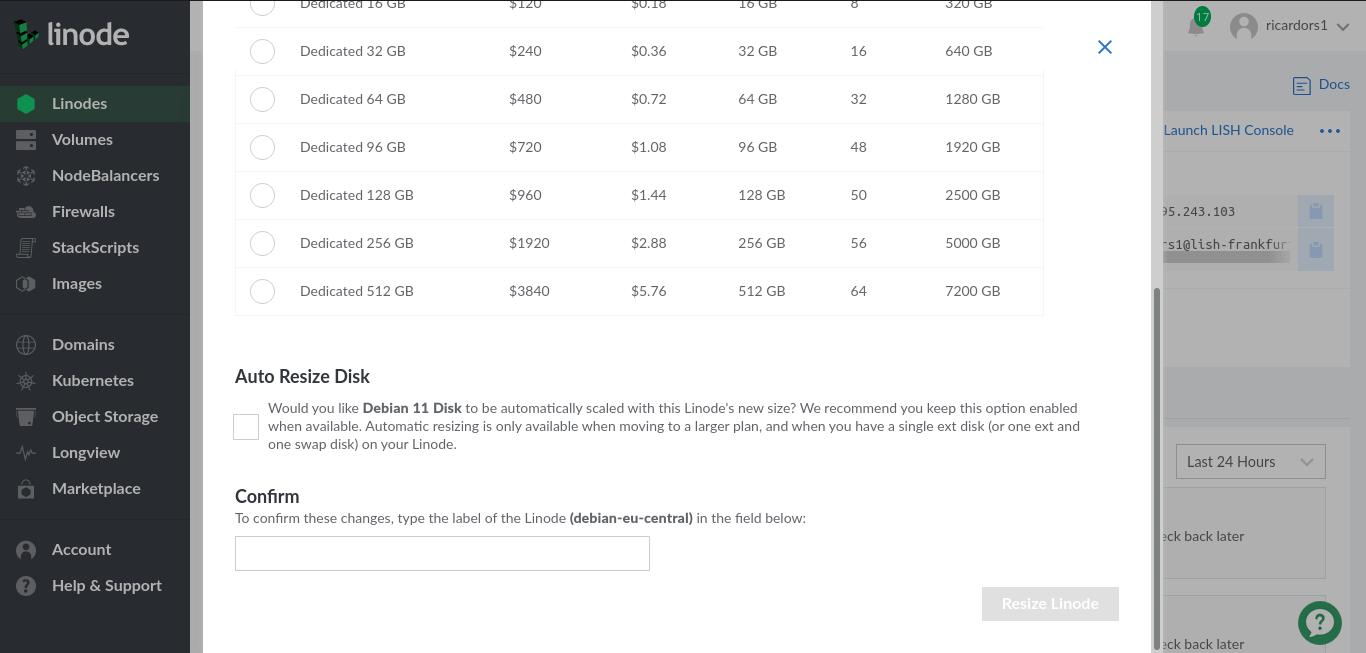
Power off the created Linode when creating process is finished. Then, click on the tree dots menu on the right side and select ‘Resize’.
Uncheck ‘Auto Resize Disk’ option at the bottom and close this window (click ‘X’ button on the right).
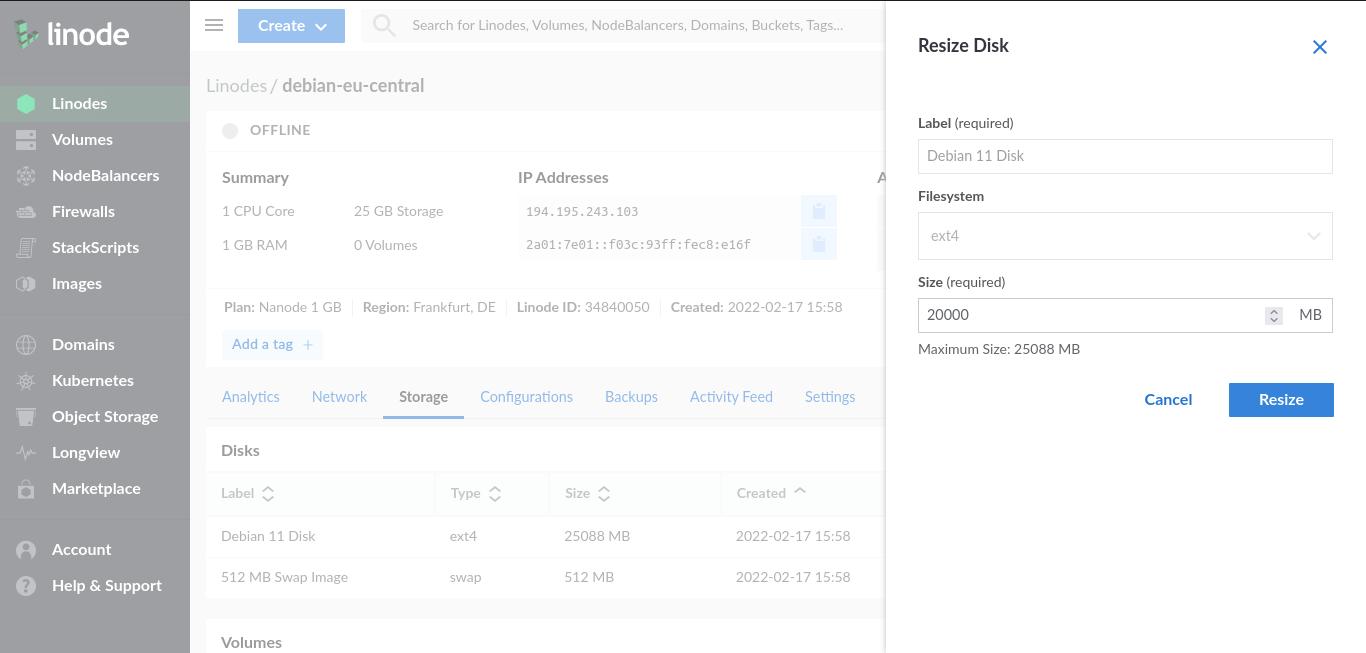
Go to ‘Storage’ tab and click on ‘Resize’ option on main disk partition. Change ‘Size’ to a lower capacity, so you have enough space for the ISO and a bit more for the boot process. Wait for the process to finish.
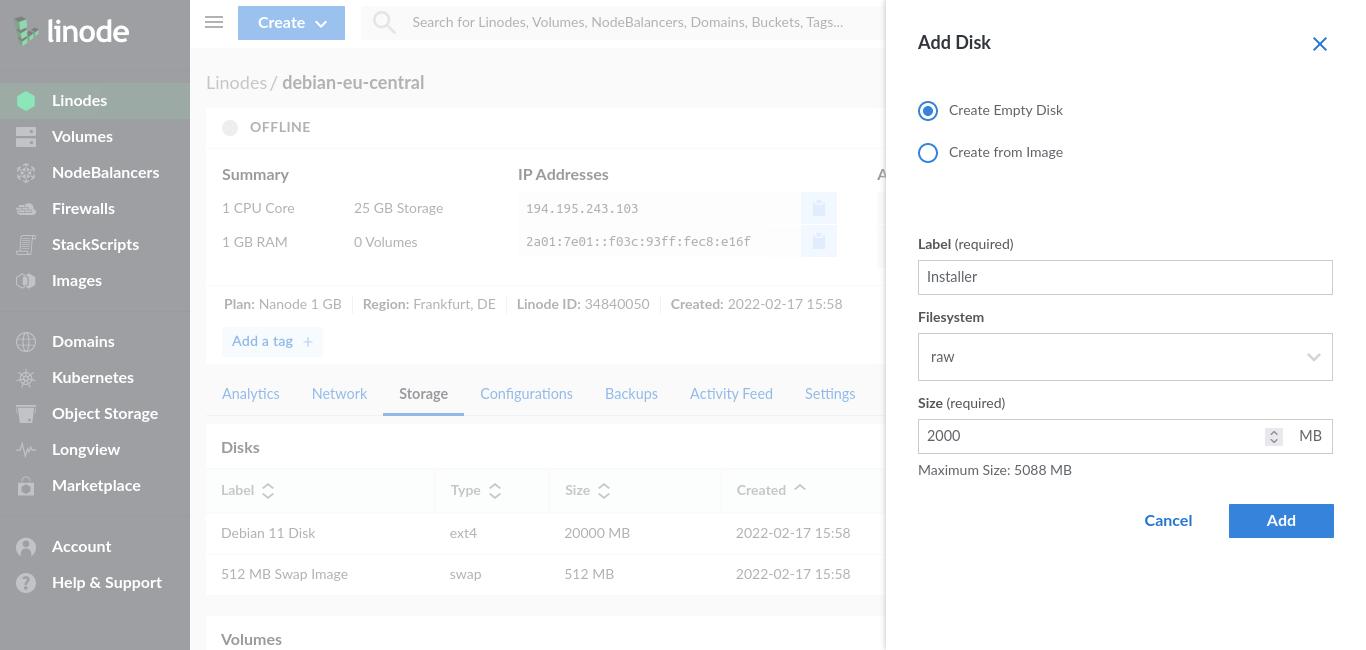
Click on ‘Add a disk’ and fill the form:
- Label: Installer
- Filesystem: raw
- Size: a bit bigger than the ISO file.
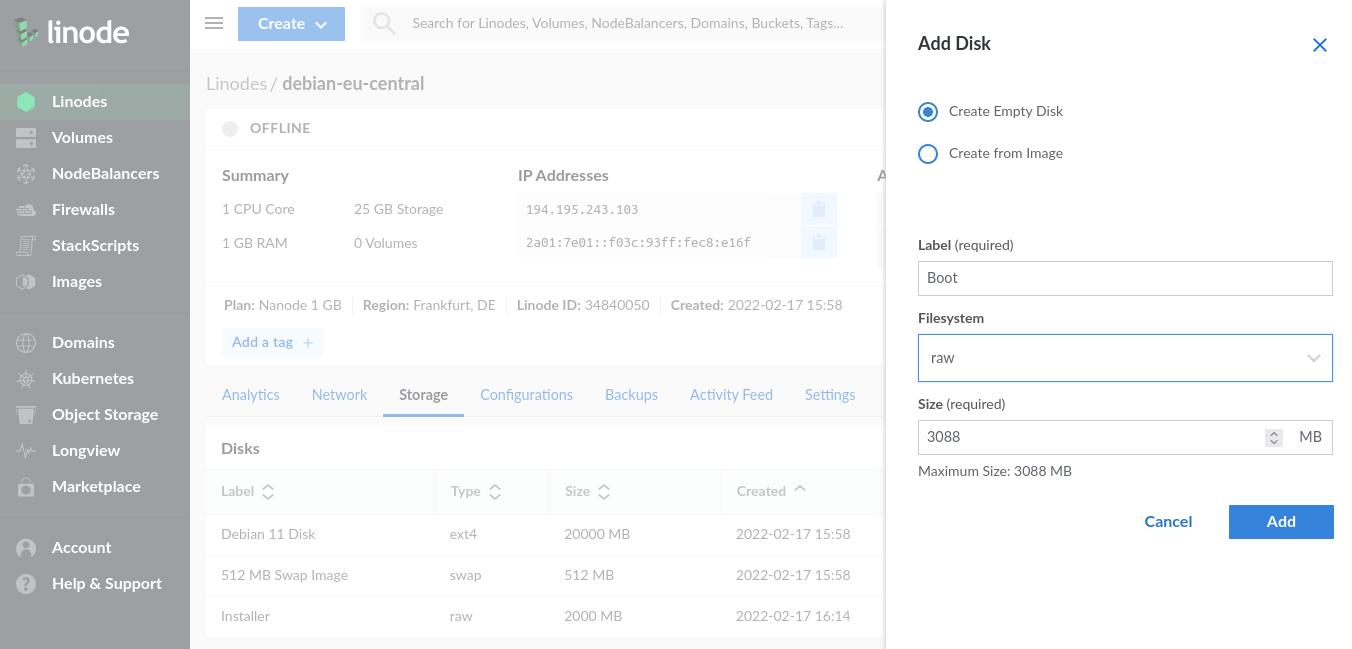
After resizing process is finished, create another disk:
- Label: Boot
- Filesystem: raw
- Size: you can leave the default (rest of available storage).
Create two configurations
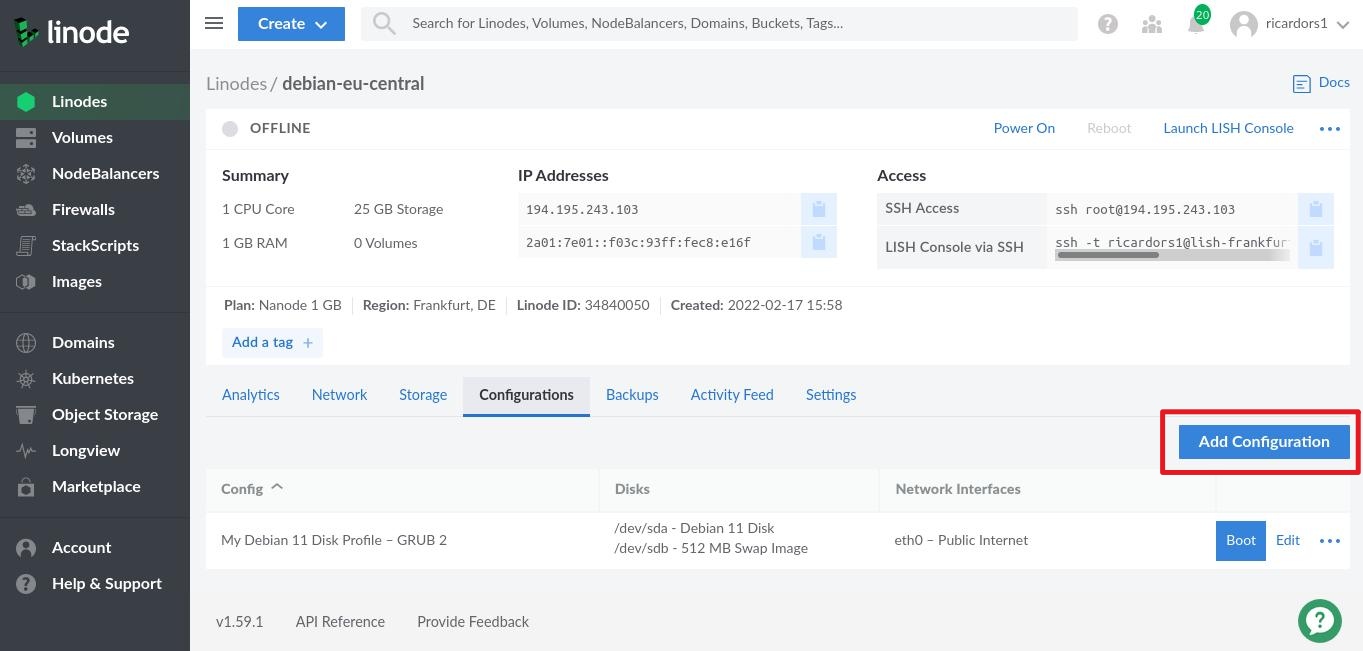
Go to ‘Configurations’ tab and select ‘Add Configuration’.
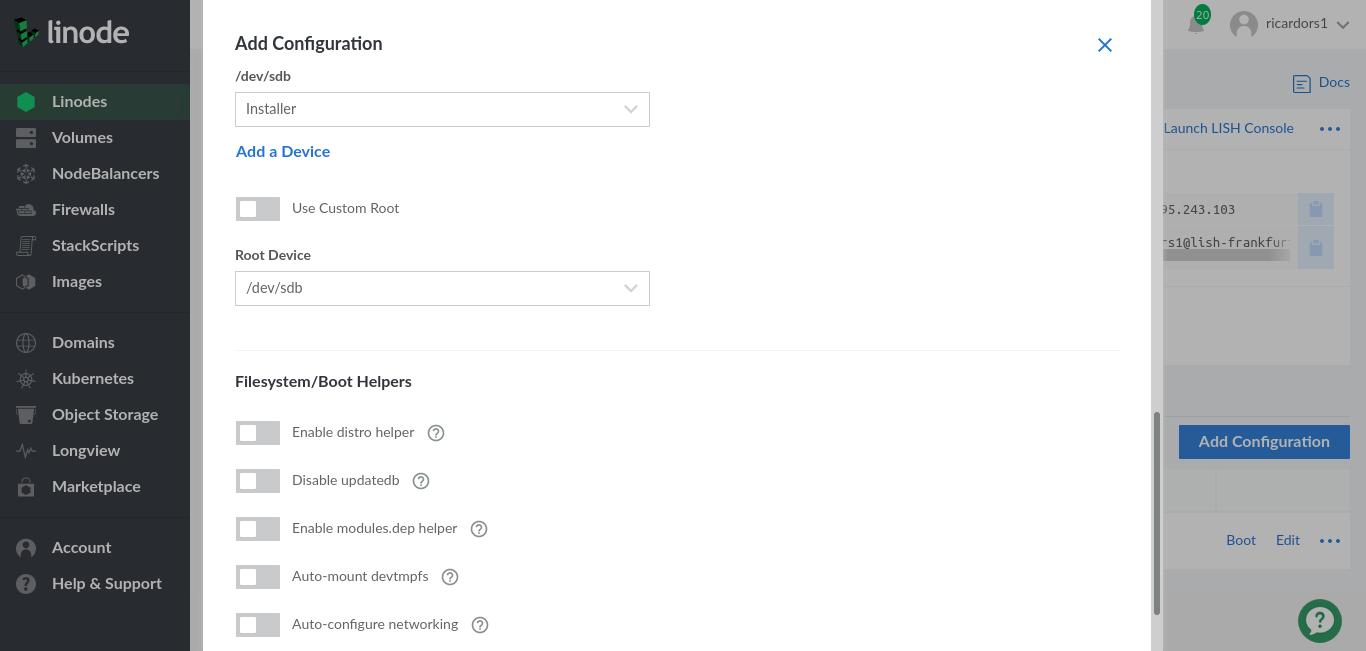
Add this info:
- Label: Installer
- Select a Kernel: Direct Disk
- /dev/sda: Boot
- /dev/sdb: Installer
- Root device: /dev/sdb
- Uncheck all ‘Filesystem/Boot Helpers’ options.
Click on ‘Add Configuration’ at the bottom.
Add another configuration:
- Label: Boot
- Select a kernel: Direct Disk
- /dev/sda: Boot
- /dev/sdb: None
- Root device: /dev/sda
- Uncheck all ‘Filesystem/Boot Helpers’ options.
Click on ‘Add Configuration’ to confirm.
Boot in Rescue Mode
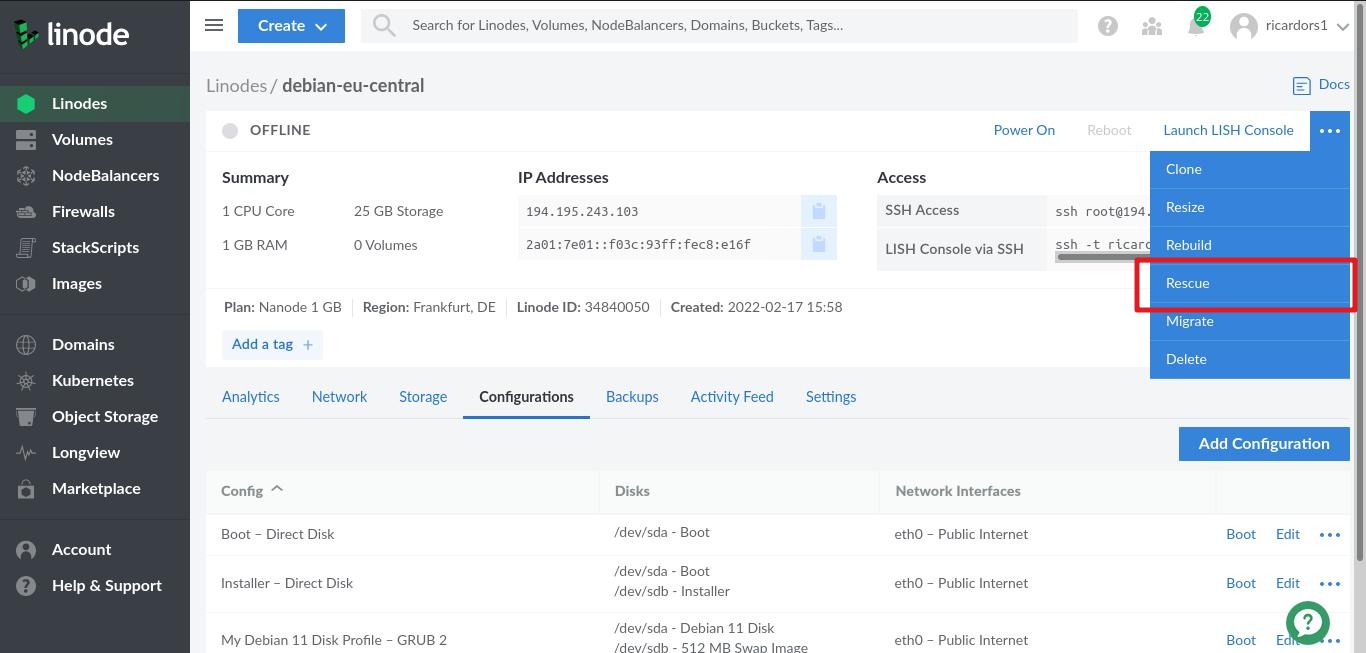
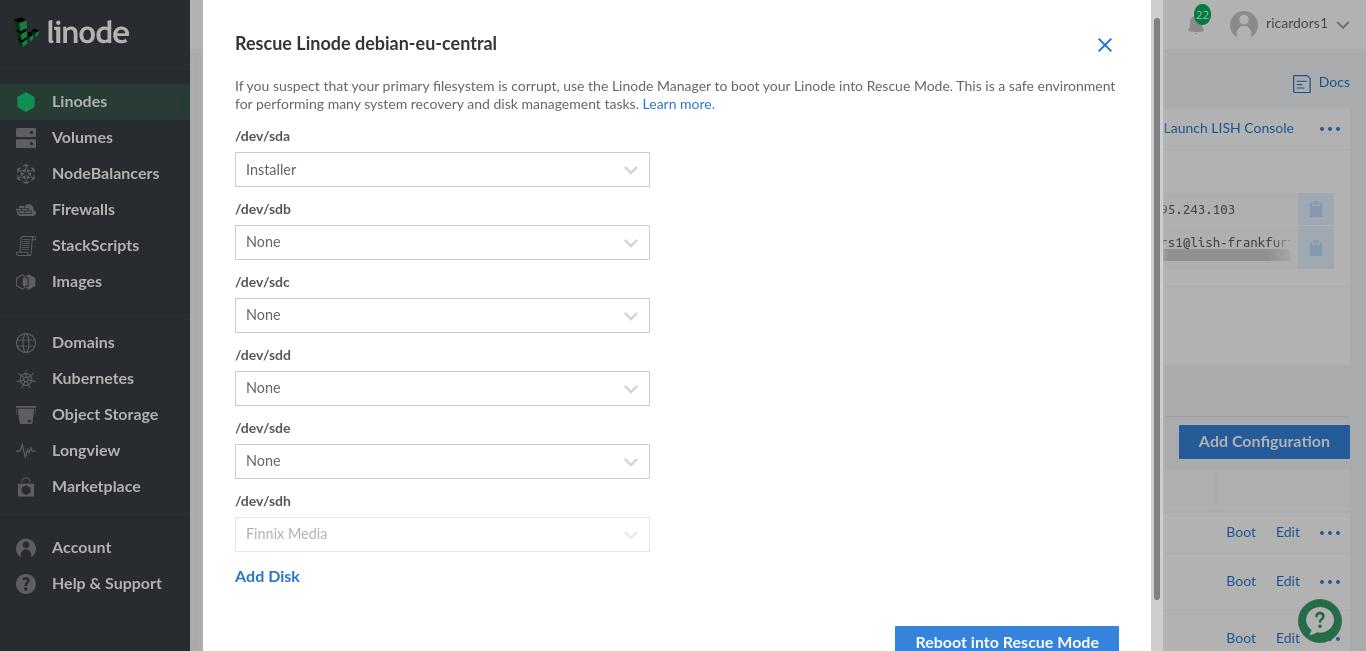
Click on the three dot menu and select ‘Rescue’. Under ‘/dev/sda’, select ‘Installer’. Select ‘None’ for the other partitions.
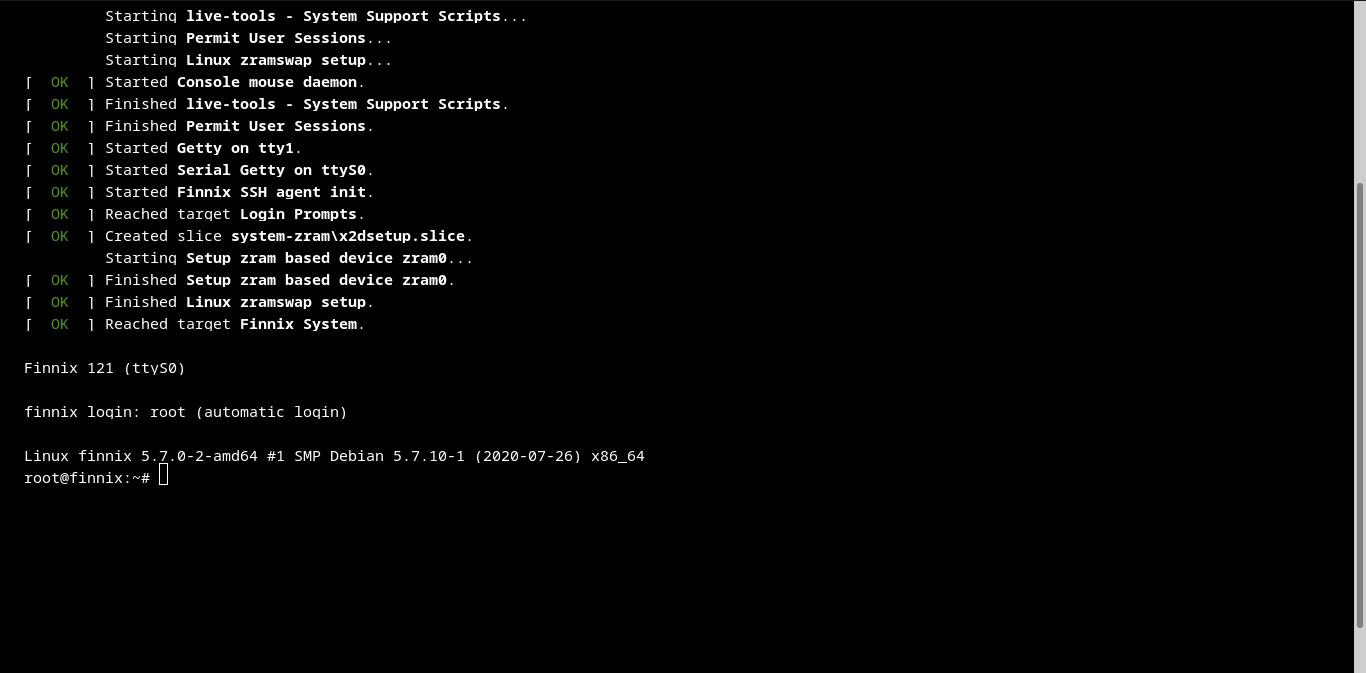
Click on ‘Launch LISH Console’ and wait for the booting process to finish.
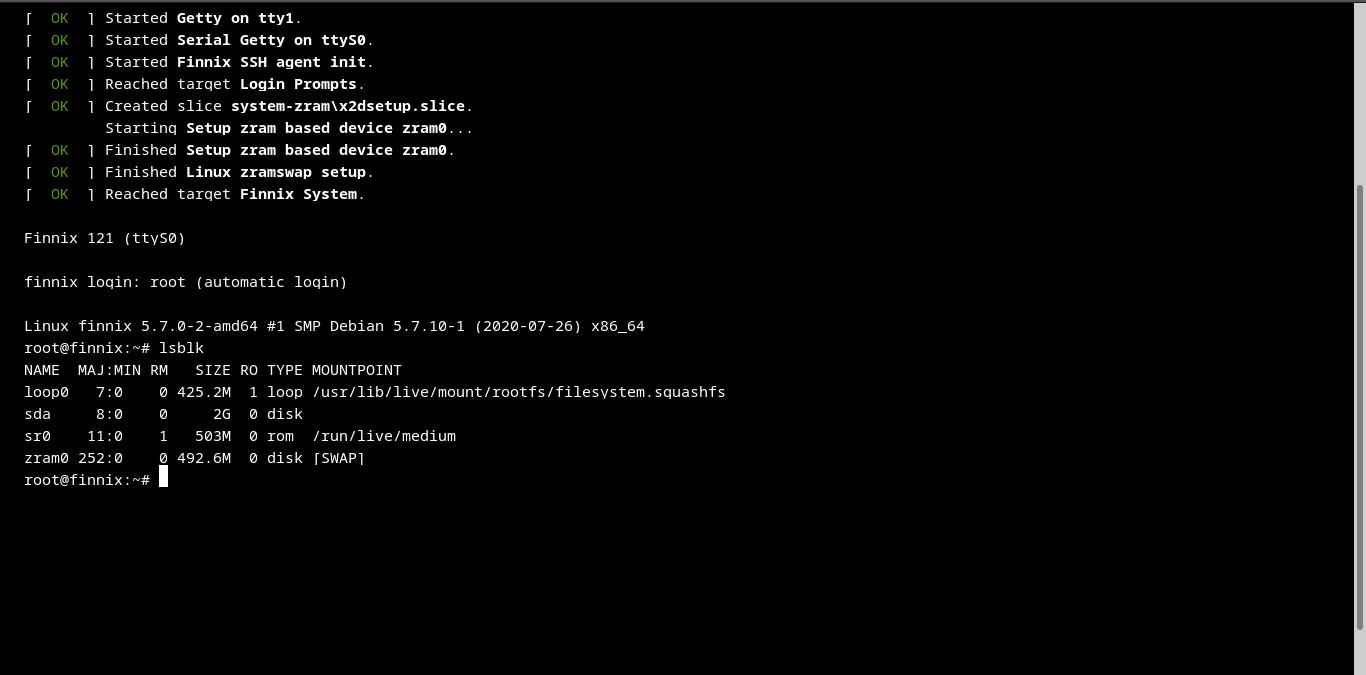
Check ‘Installer’ disk is on the system with partition name /dev/sda. Type lsblk.
Download ISO file and copy to /dev/sda
Use curl and dd to download ISO file and copy to /dev/sda partition. For example:
curl http://mirror.fsf.org/trisquel-images/trisquel-mini_10.0_amd64.iso | dd of=/dev/sdaWhen the process is over, type:
sync; echo 3 > /proc/sys/vm/drop_cachesto empty the cache.
Power off and boot on Installer profile
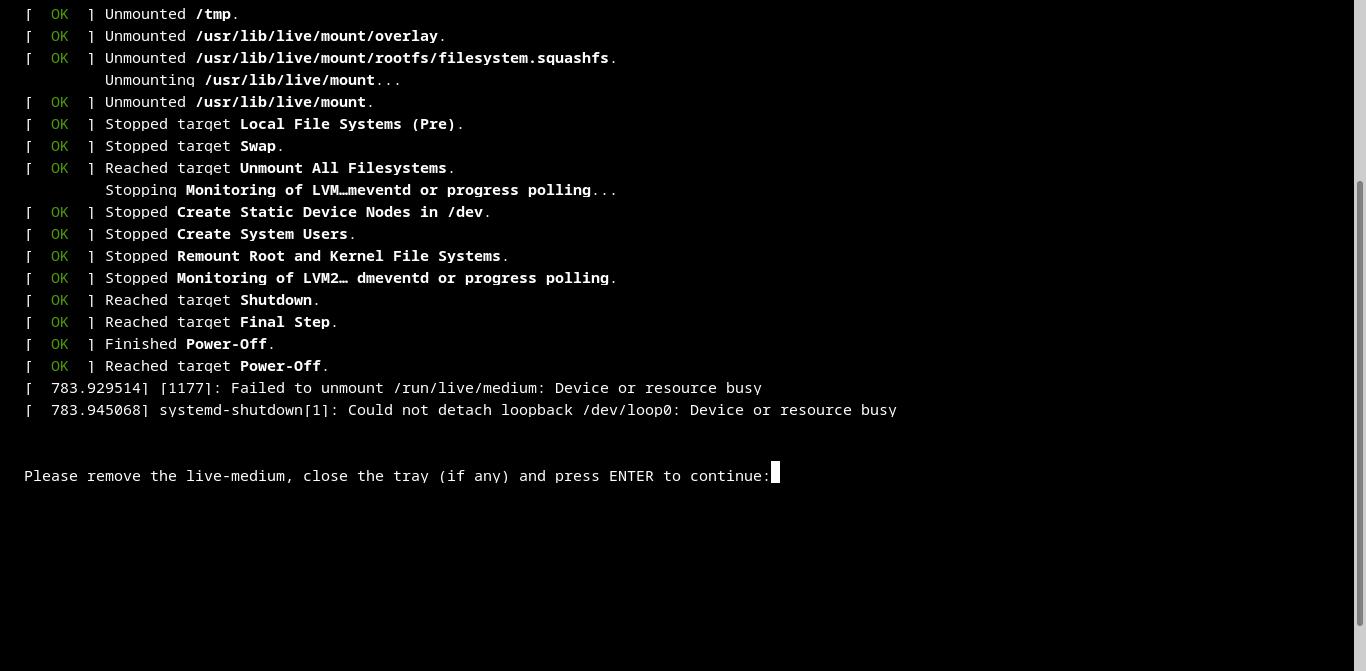
Then, without closing LISH console, click on ‘Power off’ on Linode Manager window and go to LISH console to type Enter when confirm prompt appears. Close LISH console window.
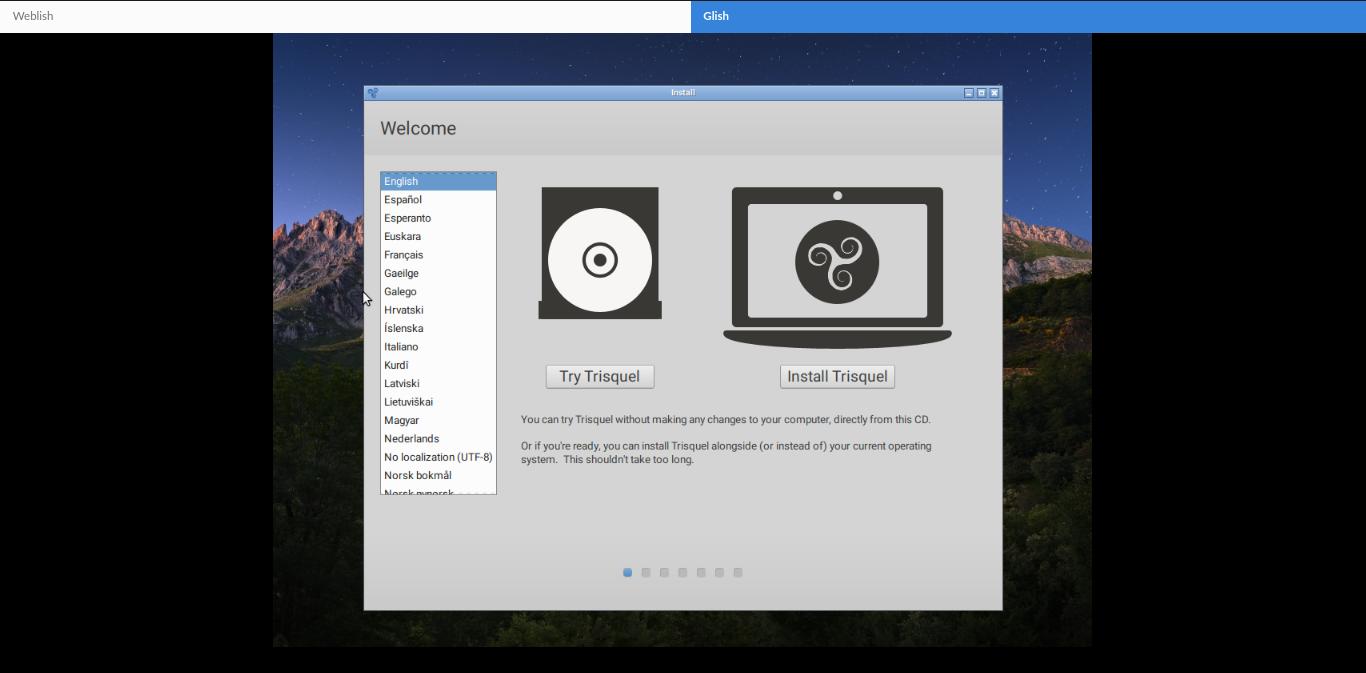
Finally, under ‘Configurations’ tab, click ‘Boot’ option next to ‘Installer’ profile and launch a new LISH console. Select ‘Glish’ at the top to open the graphical console.
If you have any suggestion, feel free to contact me via social media or email.
Latest tutorials and articles:
Featured content:

