Installing Arch Linux with the new menu-based 'archinstall'
Table of Contents
Now, installing Arch Linux is easier than ever with the updated installer: archinstall, a menu-based command-line installer that anybody can understand.
Download Arch Linux
First, download the latest Arch Linux ISO image from https://archlinux.org/download/. The updated archinstall is available on Arch Linux 2022.05.01. Mount the image on a USB (using Etcher, dd, Ventoy, etc.) and boot from it.
Select the first option on the Arch boot menu and wait for the system to boot up.
Start the installer
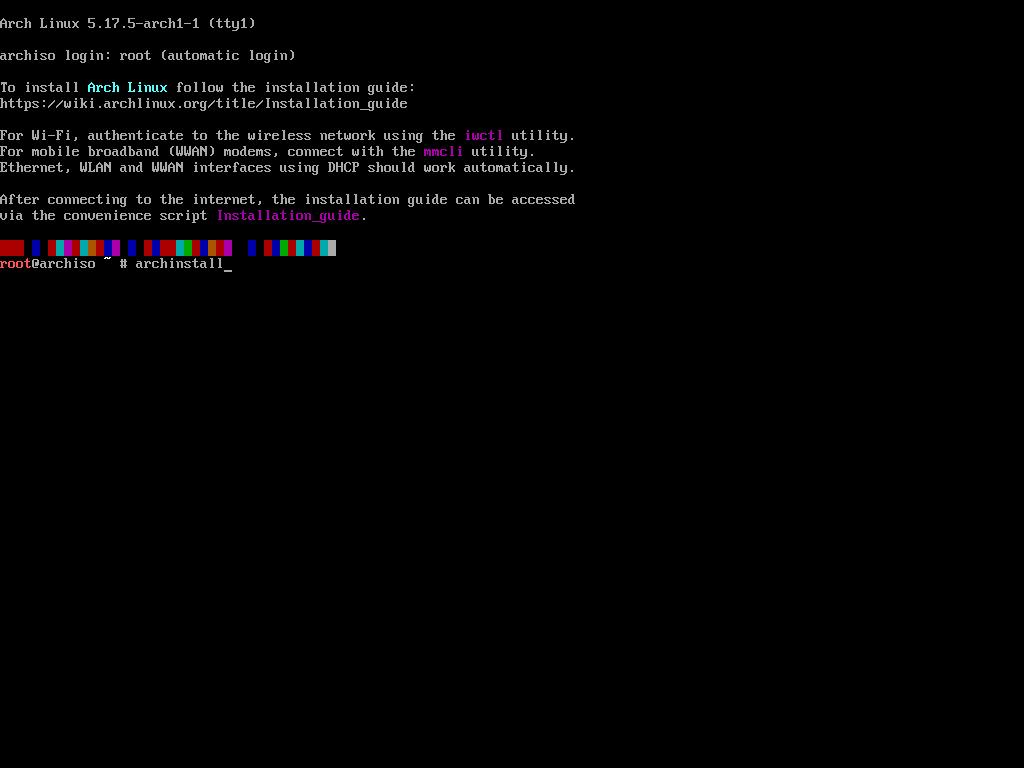
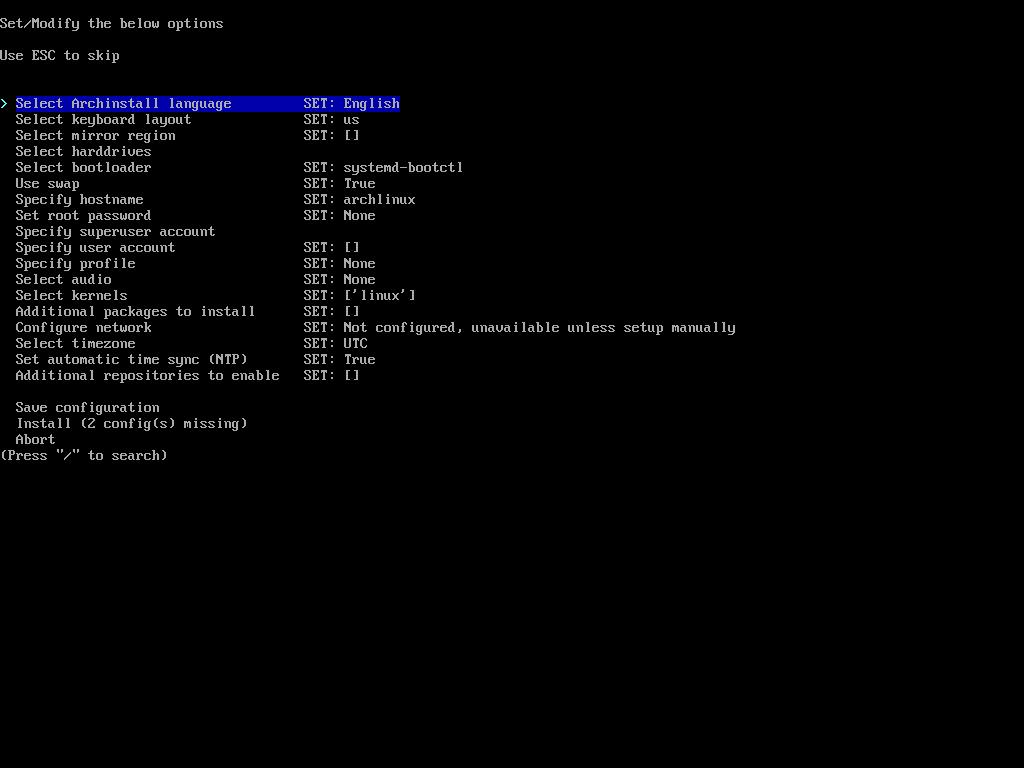
To run the installer, run archinstall and you’ll see this menu.
Use up and down arrows to navigate and press Enter to select an entry. To exit from a section press Esc.
Installer sections
Take your time reviewing each section:
Select Archinstall language: language for the installer.Select keyboard layout: if your keyboard is a non-US one.Select mirror region: select your country to download the packages from the nearest region by pressing Enter. If you want to select several countries (if one does not work), you can press Space to select and Enter to confirm.Select harddrives: this is an important section. Select the harddisk where you want to install Arch Linux and press Enter.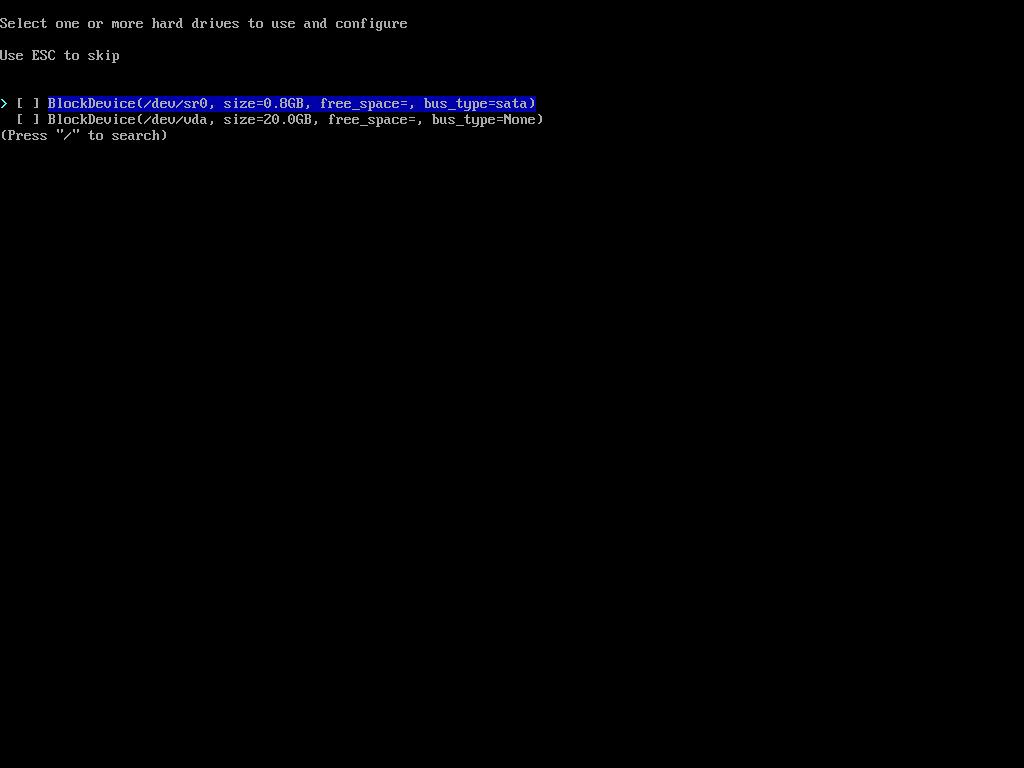
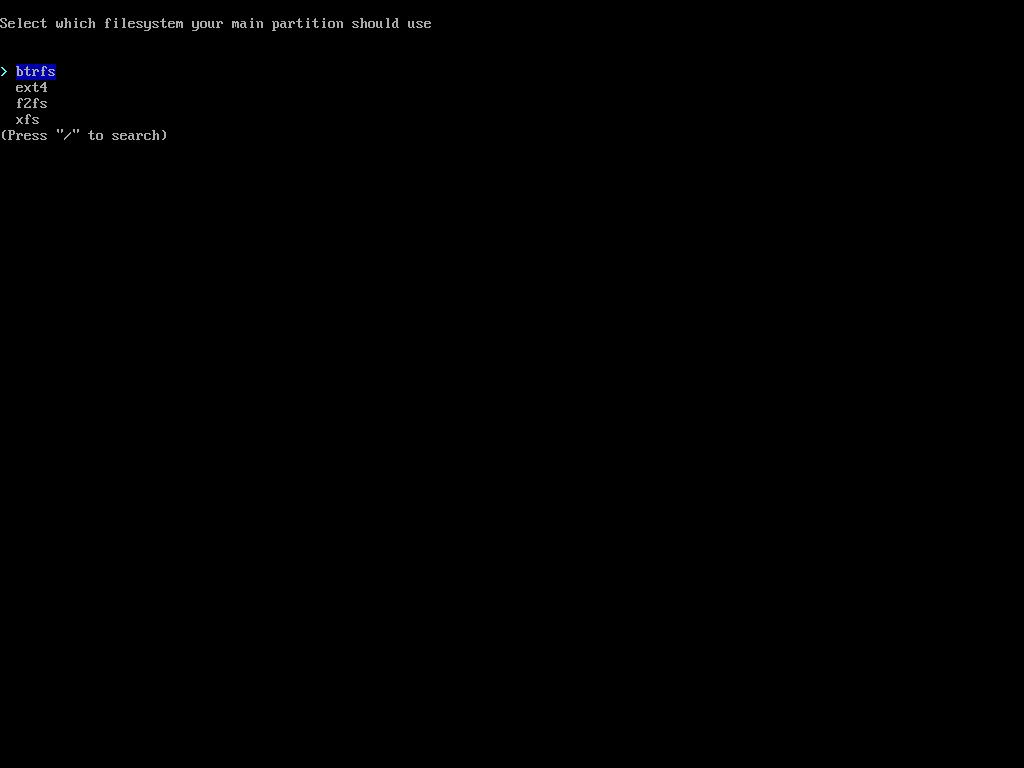
Select disk layout: this section will show when a harddisk has been selected in the previous section. You can choose to do a manual (Select what to do with each drive...) or automatic partition (Wipe all selected drives and use a best effort...).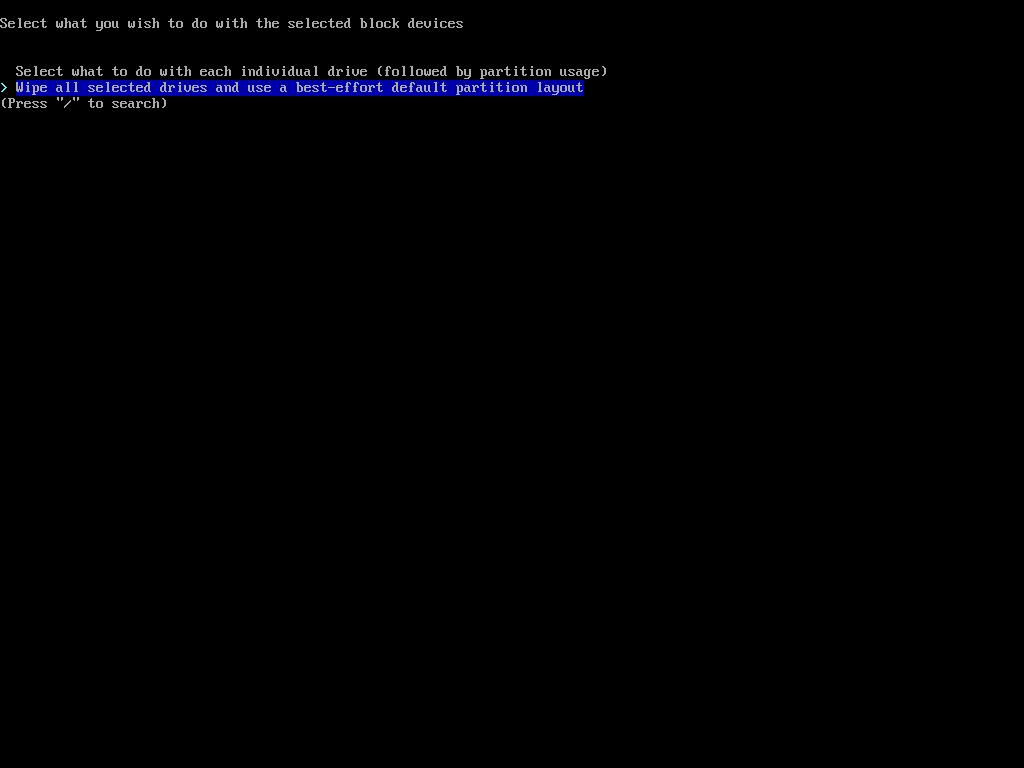
Set encryption password: select a disk encryption password.Select bootloader: choose between systemd-bootctl or GRUB.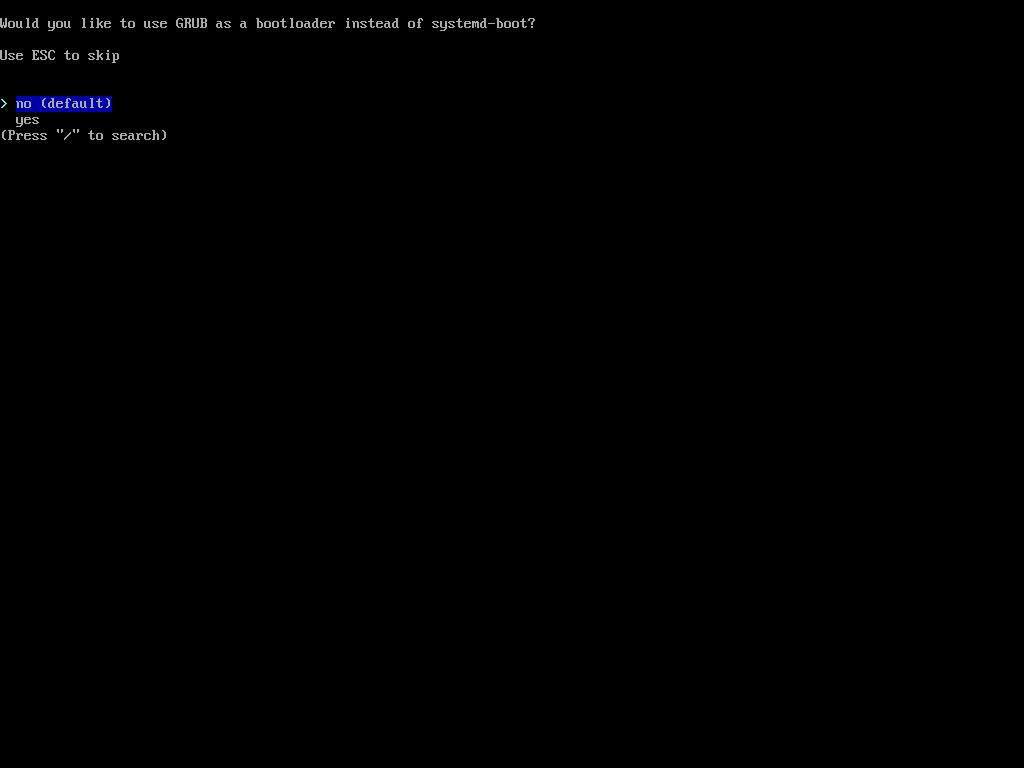
Use swap: select if you want to use swap.Specify hostname: modify it if you want to redirect a domain to your Arch Linux system.Set root password: add a root password. If the password is weak, you must confirm you want to use it. If you don’t add a password, root will be disabled.Specify superuser account: this section only appears if you don’t set a root password. Allows you to set an account with superuser privileges. After you type the user name and password, this window will appear where you can confirm or add more users.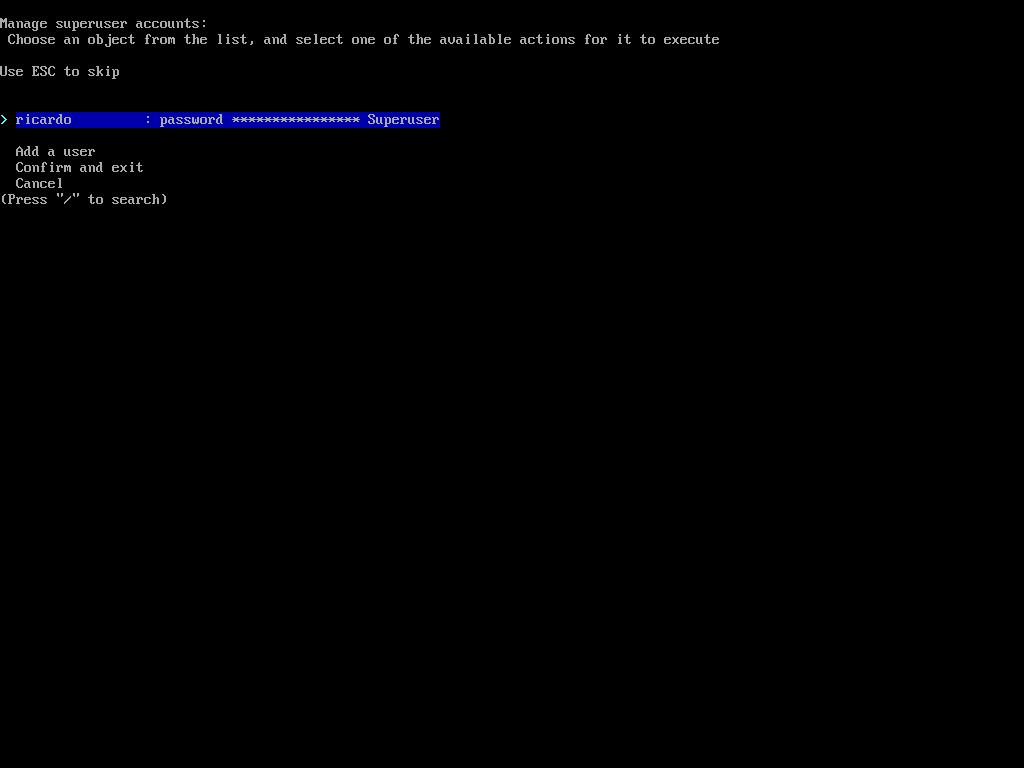
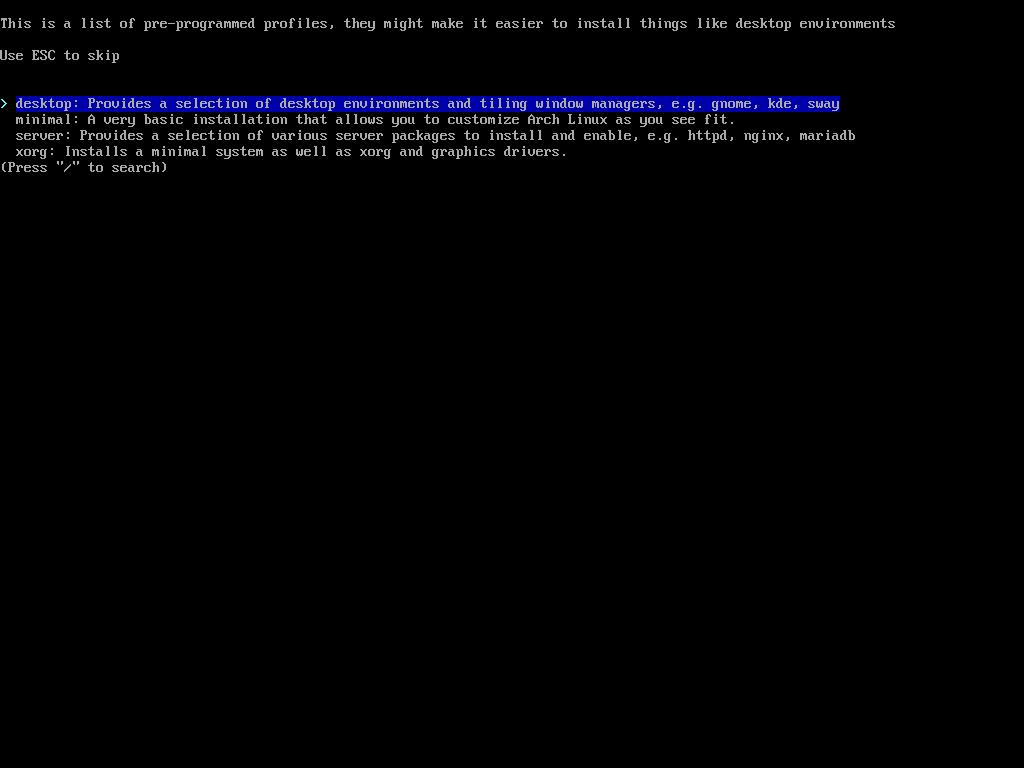
Specify user account: add ordinary users (with no superuser permissions).Specify profile: select which type of installation you want:desktop,minimal,serverorxorg.Select audio: choose an audio server (pipewire or pulseaudio).Select kernels: select the kernel you want to use. The defaultlinuxkernel will work in most cases.Additional packages to install: here you can type which additional packages you want to install, likefirefox. Separate each package name by spaces.Configure network: you can selectUse NetworkManagerand will work fine in most cases. You can also copy the ISO configuration (if you have configured the network before) or do a manual configuration.Select timezone: you can type/and search for a timezone, or go through all the available timezones.
Set automatic time sync (NTP): to ensure your system clock is synced, leave the default (True).Additional repositories to enable: you can enablemultilibandtestingrepos if you want.
Install the system
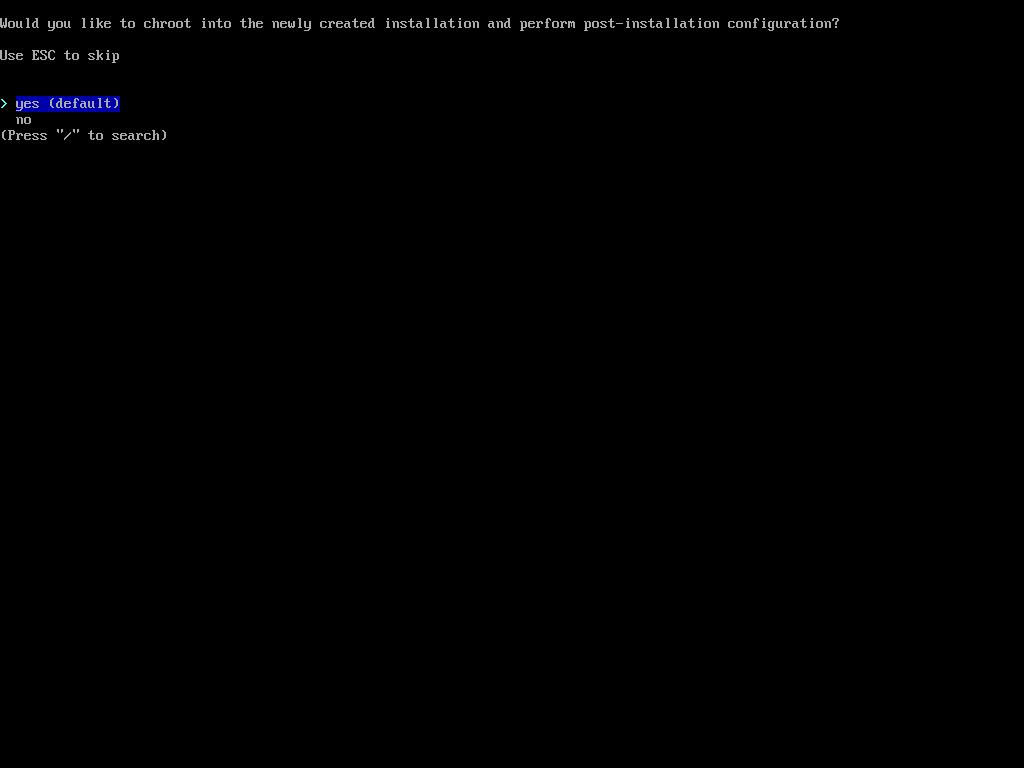
Select Install when you are ready. A JSON-formatted list with all the installation options will appear. Confirm by pressing Enter. After installation is complete, this window will appear and you can choose if you want to do chroot to the new system to perform some post-installation tasks. If you choose No, you will return to Arch Linux live command prompt and you can run reboot or shutdown to boot from your harddisk.
If you have any suggestion, feel free to contact me via social media or email.
Latest tutorials and articles:
Featured content:

