YunoHost: how to host popular services easily
YunoHost is a server administration tool that allows you to deploy popular apps like Nextcloud or Wordpress with just a few clicks.
Table of Contents
- Installation
- Post-installation
- Diagnosis
- Add a Let’s Encrypt certificate
- Add a user
- Install some programs
- More options
Installation
You can install YunoHost on a freshly installed Debian 11 system with at least 512MB of RAM. You can also download an ISO file from https://yunohost.org/en/install and install it like any other operating system. I’m going to install YunoHost on a Debian 11 VPS (from Linode) and it’s as simple as running the following command (as root):
curl https://install.yunohost.org | bash
This will install all the required packages. Follow the steps to install YunoHost.


After the installation, you’ll see a message like this:
[ OK ] YunoHost installation completed !
===============================================================================
You should now proceed with Yunohost post-installation. This is where you will
be asked for :
  - the main domain of your server ;
  - the administration password.

You can perform this step :
  - from the command line, by running 'yunohost tools postinstall' as root
  - or from your web browser, by accessing :
    - https://172.105.77.96/ (global IP, if you're on a VPS)
Post-installation
Go to the URL (https://<server ip>/, and accept the self-signed certificate). You can also run the post-installation script using the command line: yunohost tools postinstall.

Click Begin. Before adding a domain you need to set the DNS of your domain so it’s linked to the server IP. On your domain provider admin page, add a new A record from your domain (or subdomain) to your server public IP.


Then, add that domain on YunoHost. You can add more domains later if you want.

Type an administrator password. Confirm you want to complete the installation. Finally, when the post-installation process finishes, log in with the password and YunoHost main interface will show up.


Diagnosis
You may need to add more DNS entries (for IPv6, email, etc.). To find what entries you need to add, go to Diagnosis. After diagnosis is finished, under DNS records you’ll see some warnings. Click on Details in each warning to see the DNS records you need to add on your domain provider admin page (you may not need to add all of them if you aren’t going to use email or XMPP services, but add the AAAA IPv6 record at least).


Add a Let’s Encrypt certificate
Before that, ensure you can access YunoHost with your configured domain and go to Domains, click on the domain and add a new LetsEncrypt SSL certificate, so you can go to https://your-domain.com without seeing that horrible certificate warning. To be able to add the certificate, you need to have configured DNS records for IPv4 and IPv6. After creating the certificate, checked that it works.

Note: if you access your server with your-domain, you may not be able to add an SSL certificate, try accessing using server public IP.
Add a user
Now, you need to create your first user. Go to Users and add a new one. You can also run yunohost user create <username>.

Install some programs
You can now install programs on your server! Go to Applications and click Install. Select an app (e.g.: Nextcloud or WordPress) and complete the required fields. On some programs, you can select which user will be the administrator of that application.


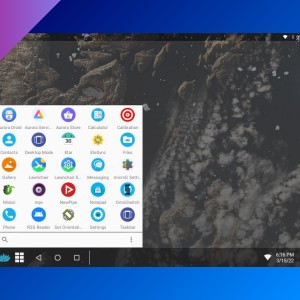
After installation, you can go to https://your-domain.com and a login page will appear. Type the user credentials and you’ll see something like this:

Click on one app to access it. It’s that simple:

More options
YunoHost has more options as you can see in its admin page. You can check the status of the system services, update packages, configure a firewall and more.

If you have any suggestion, feel free to contact me via social media or email.
Latest tutorials and articles:


Featured content: