How to add a watermark to your multimedia files
Table of Contents
In this tutorial you will learn how to add watermarks to images, videos and PDFs easily, with widely available tools on Linux.
Images
Command line tools
ImageMagick
Stamp an image
If you don’t need to change the resolution and the opacity of the watermark image, adding a watermark can be as simple as:
magick composite -gravity southeast watermark.png image.jpg output.jpg-gravityavailable values are:NorthWest,North,NorthEast,West,Center,East,SouthWest,SouthandSouthEast. Capitalization is optional.
To change opacity, add -dissolve <number>, where <number> goes from 0 (fully transparent) to 100 (fully opaque).
magick composite -gravity southeast -dissolve 50 watermark.png image.jpg output.jpgIf you want to change the watermark resolution:
magick composite -gravity SouthEast \( watermark.png -geometry 240 \) image.jpg output.jpg-geometrycan take several values:<width>,x<height>,<width>x<height>and more. Check https://imagemagick.org/script/command-line-processing.php#geometry for more info.
You can use -compose parameter to set the type of image composition: multiply, screen, subtract, plus, add, difference, etc.
magick composite -gravity SouthEast \( watermark.png -geometry 300 -compose screen \) image.jpg output.jpgStamp text
magick convert input.jpg -pointsize 100 -gravity southeast -fill white -draw 'text 50,50 "Some text"' output.jpgStamp an incremental numeric code on top of several images
- Save filenames in an array.
filear=()
j=0
for i in *.jpg
do filear[$j]=$i
j=$((j+1))
done- Check number of files:
echo ${#filear[@]}- Use that number to create a loop (for example, if you have 18 files):
j=0
for k in {001..018}
do magick ${filear[$j]} -pointsize 100 -fill white -gravity southeast -draw "text 50,50 \"$k\"" ../test-watermark/${filear[$j]}
j=$((j+1))
done
If there is no need to use codes that start with one or more zeros, you can do it with just one loop:
j=0
for k in *.jpg
do magick $k -pointsize 100 -fill white -gravity southeast -draw "text 50,50 \"$j\"" ../test-watermark/$k
j=$((j+1))
done
Graphical applications
Inkscape, GIMP
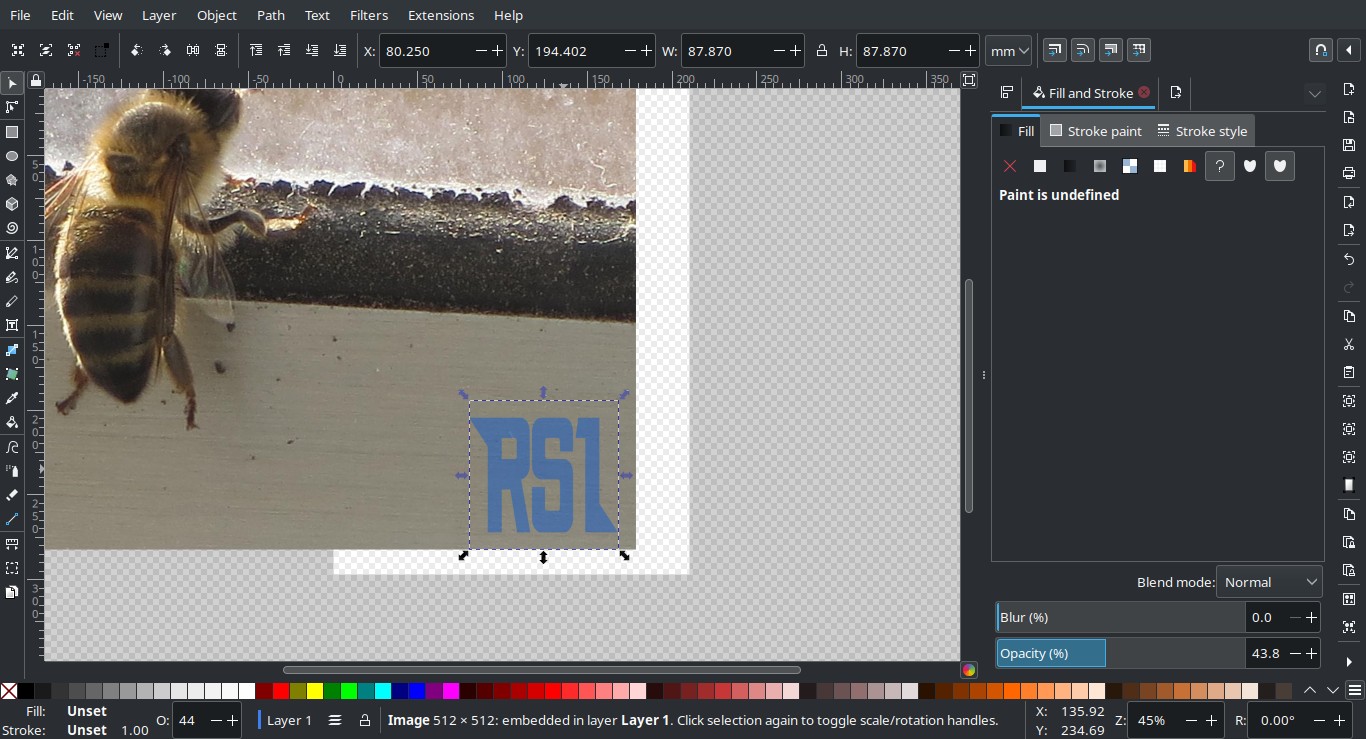
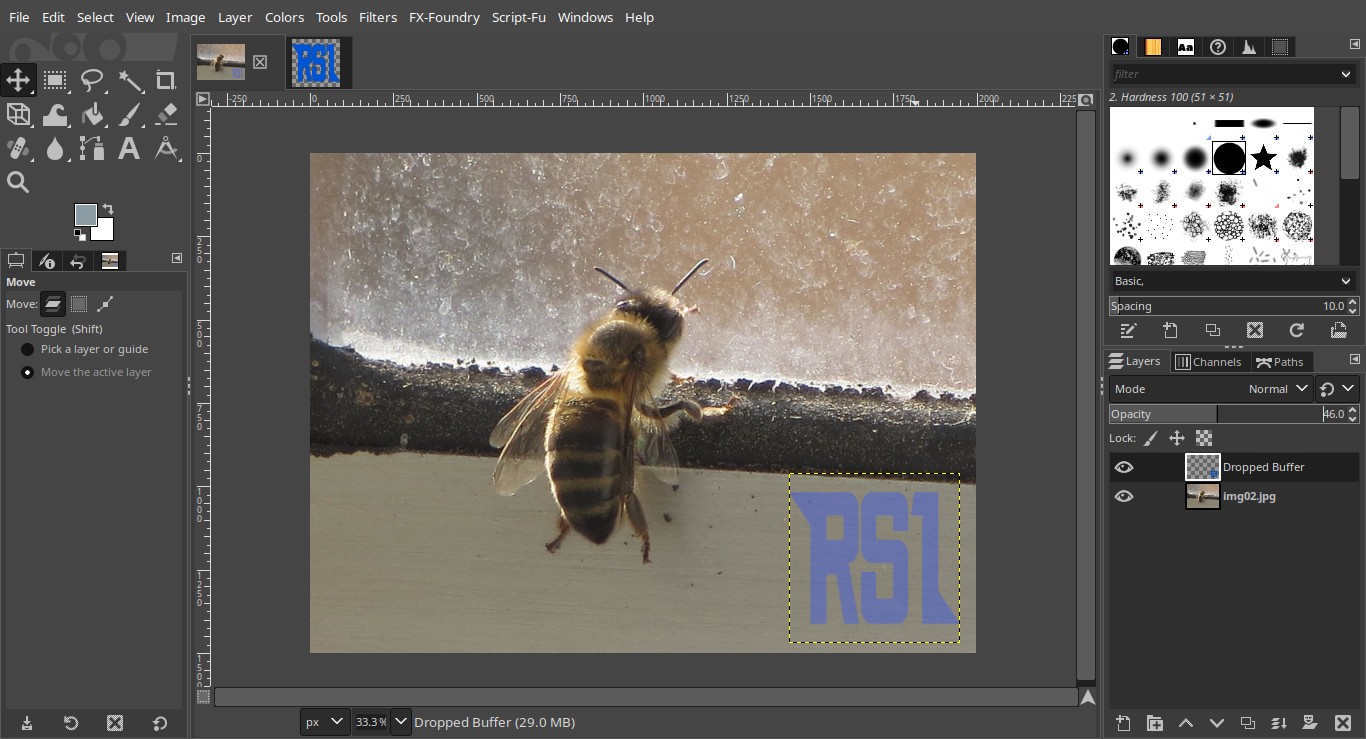
With these tools you can just open the images, place the watermark image on top of the main image and change watermark opacity (or composition mode).
Videos
Command line tools
FFmpeg
If you don’t need to change watermark image resolution (or opacity), you can just run:
ffmpeg -i input.mp4 -i watermark.png -filter_complex 'overlay=10:10' output.mp4overlay=10:10places the watermark using X and Y coordinates (from the top-left). In this case, 10 pixels from the top and 10 pixels from the left. You can also use predefined parameters likemain_hfor video height,main_wfor video width,overlay_hfor watermark height andoverlay_wfor watermark width. For example, to center the watermark, use this “overlay”:'overlay=x=(main_w-overlay_w)/2:y=(main_h-overlay_h)/2'.
If you want to change watermark resolution or opacity, best option is change it before with ImageMagick (or any other image editor):
magick convert watermark.png -resize 300 -alpha on -channel a -evaluate set 50% watermark-new.pngGraphical applications
Avidemux
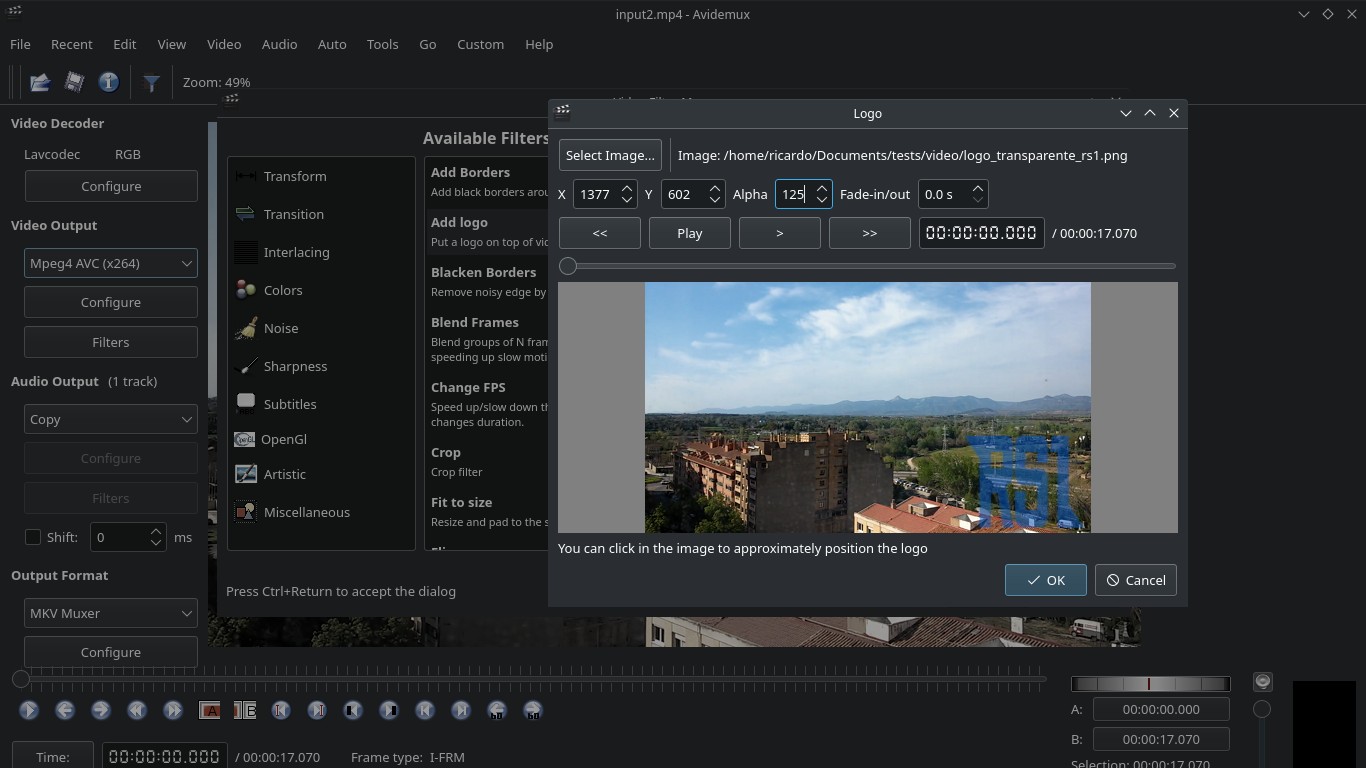
After opening the video in Avidemux, select a video codec (e.g. x264), press Filters, double-click on Add logo and add your watermark image. You can change the position and opacity.
PDFs
Command line tools
PDFtk
You’ll need a PDF file as watermark. You can create one using LibreOffice Draw (create a blank page with the watermark image). Then, with PDFtk, run (replace the filenames appropriately):
pdftk input.pdf background watermark.pdf output output.pdfThis will not work if the main PDF is a scanned image, because the background needs to be transparent. If your watermark has a transparent background, you can replace background with stamp and put the watermark on top of the main PDF.
Text stamps: enscript + ps2pdf + pdftk
To stamp text on a PDF, you can use this command which run enscript to create a PostScript file from a text, ps2pdf (from ghostscript) to convert it to PDF, and pdftk to create a watermarked file from that PDF.
- Standard big centered text stamp (change ‘DRAFT’ with your preferred text):
echo "" | \
enscript -B --underlay="DRAFT" --ul-font=Times-Roman64 --ul-style=filled --ul-gray=0.9 -o- | \
ps2pdf - | \
pdftk input.pdf stamp - output output.pdf
- `--ul-gray`: `0` for black, `1` for white.
- `--ul-style`: `outline` or `filled`.
- `--ul-font`: add a font and size.
- You can replace `stamp` for `background` for a background watermark.- Simple text stamp:
echo "Some text" | \
enscript -B -f Courier16 -o- | \
ps2pdf - | \
pdftk input.pdf stamp - output output.pdf
You can also create several watermarked PDF files using a loop:
#!/bin/bash

INPUT=$1
OUTPUT=$2

for i in {1..12}
do
    echo "Number: ${i}" | \
    enscript -B -f Courier16 -o- | \
    ps2pdf - | \
    pdftk $INPUT stamp - output ${OUTPUT}-${i}.pdf
done
Or add a different stamp per file page:
enscript -L1 -F Courier13 --header='||Page $% of $=' --output - < <(for i in {1..25}; do echo; done) | \
ps2pdf - | \
pdftk input.pdf multistamp - output output.pdf
Check man enscript for more info on enscript parameters. The list of available fonts is inside /usr/share/enscript/afm/font.map.
Graphical applications
LibreOffice Draw
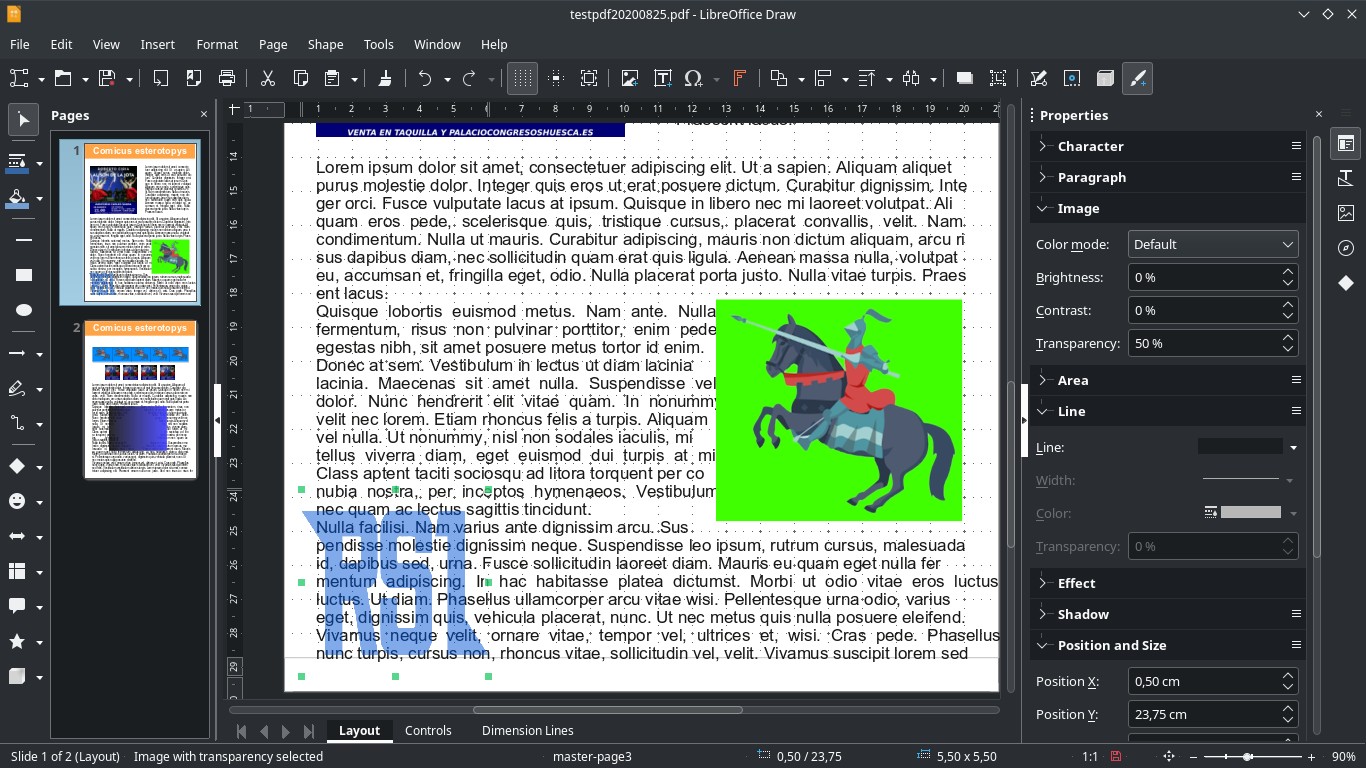
You can edit a PDF file in LibreOffice Draw and add an image (and optionally change opacity). This image will be below the OCR layer, so it will not interfere when selecting text.
PDF Chain
This tool is based on PDFtk, so it’s pretty simple to understand if you have read the PDFtk section. Go to Background/Stamp, select a document and the watermark, check Background and click Save as.
LibreOffice Writer
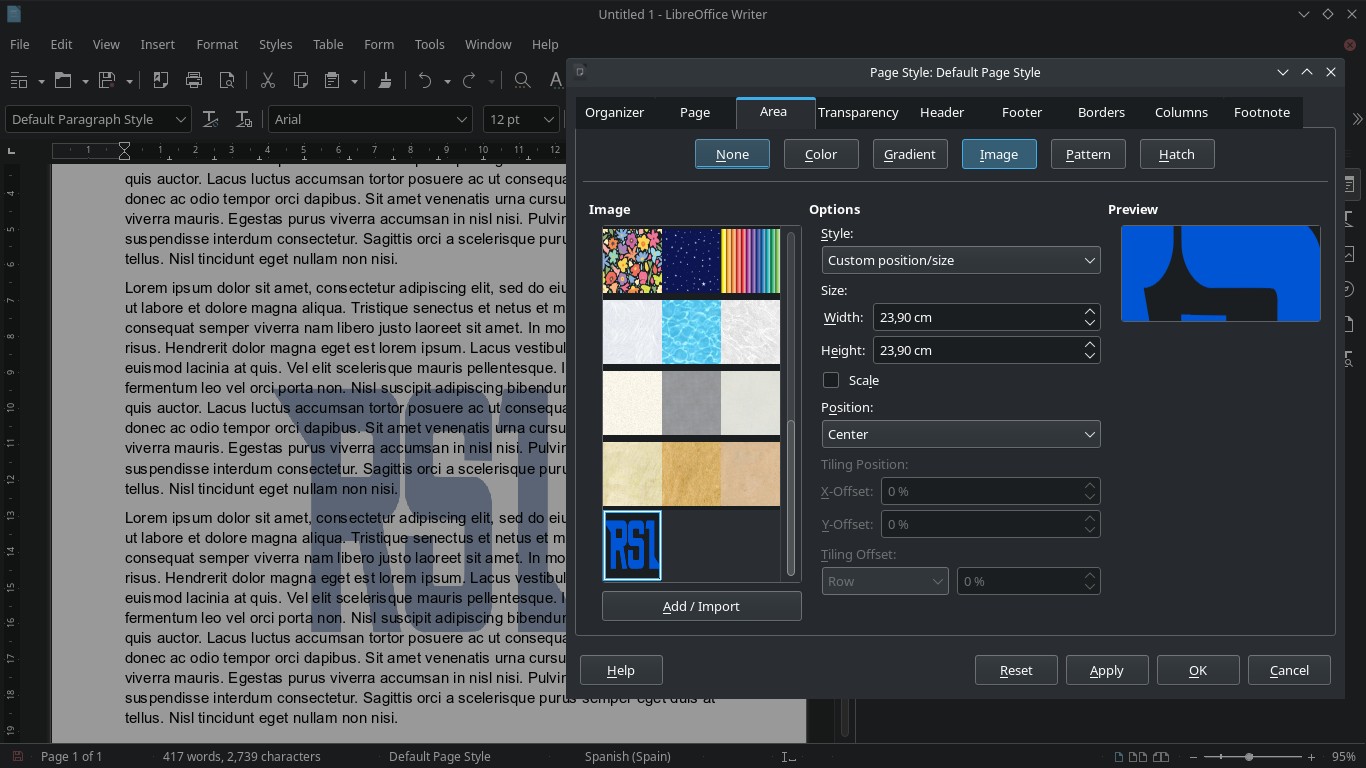
If you use Writer to create your PDFs, you can add a watermark (or a background image) by clicking Format -> Page Style.... Go to Area, select Image and add/import a new image. Then, under Style, select whether you want a stretched or tiled image, or a custom sized one. Choose the Position and go to Transparency tab to change the opacity. These options will apply to all pages.
If you have any suggestion, feel free to contact me via social media or email.
Latest tutorials and articles:
Featured content:

