Backup methods (VII): Timeshift and Back In Time
Table of Contents
Making backups regularly is one of the most relevant tasks for a Linux user. Today we are going to take a look at two of the most popular backup applications on Linux: Timeshift and BackInTime.
Timeshift
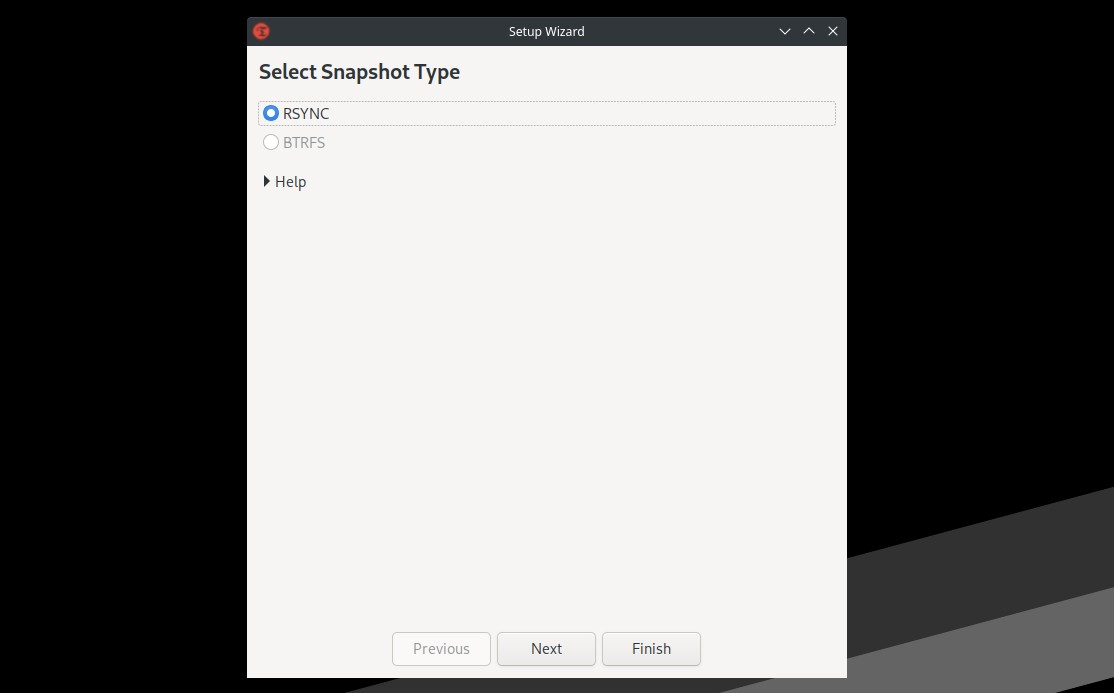
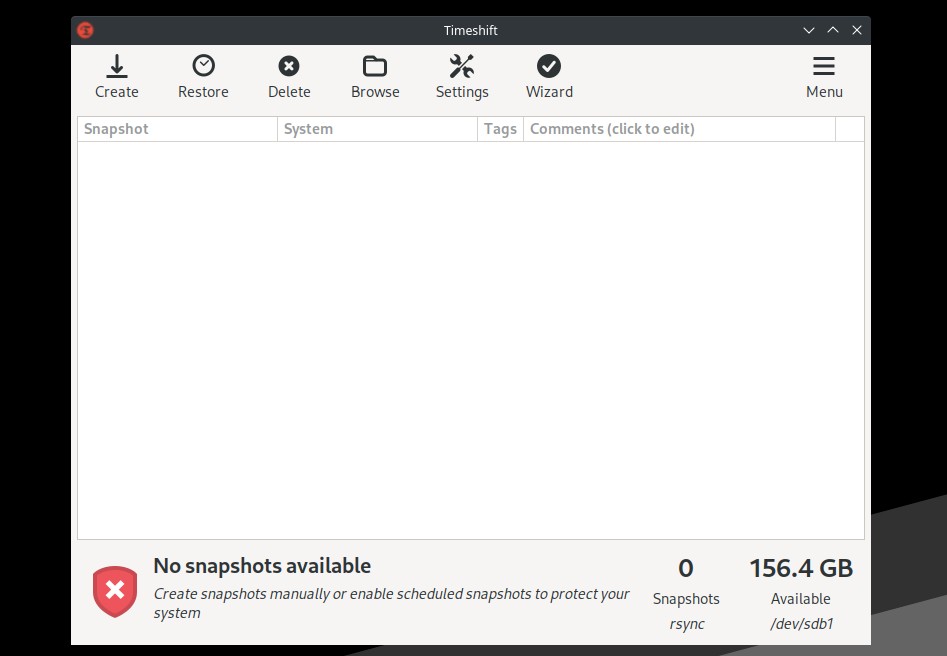
Timeshift can take incremental snapshots of your system files at regular intervals. It consists of a CLI tool and a graphical application. Timeshift is available on the repositories of most distros. The first time you launch Timeshift (superuser privileges required) you need to select one of the two methods of taking snapshots: RSYNC or BTRFS (only for BTRFS filesystems).
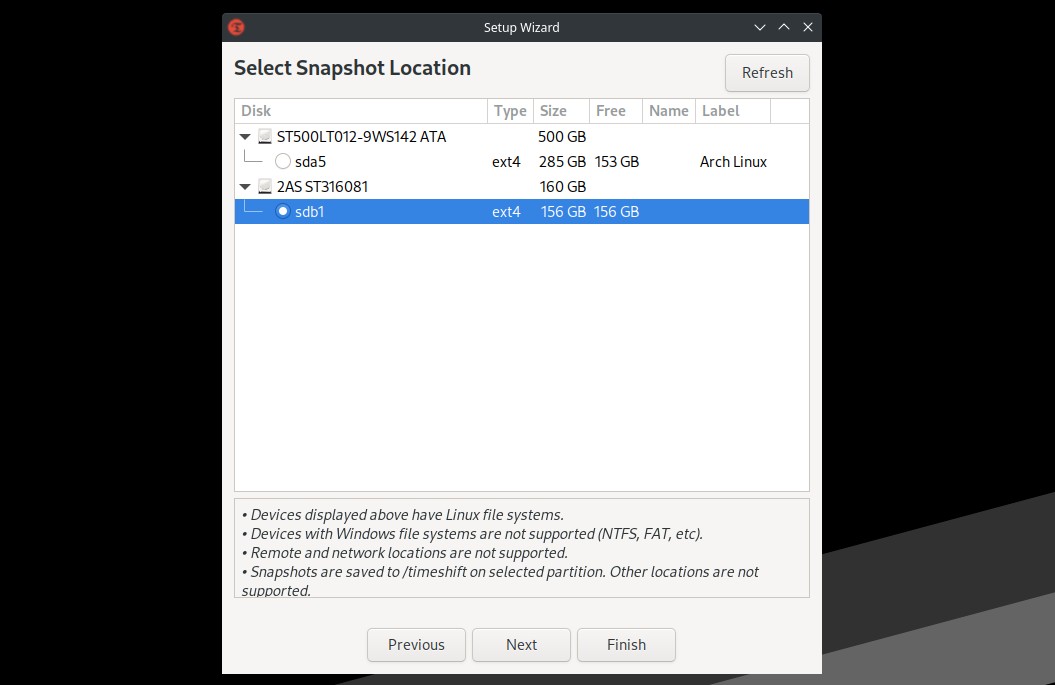
Then, select the partition where you want to save your snapshots. It’s recommended to use a different partition that the one you are backing up. The partitions filesystems need to be of the same type (EXT2/3/4, etc.)
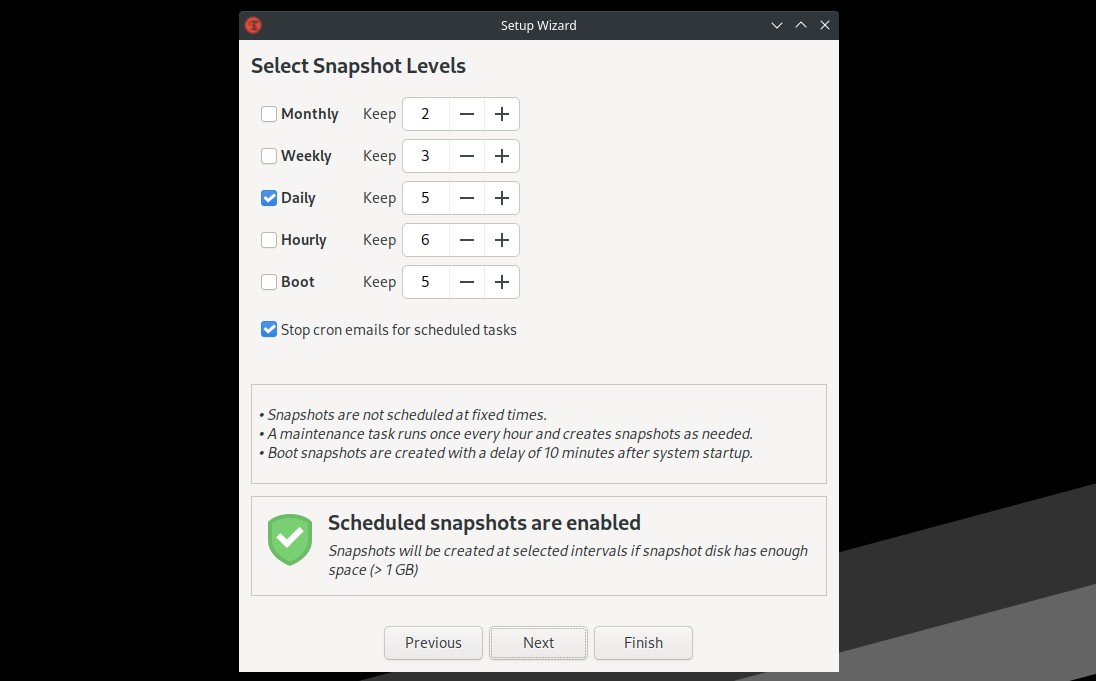
Now, select the frequency of the snapshots. You can uncheck the options to only make manual snapshots.
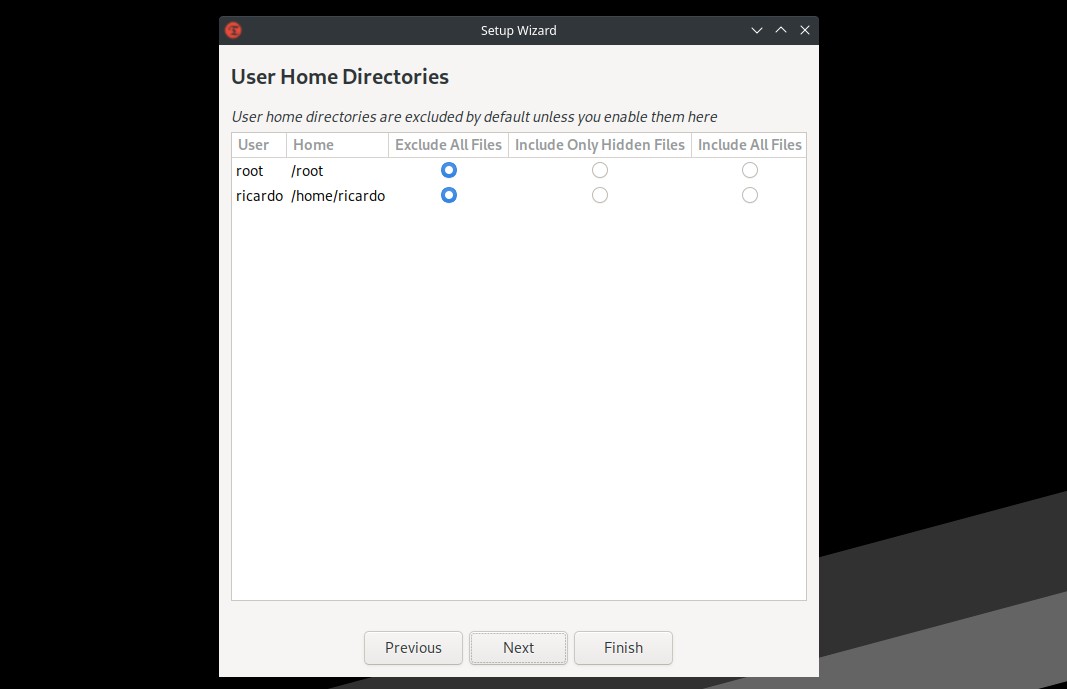
In the next section, you can choose whether back up user files. Timeshift is specially design to back up system files (developers recommend using other tools to back up user files) but you can make a snapshot of your home directory if you want.
After that, the configuration process is finished and the initial snapshot will be created (this takes some time, the rest of the snapshots will be incremental). Timeshift will create a folder on the selected partition (/timeshift) to save the snapshots.
Back In Time
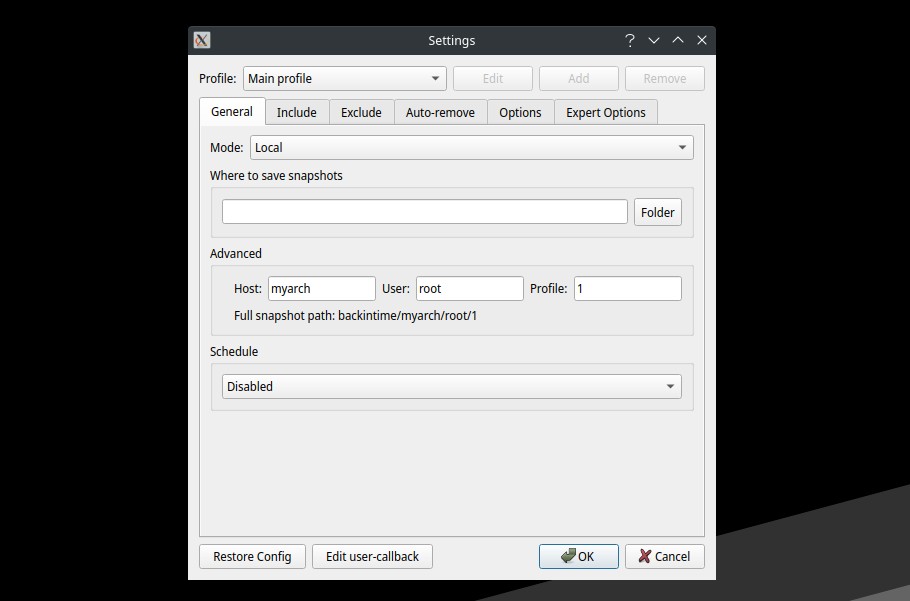
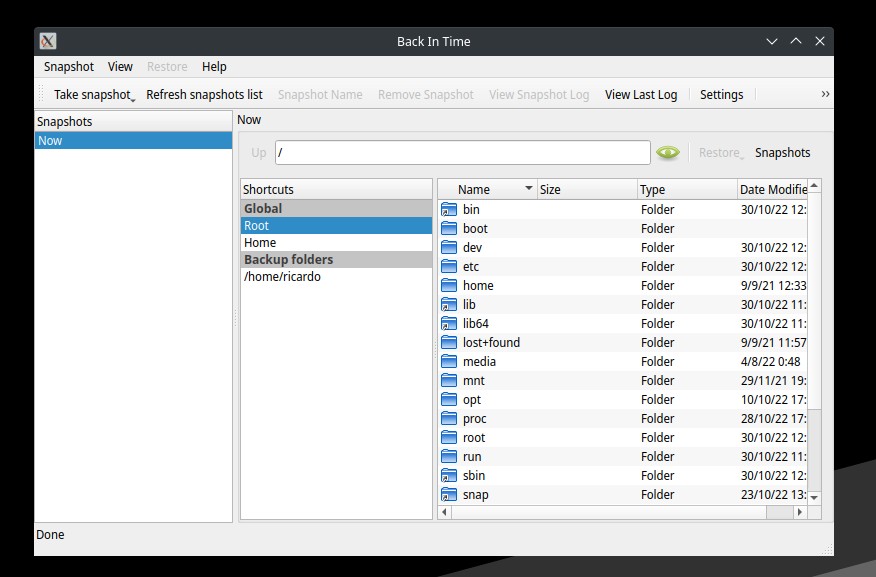
Back In Time is a backup tool for Linux, with CLI and GUI tools. As Timeshift, Back In Time is available on the official repositories of the most popular Linux-based operating systems. Using this app is really easy: you only need to go through the tabs on the main config window.
First, select the folder where you want to save the snapshots. In the same tab, select the frequency of the backup task.
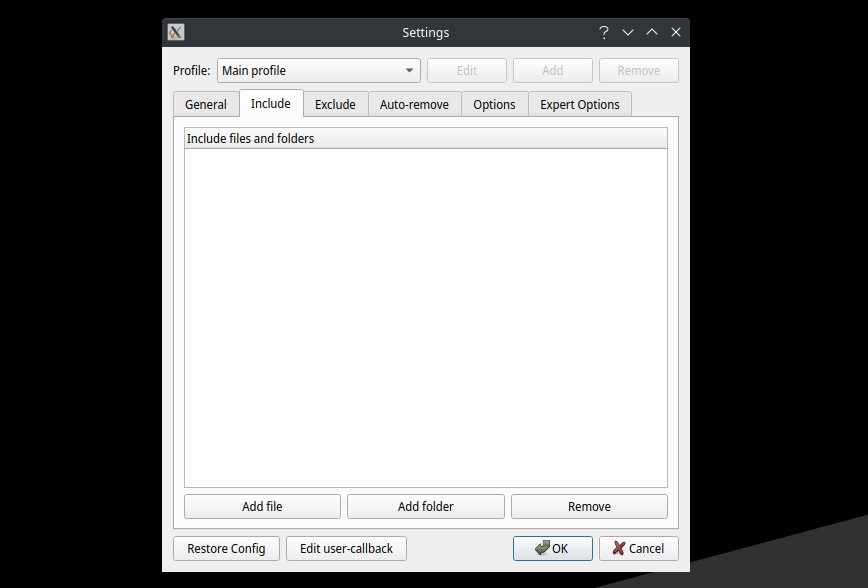
Click on the next tab and choose the folders or files to back up.
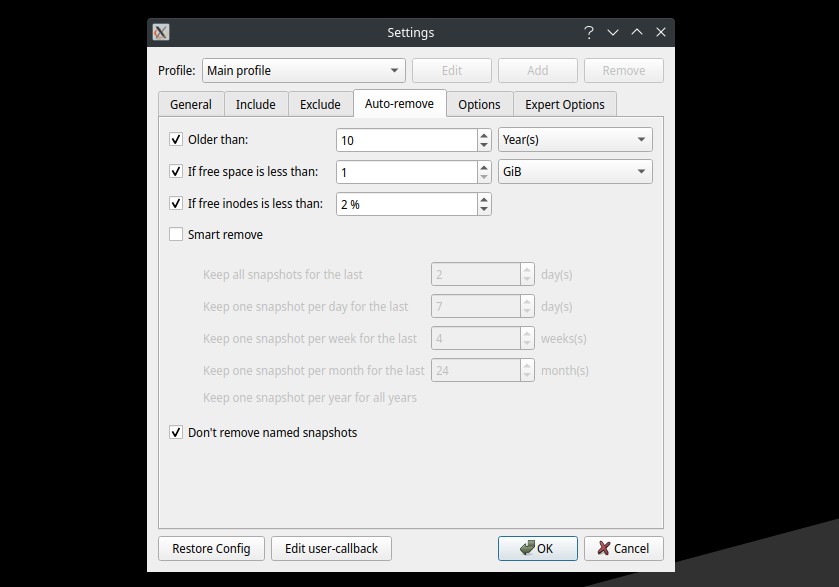
After that, you can change the ‘exclude’ patterns to exclude files and review the auto-remove options to remove old snapshots.
Finally, check ‘Options’ and ‘Expert options’ for more in-depth settings and click ‘OK’ to confirm.
That’s it. Press ‘Take snapshot’ to manually create a snapshot.
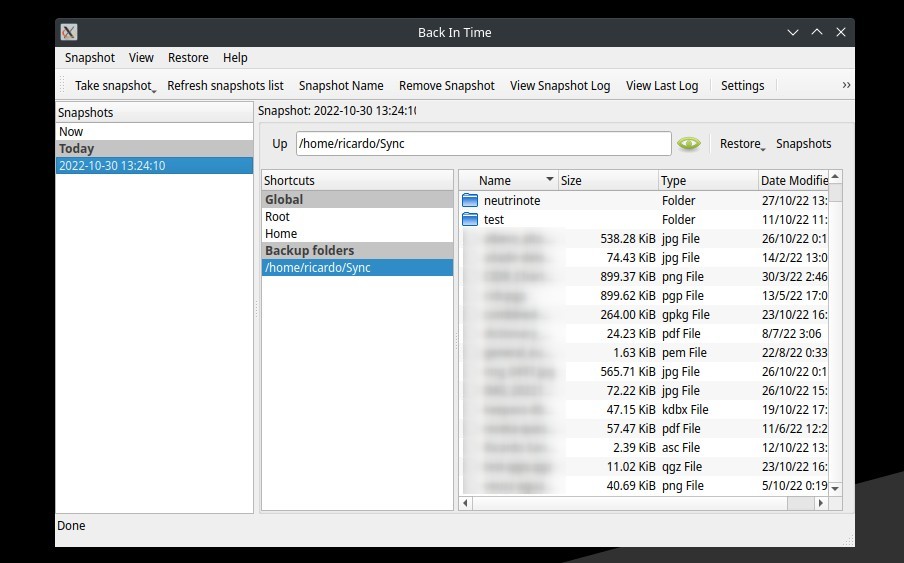
After the snapshot has been created, you can select it and see its content. Then, you can restore the entire snapshot or only selected files.
If you have any suggestion, feel free to contact me via social media or email.
Latest tutorials and articles:
Featured content:

