Mimic 3: local neural text to speech engine
Table of Contents
Mimic 3 is a neural text to speech (TTS) engine that can run locally on low-end hardware, and you can use it with the command line or with a web interface.
Requirements
Software
- Python 3.7+.
python3-pip(python-pipon Arch Linux).virtualenvPython package (pip install virtualenv).libespeak-ng1(espeak-ngon Arch Linux).- Git.
Hardware
Mimic 3 can run on x86_64 (amd64) and ARM (arm64 and armv7l). A dedicated GPU is not required (I can use it on a laptop with Intel integrated graphics).
Installation
- Clone the repository:
git clone https://github.com/MycroftAI/mimic3- Change directory to the downloaded repo:
cd mimic3- Run
install.sh:
./install.shMimic 3 can be installed in more ways. Check the official documentation.
Usage
Virtual environment
Mimic 3 is installed inside a virtual environment, so in order to use it, you need to enter into that environment:
source .venv/bin/activateWhen you want to exit from the environment, run deactivate.
mimic3-server
A small HTTP server is available with a simple web interface. Enable it by running:
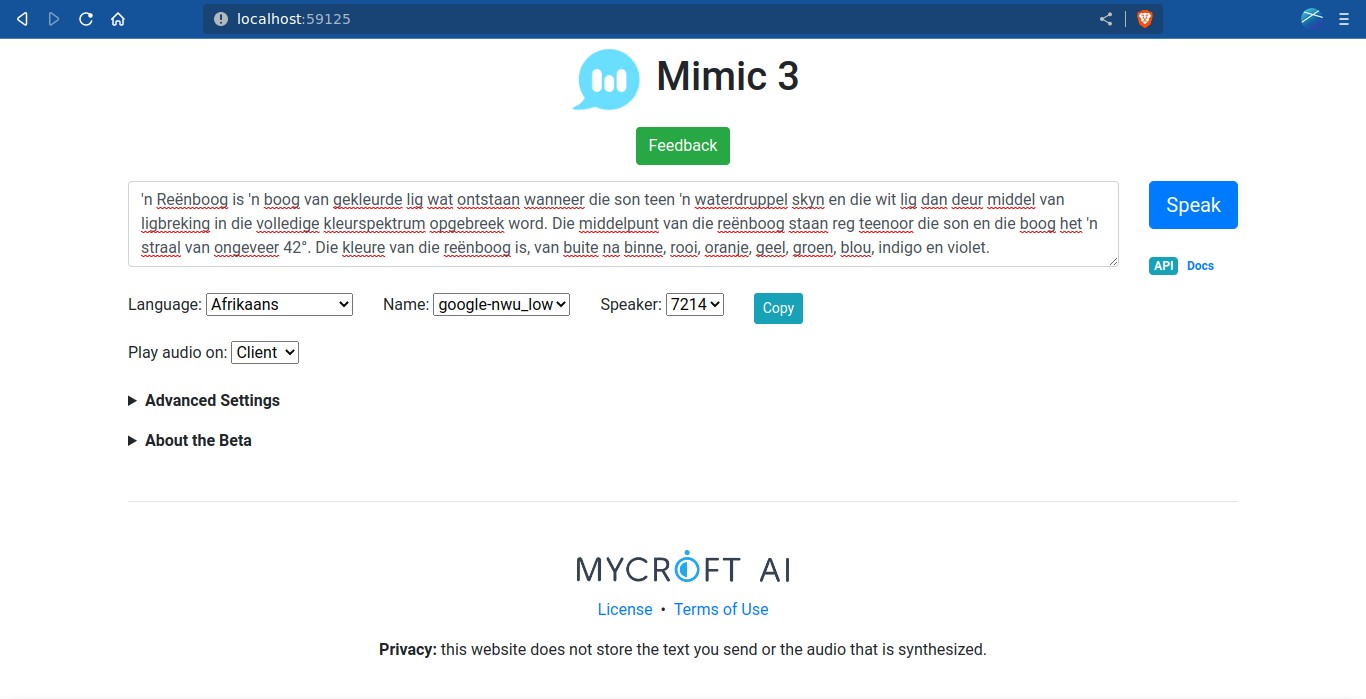
mimic3-serverThen, go to http://localhost:59125.
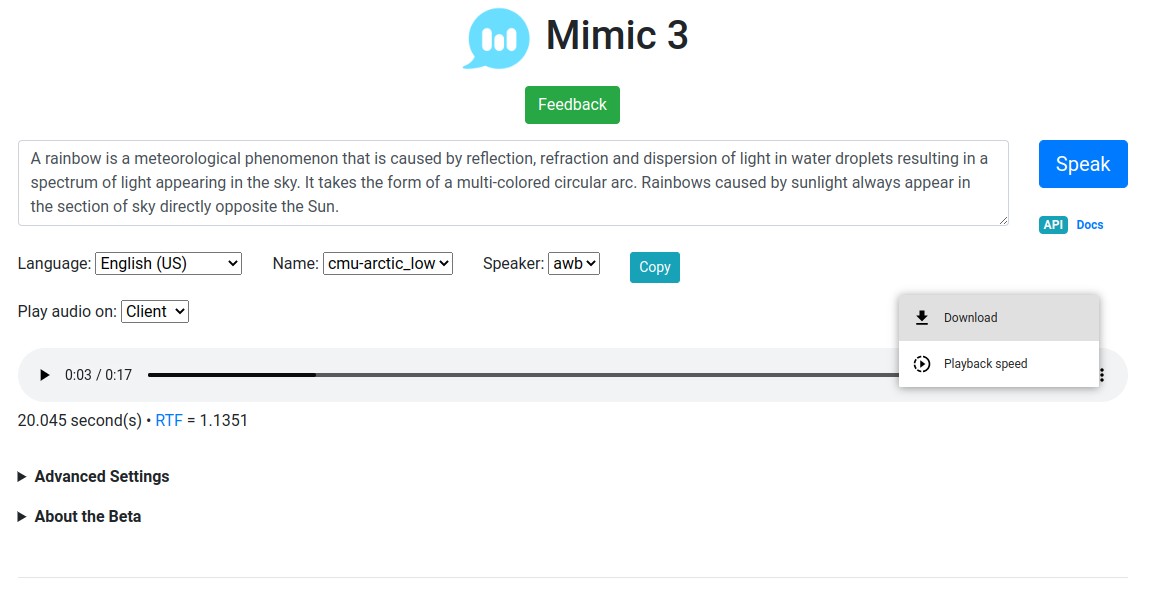
You can select the language and one of the available voices. Press Speak to process the text and listen the result. You can download the audio (WAV) by clicking on the three-dot button on the right.
Click on Advanced settings to change some engine parameters.
mimic3 CLI tool
Mimic 3 can also be used in a Terminal. Although the server application (mimic3-server) is not required, it’s recommended because the processing is faster (voices are only downloaded once). You can run mimic3-server on the background (mimic3-server &) to not use another Terminal tab (and enter the virtual environment again) for the CLI tool.
The command syntax is very simple:
mimic3 --remote --voice <voice> "Some text" > output.wav--remoteis only needed when you are running the server (on localhost). If the server is running on another server, add the server IP after--remote.- Output files are always WAV files.
Run mimic3 --voices for a list of available voices. For example, to use a spanish voice:
mimic3 --voice es_ES/carlfm_low "Texto en español" > tts.wavWhen several speakers are available for each voice, add --speaker <name or number> (if not used, the first voice is selected):
mimic3 --remote --voice es_ES/m-ailabs_low --speaker karen_savage "Prueba de texto" > output.wavOther available parameters are:
--play-program <program>: play the resulting audio with<program>. For example, to play the audio withplay(fromsoxpackage), add--play-program play. Do not redirect the output to a file (> out.wav) or use the--output-dirparameter because you won’t hear anything.--output-dir <DIR>: specify an output directory (e.g.:--output-dir ~/Music/). It’s the same as redirecting the output to<DIR>/<file>(> ~/Music/out.wav). Use it with--output-naming timeto avoid naming the file as the input text.--length-scale <number>: change the speaking rate (default1, less than 1 for faster speak, more than 1 for slower speak). This is inverse to theSpeaking rateoption on the web interface.
Run mimic3 --help for more info.
If you have any suggestion, feel free to contact me via social media or email.
Latest tutorials and articles:
Featured content:

