86box: an x86 emulator for running old systems and software
Table of Contents
86Box is ‘a low level x86 emulator that runs older operating systems and software designed for IBM PC systems and compatibles from 1981 through fairly recent system designs based on the PCI bus’.
Installation
Go to the GitHub page and download the appropriate AppImage file. Then, go to GitHub ROM repo and download the ROM for the emulator (check ROM is for right 86box version).
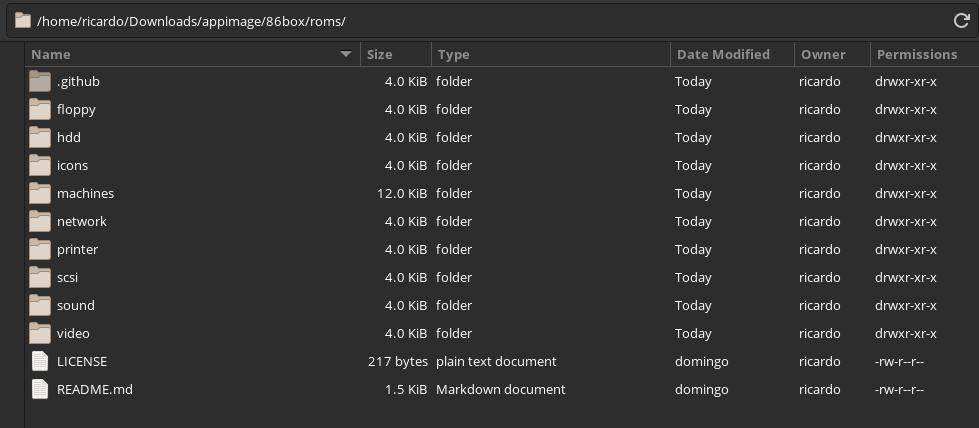
Create a folder in the same directory where 86box AppImage is located, and called it ‘roms’. Open ROM compressed file (rom-<date>.zip or rom-<date>.tar.gz) and copy the contents of rom-<date> folder to your ‘roms’ folder. ‘roms’ folder will look like this:
Finally, make the AppImage executable.
Usage
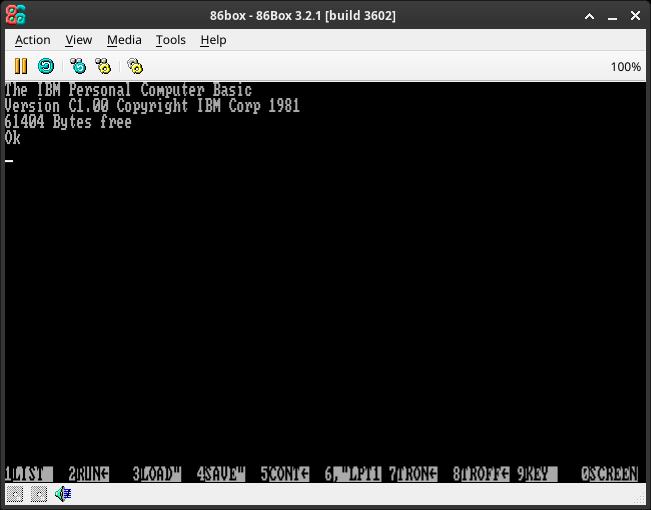
Run AppImage file. If everything goes well, you will see this window:
You can go to Settings (Tools -> Settings or the icon with two gears) to explore how many things you can modify to customize your emulated machine.
Check Documentation for more info.
Installing a system (MS-DOS)
I am going to install MS-DOS 6.22 to explain how to use this emulator. You can download MS-DOS from WinWorld.
Choose the emulated machine
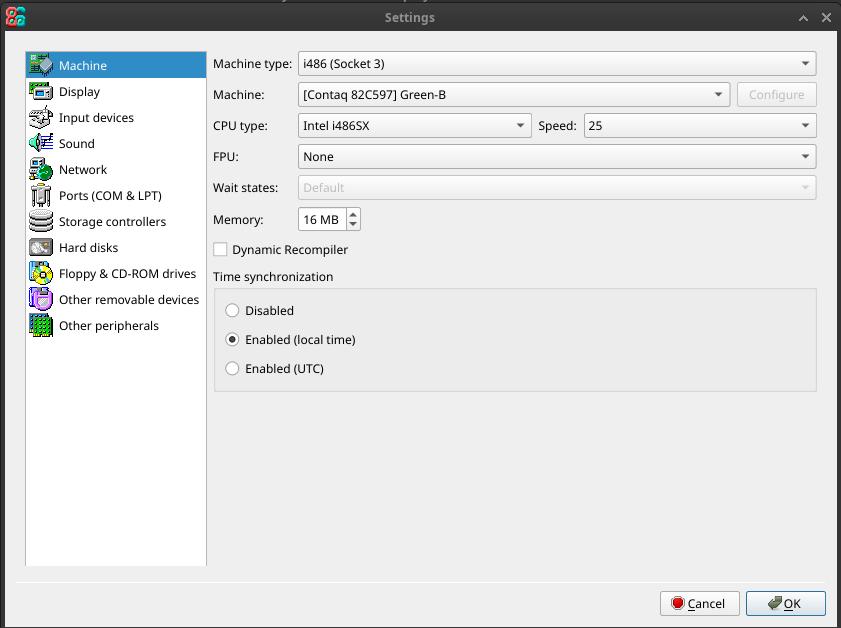
Go to Settings and select ‘Machine’ tab. Select ‘i486 (Socket 3)’ on ‘Machine Type’.
Adding a new hard disk
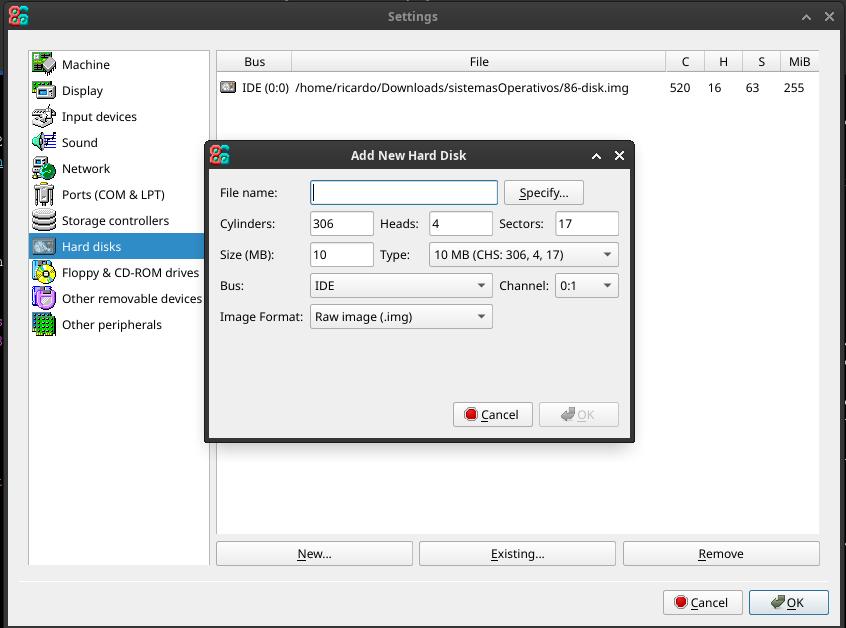
Go to Hard Disks -> New. Click on ‘Specify’ to add a save path (include format, e.g. .img), and set disk size. Click OK.
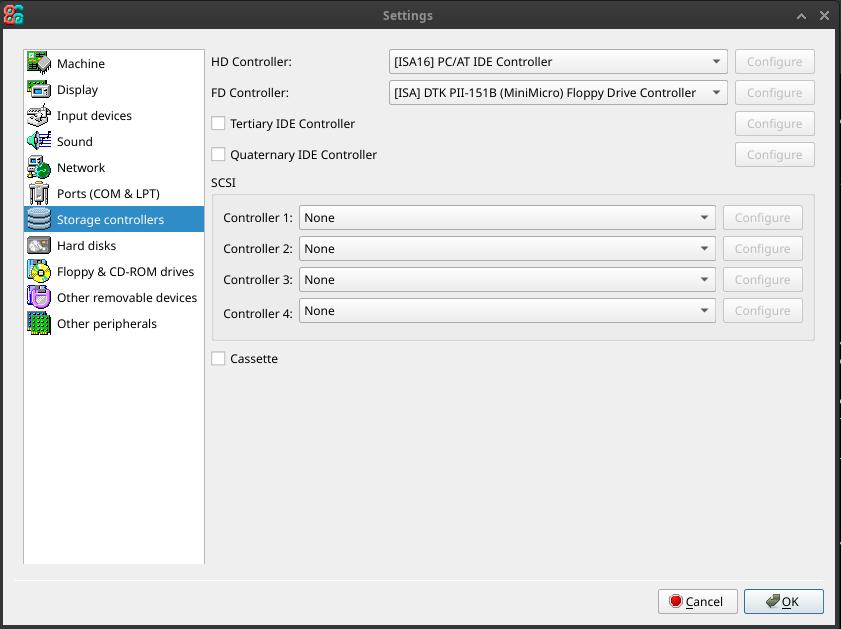
Now, go to ‘Storage Controllers’ and change ‘HD Controller’ value to ‘[ISA16] PC/AT IDE Controller’.
Adding a floppy disk
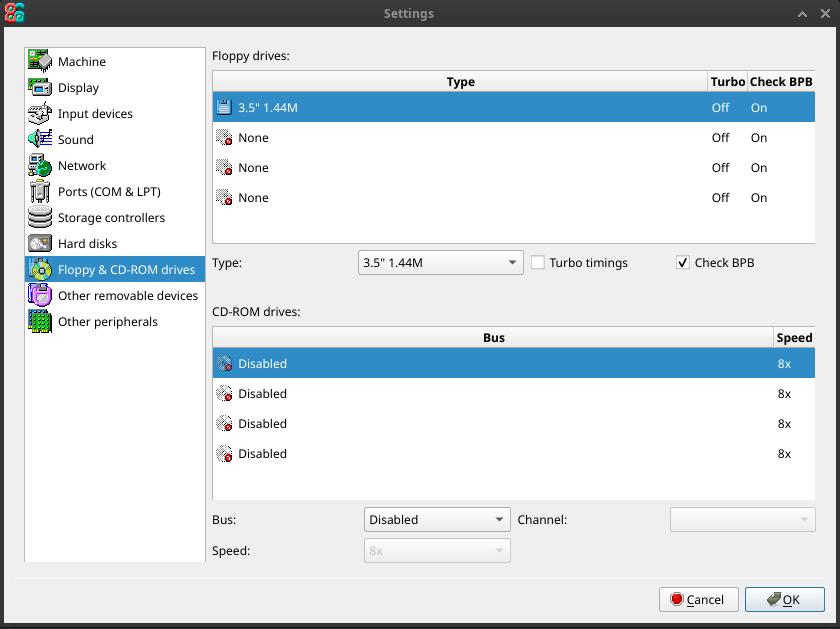
By default, 5.25” floppies are enabled, but you can change them for 3.44” floppies if you want. Go to ‘Floppy and CD-ROM drives’ and change first 5.25” drive to 3.44” (by changing ‘Type’ value).
Change ‘Type’ of other drives to ‘None’. Click ‘OK’ to save changes and do a hard-reset.
Configure BIOS to detect hard disk
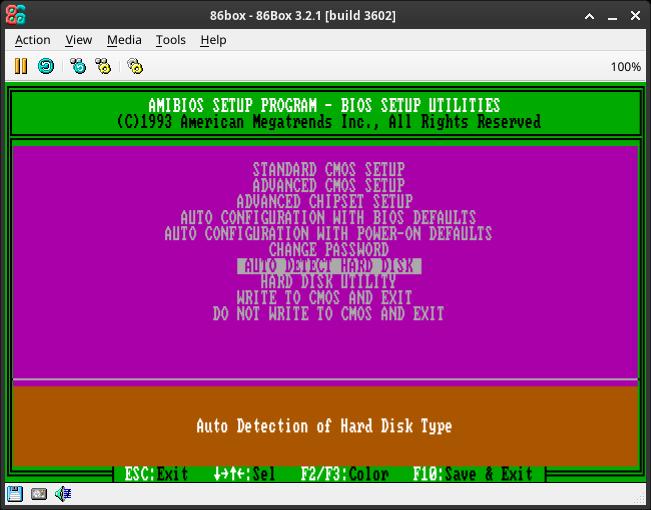
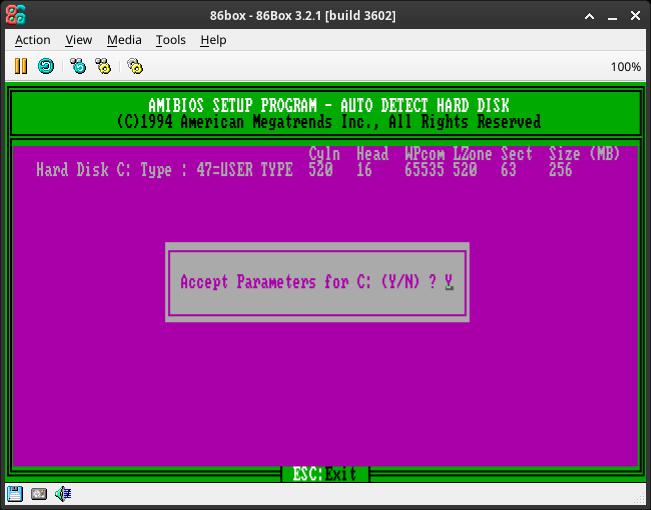
When booting the emulated system, press F1 or DEL to enter BIOS setup. Select ‘AUTO DETECT HARD DISK’ and press Enter. System will detect your hard disk. Type y and press Enter to confirm. Then, press Esc to stop Auto Detection and press Enter.
Go to ‘WRITE TO CMOS AND EXIT’ to save changes. Type y and press Enter.
Inserting the floppy disk
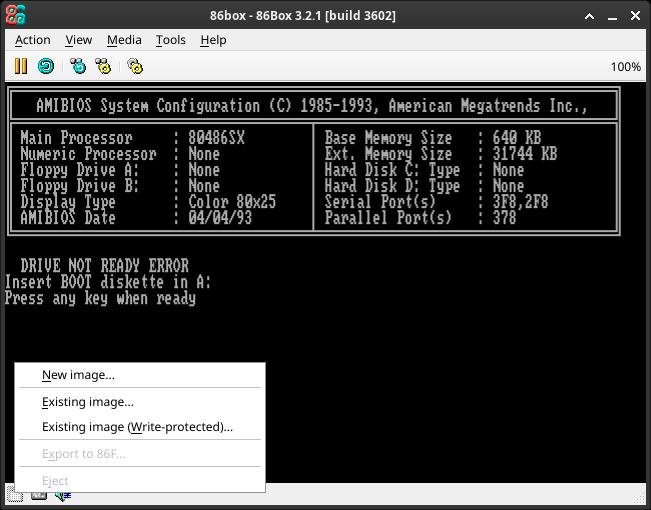
Click on small diskette icon on the bottom. Select ‘Existing image’ and select MS-DOS first disk image.
Press any key after inserting the floppy disk.
Installing MS-DOS
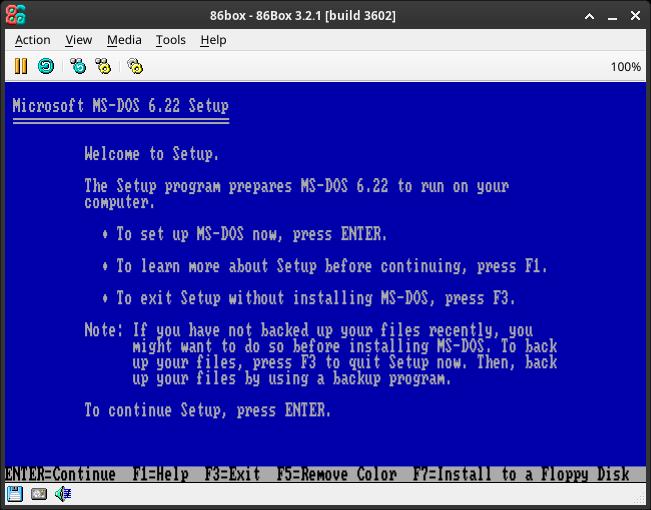
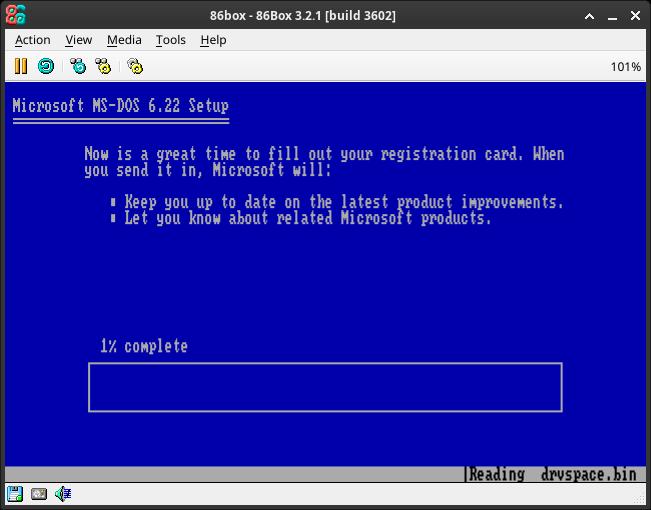
You can now install MS-DOS on your emulated hard disk.
You only need to change floppy disk when prompted (by click on floppy icon and press ‘Eject’, then press floppy icon again and select ‘Existing image’).
Mouse support
If your emulated machine needs mouse support, add it on Settings -> Input devices.
If you have any suggestion, feel free to contact me via social media or email.
Latest tutorials and articles:
Featured content:

